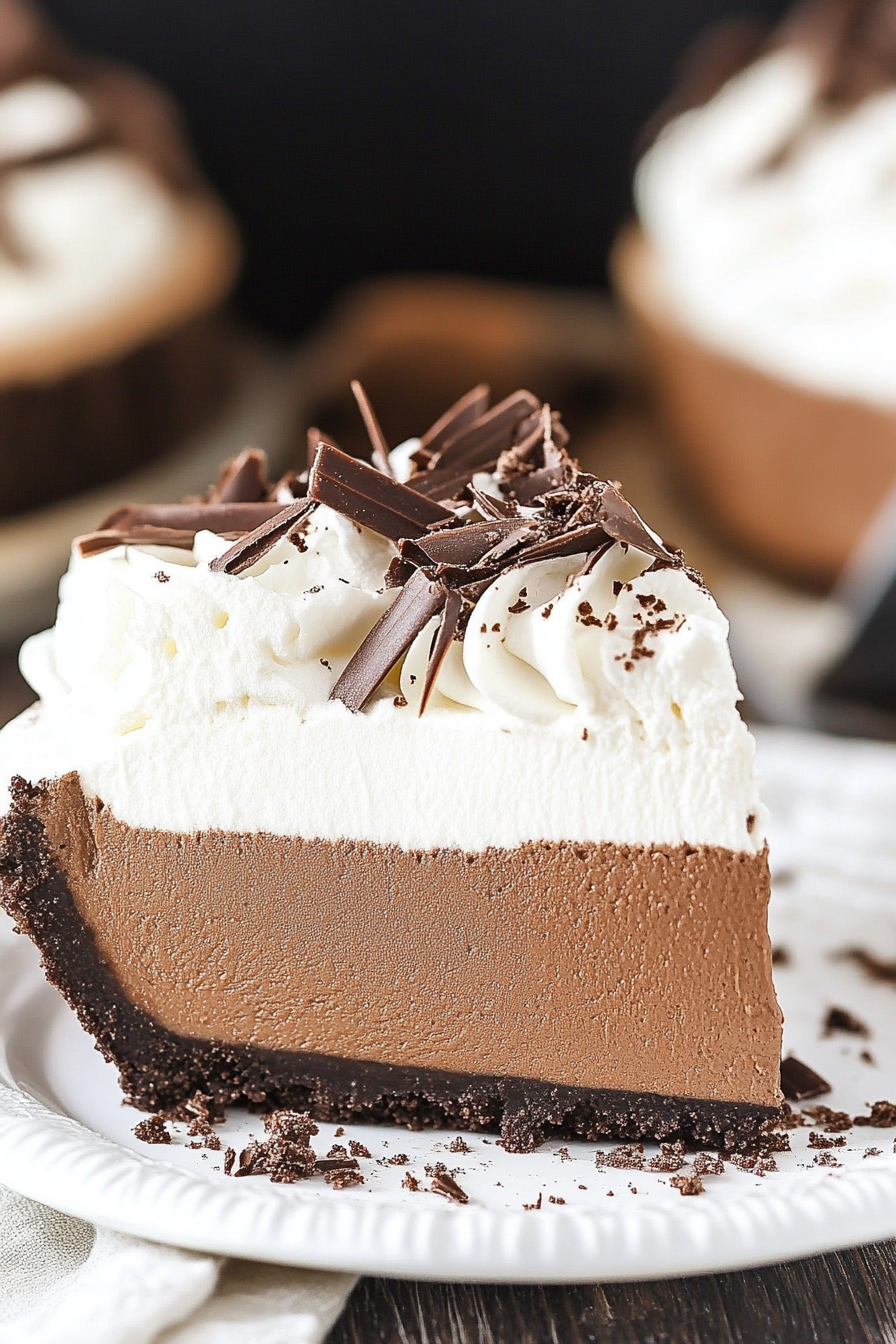
There’s nothing quite like the satisfaction of biting into a decadent, homemade chocolate sandwich cookie. The rich chocolatey filling between two crispy, buttery cookies makes for an irresistible treat that you can enjoy anytime. Whether you’re an expert baker or a beginner, this chocolate sandwich Cookies Recipe will not disappoint, offering simplicity without compromising on flavor, and sure to become a family favorite.
Growing up, I remember my grandmother making these delightful cookies every holiday season. Her kitchen always smelled like magic—a mix of sugar, butter, and melted chocolate. We’ve carried on her tradition, and every time we bake these cookies, it’s like bringing a part of her into our home. They’re not just cookies; they’re memories on a plate, cherished by everyone in our family.
Why You’ll Love This Recipe
These chocolate sandwich cookies are a standout for several reasons. Firstly, the perfect blend of crunch and melt-in-your-mouth texture creates a cookie that’s both satisfying and indulgent. The bold chocolate flavor is enhanced by a hint of vanilla, making it a classic with a twist. Moreover, this recipe is incredibly easy to follow, requiring minimal ingredients, most of which you probably already have in your pantry. Whether you’re making them for a special occasion or just because, these cookies are guaranteed to impress your taste buds and those of anyone fortunate enough to share them.
Ingredients Notes
For the best results, use high-quality cocoa powder for the cookie dough and a good quality chocolate for the filling. If you can’t find brown sugar, granulated sugar will work in a pinch, though it may slightly alter the texture. For a vegan option, replace butter with coconut oil and use a plant-based chocolate. Don’t forget the vanilla extract; it elevates the flavors tremendously. When sourcing these ingredients, aim for organic or fair-trade options where possible to ensure the best quality and ethical standards.
Recipe Steps
Step 1
Preheat your oven to 350°F (175°C) and line two baking sheets with parchment paper. This prevents the cookies from sticking and ensures even cooking.
Step 2
In a large bowl, cream together the butter and brown sugar until smooth. Add in the vanilla extract and mix until fully incorporated. This step is essential for creating that buttery, rich base for your cookies.
Step 3
Sift in the cocoa powder, flour, and a pinch of salt. Mix until you have a cohesive dough. If the dough feels too sticky, add a touch more flour, a tablespoon at a time.
Step 4
Roll the dough into small balls and place them on the prepared baking sheets. Gently flatten each ball with a fork or the bottom of a glass. Bake for 8-10 minutes, or until the cookies are firm around the edges but still soft in the middle. Allow them to cool completely on a wire rack.
Step 5
To make the filling, melt the chocolate and let it cool slightly. Spread a teaspoon of melted chocolate on the underside of one cookie, then sandwich it with another. Allow the chocolate to set before serving.
Storage Options
These cookies store wonderfully in an airtight container at room temperature for up to one week. For longer storage, you can freeze them for up to three months. Place parchment paper between layers of cookies to prevent them from sticking. When ready to eat, thaw at room temperature or heat briefly in the oven to refresh their crispiness.
Variations & Substitutions
If you’re looking to add a twist to the classic, consider adding a teaspoon of espresso powder to the dough for a mocha flavor. For those who prefer a nutty taste, a tablespoon of finely chopped hazelnuts or almonds can be mixed into the Cookie Dough. Gluten-free flour will also work as a substitute to accommodate dietary preferences, but you may need to adjust the amount slightly to achieve the desired dough consistency.
Serving Suggestions
These cookies are a delightful treat on their own but pair wonderfully with a glass of cold milk or a hot cup of coffee. They’re perfect for a midday snack, a sweet ending to lunch, or to serve at parties and festive gatherings. Stack them on a plate, sprinkle with a little powdered sugar for a festive touch, and watch them disappear within minutes.
Frequently Asked Questions
Can I make the dough ahead of time? Yes, the cookie dough can be prepared in advance. Store it in the refrigerator for up to 3 days, or freeze it for up to 3 months. If freezing, let the dough thaw in the refrigerator before rolling and baking.
What makes these cookies different from store-bought ones? Homemade cookies have a fresher taste and allow you to control the quality of the ingredients. Additionally, they can be customized with different flavors and levels of sweetness, unlike store-bought cookies which often contain preservatives.
Can I use a food processor to make the dough? While a hand or stand mixer is preferred, a food processor can also be used to cut the butter into the dry ingredients. Be careful not to over-process; you want the mixture to come together just until it forms a dough.

Chocolate Sandwich Cookies Recipe
Ingredients
Main Ingredients
- 1.5 cups all-purpose flour
- 0.5 cup cocoa powder
- 1 cup granulated sugar
- 0.5 cup unsalted butter at room temperature
- 1 teaspoon vanilla extract
- 1 large egg
- 0.25 teaspoon salt
Instructions
Preparation Steps
- Preheat the oven to 350°F (175°C).
- In a bowl, whisk together the flour, cocoa powder, and salt.
- In another bowl, cream together the butter and sugar until light and fluffy.
- Beat in the egg and vanilla extract until combined.
- Gradually add the dry ingredients to the wet mixture, stirring until just combined.
- Roll dough into small balls and place on a baking sheet.
- Bake for 10-12 minutes, then allow to cool before sandwiching with chocolate filling.


