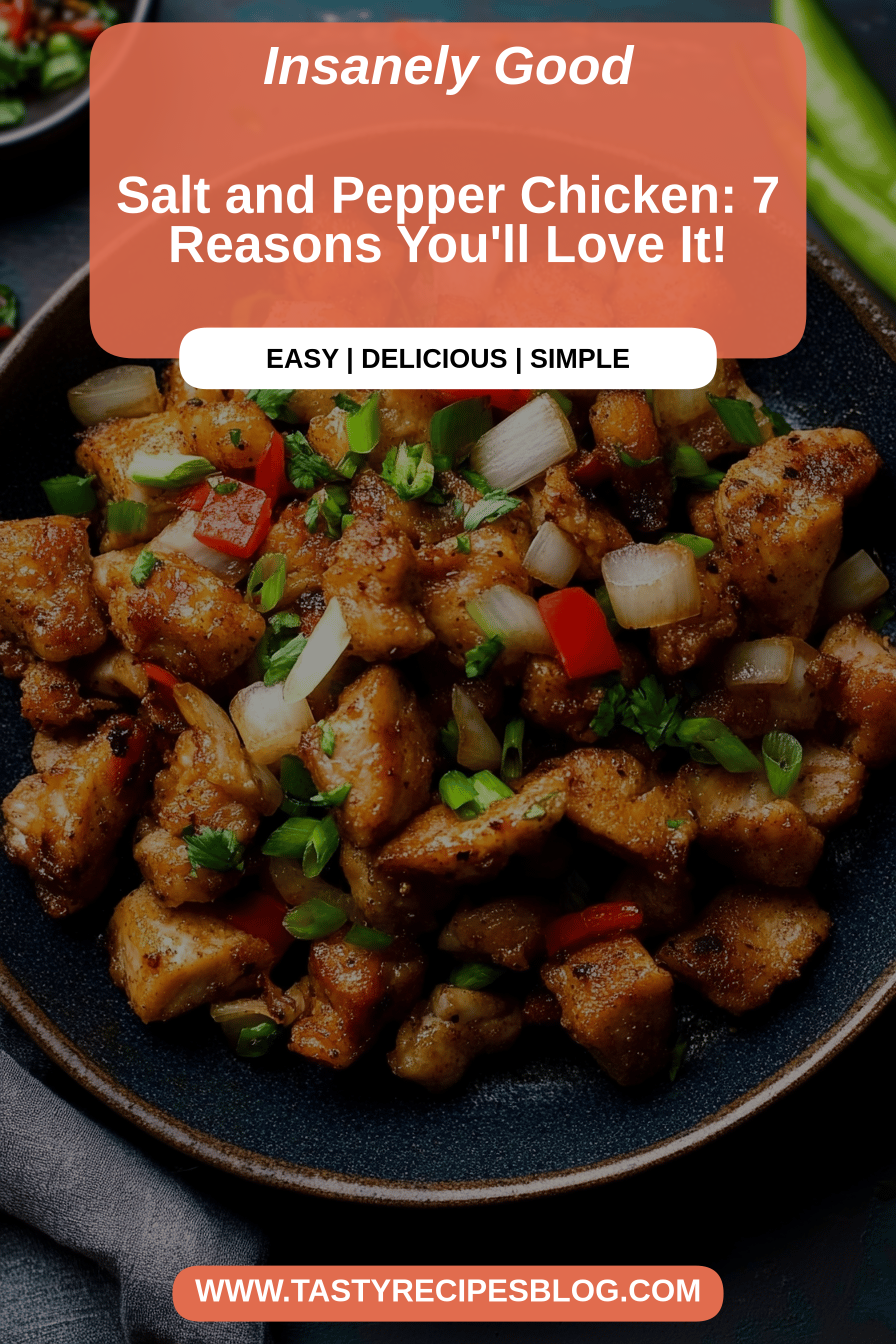
There are some dishes that just feel like a warm hug, aren’t there? This salt and pepper chicken is one of those for me. It’s the kind of meal that takes me straight back to my childhood, the kitchen filled with the most incredible aroma, my mom calling us all to the table. It’s not fancy, not complicated, but oh my goodness, the flavor! It’s crispy, savory, a little bit spicy, and just utterly addictive. I’ve tried countless versions over the years, searching for that perfect balance, and I’m so excited to finally share my absolute go-to recipe with you. Think of it as a more exciting, more flavorful cousin to simple fried chicken, but honestly, it’s so much more than that. It’s become my weeknight lifesaver when I need something quick but satisfying, and my kids (who are notoriously picky!) actually ask for this salt and pepper chicken regularly. It’s truly a winner.
What is salt and pepper chicken?
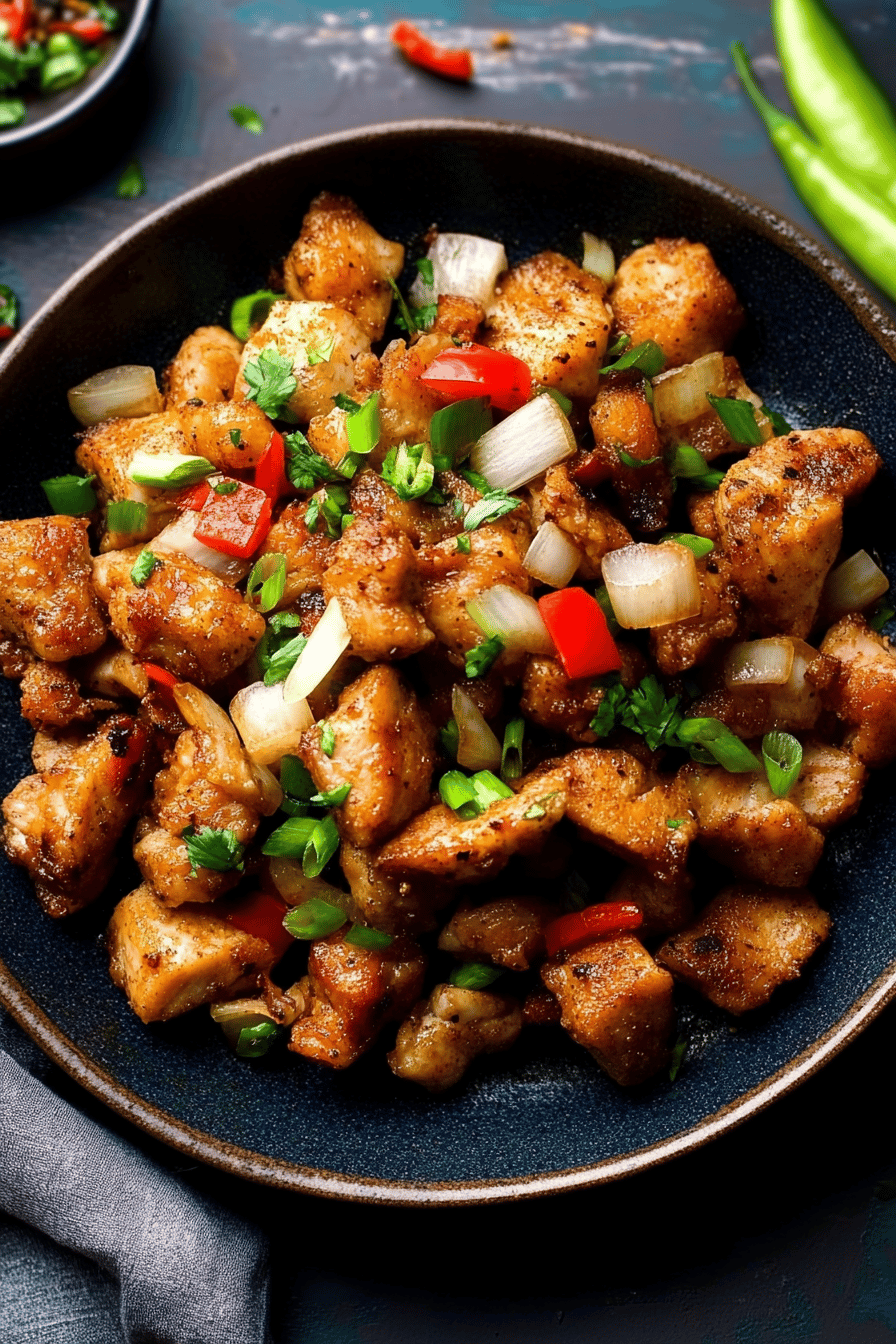
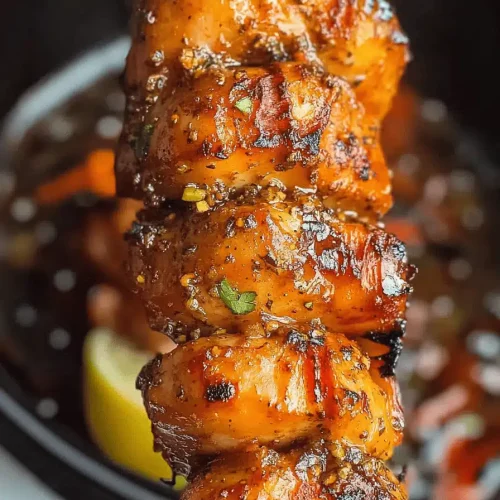
So, what exactly is this magical dish we call salt and pepper chicken? At its heart, it’s about taking tender pieces of chicken, coating them in a light, crispy batter, and then frying them until golden brown. The real magic, though, happens in the seasoning. It’s a bold, aromatic blend, primarily featuring freshly ground Black Pepper and sea salt, of course, but often with a whisper of other spices like garlic powder, onion powder, and sometimes a touch of chili for that little kick. It’s not a heavy sauce like some other Asian-inspired chicken dishes; instead, the flavors are all about that vibrant, peppery crust and the juicy chicken inside. It’s often served simply, letting the flavors of the chicken itself shine. It’s the kind of dish that feels both comforting and exciting, a perfect balance that keeps you coming back for more.
Why you’ll love this recipe?
Honestly, there are so many reasons why this salt and pepper Chicken Recipe has become a staple in my kitchen, and I just know you’re going to fall in love with it too. First off, the flavor is out of this world. That blend of freshly cracked black pepper and flaky sea salt creates this incredible savory crust that’s just *chef’s kiss*. It’s not just salty and peppery, though; there’s a depth of flavor from the aromatics that makes it truly special. Then there’s the simplicity of it all. Even on the busiest weeknights, I can whip this up without breaking a sweat. The steps are straightforward, and you don’t need any fancy equipment, which is a huge win in my book. Plus, it’s incredibly budget-friendly. The ingredients are simple pantry staples, making it a fantastic option when you’re watching your pennies but still want something truly delicious. What I love most, though, is its versatility. You can serve it as a quick appetizer, a main course with a side of steamed veggies, or even toss it into a stir-fry. It’s just so adaptable! I’ve even tried a slightly spicier version by adding a pinch of cayenne to the batter, and my husband raved about it. It’s a dish that’s always a crowd-pleaser, and the fact that my kids devour it without complaint is a miracle in itself! It’s a recipe that truly delivers on taste, ease, and value, and that’s why it’s earned its place in my heart (and my recipe binder).
How do you make salt and pepper chicken?
Quick Overview
This recipe is surprisingly simple, focusing on creating a wonderfully crispy coating for tender chicken pieces, followed by a burst of aromatic seasoning. You’ll start by preparing the chicken and the batter, then a quick fry to achieve that perfect golden crunch. Finally, you’ll toss everything in the signature salt and pepper mixture. It’s a quick process, usually taking under 30 minutes from start to finish, making it ideal for weeknight dinners or when you need a delicious appetizer in a flash. Trust me, the result is so much better than you’d expect for such a speedy dish!
Ingredients
For the Chicken:
1.5 lbs boneless, skinless Chicken Thighs or breasts, cut into bite-sized pieces (I prefer thighs for their juiciness, but breasts work great too if you don’t overcook them!)
1 tablespoon soy sauce
1 teaspoon Shaoxing wine (or dry sherry, or even rice vinegar if you don’t have it)
1/2 teaspoon sesame oil
1/4 teaspoon white pepper
For the Batter:
1 cup all-purpose flour
1/4 cup cornstarch (this is key for crispiness!)
1 teaspoon baking powder
1/2 teaspoon salt
1/4 teaspoon garlic powder
1/4 teaspoon onion powder
1 large egg, lightly beaten
About 1/2 cup cold water (you might need a little more or less, just enough to make a thick but pourable batter)
For Frying:
Vegetable oil, canola oil, or peanut oil for frying (enough to fill your pan about 2-3 inches deep)
For the Salt and Pepper Seasoning:
2 tablespoons freshly cracked black pepper (don’t skimp on fresh cracking, it makes a HUGE difference!)
1 tablespoon flaky sea salt (like Maldon, or a good quality kosher salt)
1 teaspoon garlic powder
1/2 teaspoon onion powder
Optional: 1/4 teaspoon red pepper flakes for a little heat
Step-by-Step Instructions
Step 1: Preheat & Prep Pan
Okay, first things first, let’s get our chicken ready. In a medium bowl, combine the chicken pieces with the soy sauce, Shaoxing wine, sesame oil, and white pepper. Give it a good mix to make sure every piece is coated. Let this marinate for at least 10-15 minutes while you get the other things ready. This step adds a lovely depth of flavor to the chicken itself. Now, for the frying part. Grab a wok or a heavy-bottomed pot and pour in your frying oil. You want enough oil to come about 2-3 inches up the sides. Place it over medium-high heat and let it get nice and hot – around 350°F (175°C). If you don’t have a thermometer, don’t worry! You can test it by dropping a tiny bit of batter into the oil; it should sizzle immediately and float to the top. Safety first here – always be careful when working with hot oil!
Step 2: Mix Dry Ingredients
While the oil is heating up, let’s make our batter. In a large bowl, whisk together the all-purpose flour, cornstarch, baking powder, salt, garlic powder, and onion powder. Make sure everything is well combined. The cornstarch is your best friend here for getting that super crispy coating that really holds up. The baking powder helps give it a little lift, making it light and airy rather than dense. Give it a good stir with your whisk to break up any lumps.
Step 3: Mix Wet Ingredients
In a separate smaller bowl, lightly beat your egg. Then, pour the beaten egg into the dry ingredients. Now, start adding the cold water, a little bit at a time, while whisking constantly. You’re looking for a batter that’s thick enough to coat the chicken pieces but still pourable – kind of like pancake batter, but maybe a touch thicker. If it’s too thin, your coating will slide right off. If it’s too thick, it’ll be doughy. I usually end up using around half a cup of water, but it can vary depending on humidity and your flour. The key is to get it just right, so it clings beautifully to the chicken.
Step 4: Combine
Now comes the fun part: coating the chicken! Add your marinated chicken pieces directly into the batter. Use a fork or your hands (my preferred method!) to gently toss the chicken, making sure each piece is thoroughly coated. You want a nice, even layer of batter all around. Don’t overmix or overwork the batter; you just want to coat the chicken. If you see any dry bits of chicken peeking through, that’s okay; the batter will expand a bit as it fries.
Step 5: Prepare Filling
This step isn’t really about a “filling” in the traditional sense, but it’s about preparing the star seasoning! In a small bowl, combine your freshly cracked black pepper, flaky sea salt, garlic powder, onion powder, and optional red pepper flakes. Give it a good stir to mix everything together. This is the flavor powerhouse of the dish. The freshly cracked pepper is non-negotiable for me; it has so much more aroma and punch than pre-ground pepper. And flaky salt gives you those delightful little bursts of saltiness. Set this aside, ready for the final toss.
Step 6: Layer & Swirl
This step is actually about frying the chicken, not a swirl, so let’s rephrase it as “Fry the Chicken.” Carefully, a few pieces at a time, add the battered chicken to the hot oil. Don’t overcrowd the pan, or the oil temperature will drop, and you’ll end up with soggy chicken instead of crispy. You want them to have room to dance around. Fry for about 4-6 minutes, turning them occasionally, until they are golden brown and cooked through. You’ll see them puff up slightly. Once they’re done, use a slotted spoon or spider strainer to lift them out of the oil and place them on a wire rack set over a baking sheet. This allows any excess oil to drain off, keeping them nice and crisp. Repeat with the remaining chicken, making sure your oil stays at temperature.
Step 7: Bake
Wait, bake? No baking involved in this recipe! This is all about that glorious frying. So, instead of baking, this step is “Rest the Fried Chicken.” Once all your chicken is fried and drained on the wire rack, let it rest for just a minute or two. This brief rest helps redistribute the juices and allows the coating to set even more firmly, ensuring maximum crispiness.
Step 8: Cool & Glaze
This is where the “glaze” happens, but it’s not a wet glaze; it’s our flavorful seasoning mix! Once the chicken has rested for a minute, transfer the hot, Crispy Chicken pieces into a large bowl. Sprinkle the prepared salt and pepper seasoning mixture generously over the hot chicken. Toss everything gently but thoroughly until the chicken is evenly coated with the fragrant salt and pepper blend. The heat from the chicken will help the seasonings adhere beautifully. Don’t be shy with the seasoning!
Step 9: Slice & Serve
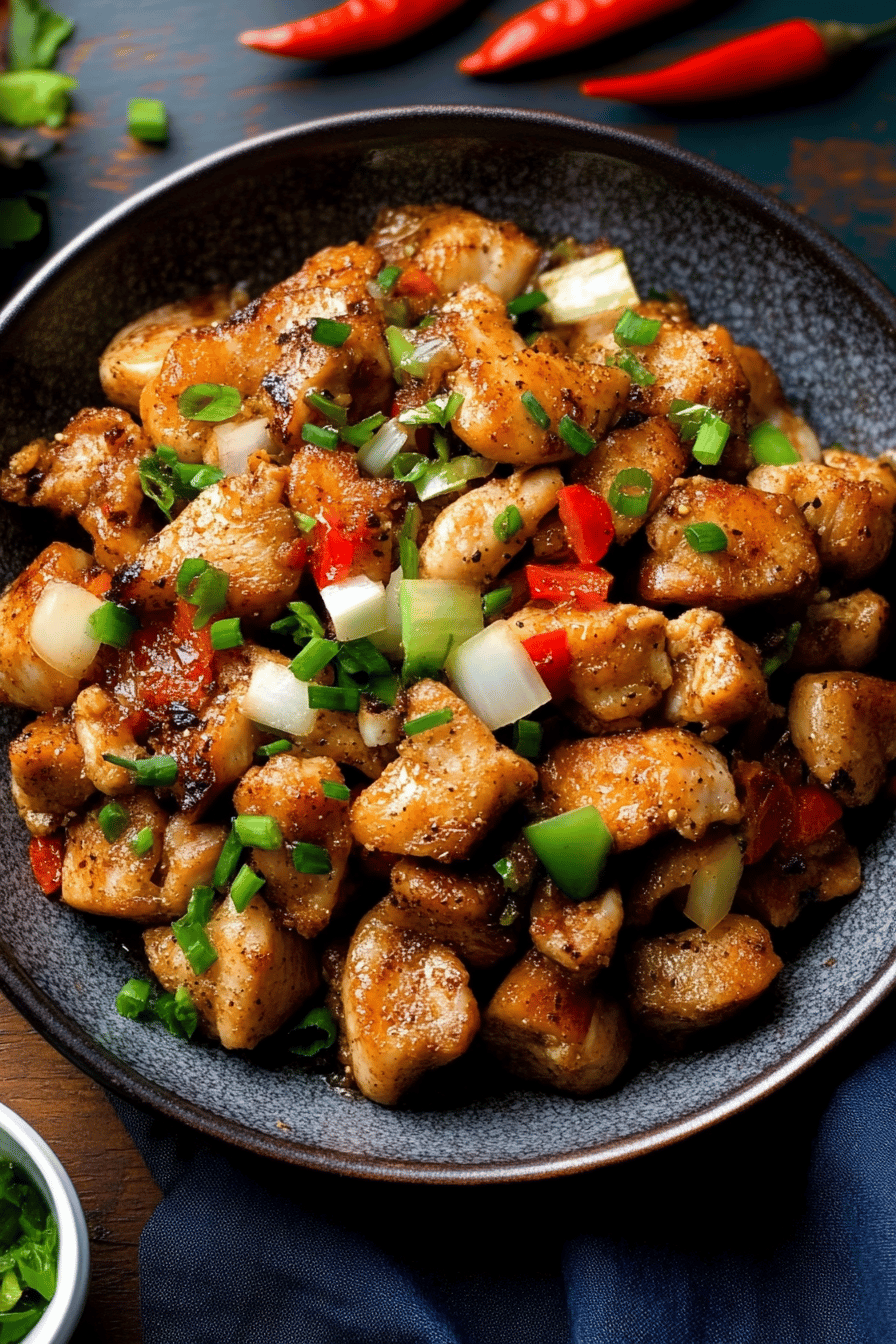
And there you have it! Your stunning salt and pepper chicken is ready to be devoured. You can serve it immediately straight from the bowl. For a slightly neater presentation, you can arrange the pieces on a platter. The aroma alone is enough to draw everyone to the kitchen. It’s best served hot and fresh to enjoy that incredible crispiness. Seriously, this is the moment of truth, and it never disappoints!
What to Serve It With
This salt and pepper chicken is so wonderfully versatile, it’s fantastic on its own, but it also pairs beautifully with so many things depending on the occasion. For a truly satisfying weeknight dinner, I love serving it with a generous side of fluffy steamed jasmine rice. The rice is perfect for soaking up any residual seasonings. A simple stir-fry of crisp-tender vegetables like broccoli, snap peas, and carrots is also a fantastic companion; it adds color and freshness. If I’m feeling a bit more adventurous, I’ll whip up a quick cucumber salad with a light sesame dressing to provide a cool, refreshing contrast to the savory chicken. For a more casual snack or appetizer spread, I’ll pile it onto a platter with some toothpicks and maybe a side of sriracha mayo for dipping – it disappears in minutes at parties! Sometimes, especially when I’m craving something comforting, I’ll serve it alongside some quick and Easy Fried Rice. It just elevates the whole meal. For a really special occasion, though, I might pair it with some homemade scallion pancakes or a light and flavorful wonton soup. The possibilities are really endless, and it always feels like a treat, no matter how you serve it.
Top Tips for Perfecting Your Salt and Pepper Chicken
Over the years, I’ve learned a few tricks that take this salt and pepper chicken from good to absolutely spectacular. First, about the chicken itself: always use chicken thighs if you can. They have more fat, which means they stay incredibly juicy and tender even after frying. If you must use breasts, be extra careful not to overcook them, or they can become dry. I learned that the hard way after a few sad, chewy batches! For the batter, the secret to that perfect crisp is the combination of flour and cornstarch. Don’t skip the cornstarch! And always, always use cold water when mixing the batter. This creates a better texture and helps with crispiness. Another big tip: don’t be tempted to fry too much chicken at once. Overcrowding the pan lowers the oil temperature, leading to greasy, soggy chicken. Fry in batches and let each batch get wonderfully golden and crisp. I usually have a wire rack over a baking sheet ready to go so the fried chicken can drain properly, keeping that glorious crunch intact. When it comes to the seasoning, freshly cracked black pepper is non-negotiable. The aroma and flavor are so much more vibrant than pre-ground. And use flaky sea salt; those little crystals pop in your mouth and add a wonderful textural contrast. A little tip I picked up for extra flavor is to toast the black peppercorns lightly in a dry pan before grinding them – it really amplifies their aroma! For an extra kick, I sometimes add a pinch of cayenne pepper or some finely chopped fresh chili to the seasoning mix, but that’s optional. And finally, serve this dish immediately. Salt and pepper chicken is at its absolute best when it’s hot and crispy, straight from the pan. It loses its magic if it sits around too long, so timing is everything!
Storing and Reheating Tips
This salt and pepper chicken is truly best enjoyed fresh, but life happens, and sometimes you have leftovers. If you do have some that miraculously survive, storing them properly is key to retaining as much crispiness as possible. For short-term storage (up to a day), I like to let the chicken cool completely on a wire rack (not on paper towels, as that can trap steam and make it soggy). Then, I store it in an airtight container in the refrigerator. Try not to pack it too tightly. When it comes to reheating, the oven is your best friend! I find that a moderate oven temperature, around 350°F (175°C), for about 10-15 minutes works wonders. This helps to crisp up the coating again. You can also use an air fryer on a similar setting for an even crispier result. The microwave is generally not recommended as it tends to make the chicken soft and rubbery, but if it’s your only option, reheat in short bursts, checking frequently. For freezing, it’s a bit trickier to maintain that perfect crisp. If you must freeze it, let it cool completely, then wrap individual pieces tightly in plastic wrap, followed by a layer of aluminum foil, and place them in a freezer-safe bag or container. It should keep for about 1-2 months. Thaw in the refrigerator overnight before reheating. The glaze timing advice is simple: the seasoning is applied *after* frying, so you don’t need to worry about it when storing or reheating. The flavors meld beautifully as it sits, even after reheating.
Frequently Asked Questions
Final Thoughts
So there you have it, my friends! My absolute favorite salt and pepper chicken recipe. It’s more than just a meal; it’s a memory, a comfort, and a guaranteed hit with everyone who tries it. The combination of that perfectly crisp coating, the juicy chicken, and the bold, aromatic seasoning is just divine. I really hope you give this recipe a try. It’s proof that simple ingredients and a little bit of care can create something truly spectacular. If you love this recipe, you might also enjoy my Crispy Honey Garlic Chicken Wings or my Sweet and Sour Pork recipe, which also bring amazing flavors to your table. I can’t wait to hear how yours turns out! Please leave a comment below and let me know your thoughts, or share any amazing variations you come up with. Your feedback and photos make my day! Happy cooking!
Salt and pepper chicken
Ingredients
Main Ingredients
- 1.5 pounds Chicken thighs, boneless, skinless
- 2 tablespoons Cornstarch
- 1 teaspoon Salt
- 0.5 teaspoon Black pepper, freshly ground
- 0.25 teaspoon Garlic powder
- 0.25 teaspoon Onion powder
- 2 tablespoons Vegetable oil
- 1 tablespoon Soy sauce
- 1 tablespoon Rice vinegar
Instructions
Preparation Steps
- Cut the chicken thighs into 1-inch pieces. In a bowl, toss the chicken with cornstarch, salt, pepper, garlic powder, and onion powder.
- Heat the vegetable oil in a large skillet or wok over medium-high heat.
- Add the chicken to the skillet in a single layer and cook for 5-7 minutes, or until golden brown and cooked through. Flip the chicken halfway through to ensure even cooking.
- In a small bowl, whisk together the soy sauce and rice vinegar. Pour the sauce over the chicken and cook for another minute, until the sauce has thickened slightly.
- Serve immediately.