
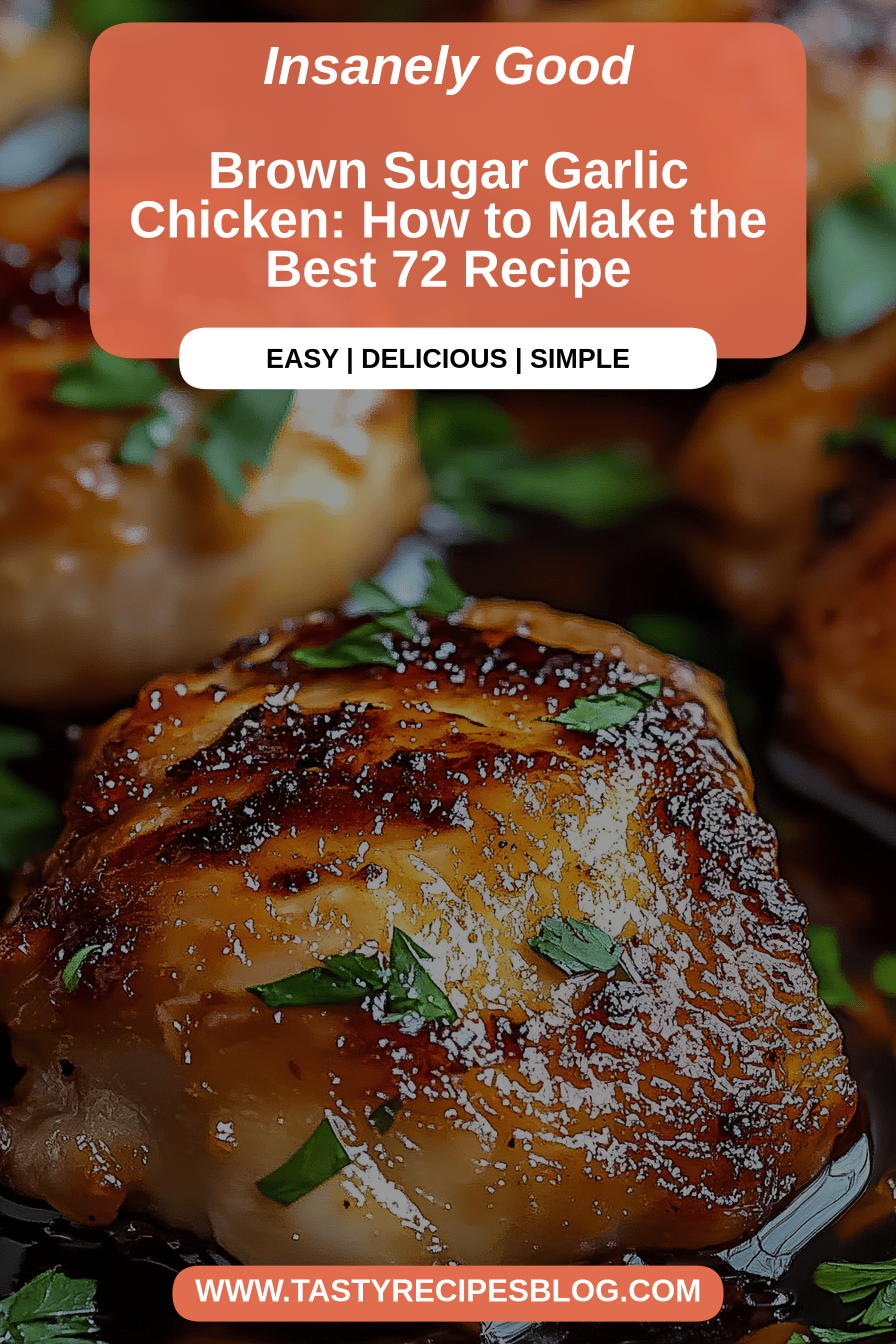
Oh, where do I even begin with this Brown Sugar Garlic Chicken? It’s one of those recipes that has become a staple in my kitchen, like, *the* recipe I pull out when I need something guaranteed to make everyone happy, or when I’ve had one of those days where the thought of complex cooking just feels… impossible. You know those nights, right? The ones where dinner needs to appear like magic but still taste like you poured your heart into it? This is that magic. It’s not just chicken; it’s that comforting, slightly sweet, deeply savory flavor that just wraps you up like a warm hug. Honestly, if you’ve ever loved those sticky, sweet teriyaki chicken dishes, this is like its sophisticated, more grown-up cousin – less soy-heavy, more complex with that beautiful caramelized brown sugar and pungent garlic. I’ve made it countless times, and every single time, it disappears faster than you can say “seconds, please!”
What is brown sugar garlic chicken?
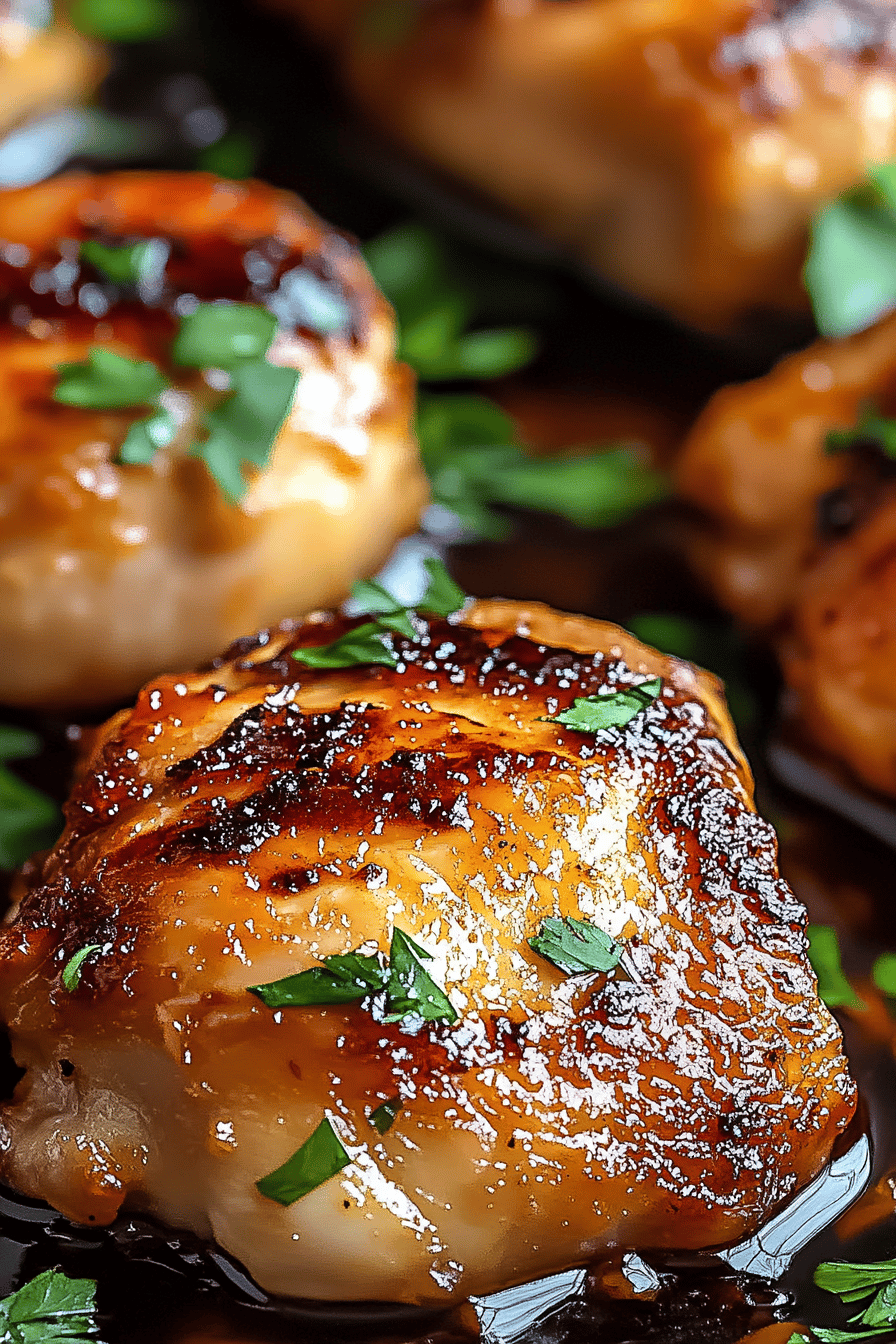
So, what exactly is this magical Brown Sugar Garlic Chicken we’re talking about? Think of it as an incredibly flavorful, ridiculously easy way to make chicken that’s coated in a glaze that’s both sweet and savory, with a punchy garlic undertone that’s just to die for. It’s not a complicated marinade that requires hours of soaking, though it tastes like it did! Essentially, we’re pan-searing chicken pieces (I usually go for thighs because they stay so juicy, but breasts work too!) and then simmering them in a simple, homemade sauce made from brown sugar, loads of garlic, and a few pantry staples. The brown sugar is the star here, caramelizing beautifully in the pan to create this gorgeous, sticky coating that clings to every bite. It’s the kind of dish that makes your kitchen smell absolutely heavenly while it’s cooking, and honestly, that smell is half the reason I love making it so much. It’s simple, yes, but the flavor payoff is huge.
Why you’ll love this recipe?
I love this Brown Sugar Garlic Chicken Recipe. I just love it.flavor! I mean, “brown sugar garlic” – does it get any more mouthwatering? The sweetness from the brown sugar is perfectly balanced by the savory notes and the intense aroma of fresh garlic. It’s sticky, it’s glossy, and it has this incredible depth of flavor that feels like it came from a fancy restaurant, but it’s all made right in your own kitchen. Then there’s the simplicity. This is a lifesaver on busy weeknights. You can whip this up in under 30 minutes from start to finish, which is a huge win for me as a busy parent. The ingredients are all common things you likely already have in your pantry, making it super cost-efficientNo need for specialty ingredients or last minute grocery store runs! And let’s talk about the convenience of grocery shopping.versatility. While it’s amazing on its own, this Brown Sugar Garlic Chicken is incredibly adaptable. Serve it over rice, toss it with pasta, stuff it into pita pockets, or even add it to a big salad for a protein boost. It’s the kind of dish that pairs well with almost anything. What I love most, though, is the sheer joy it brings. Seeing my family’s faces light up when they dig into this, hearing the happy little sighs of contentment… that’s what cooking is all about for me. It’s a no-fuss dish that delivers maximum deliciousness and makes everyone feel good. It’s honestly a winner, every single time.
How to Make Brown Sugar Garlic Chicken
Quick Overview
The beauty of this Brown Sugar Garlic Chicken lies in its straightforward approach. We’re essentially going to sear your chicken pieces until they’re golden brown, then create a quick, luscious glaze in the same pan by melting down brown sugar and infusing it with plenty of garlic. The chicken then simmers gently in this glorious sauce, allowing it to become incredibly tender and absorb all those amazing flavors. It’s a one-pan wonder for the most part, which means less cleanup – another big win! You’ll end up with perfectly cooked chicken bathed in a sweet, savory, garlicky sauce that’s utterly irresistible. Seriously, it’s so easy, you’ll wonder why you haven’t made it sooner.
Ingredients
For the Chicken:
This is where you want to use chicken that you know will stay moist. My absolute favorite for this recipe is boneless, skinless Chicken Thighs. They have a little more fat than breasts, which means they stay super juicy and tender even when cooked through. I usually cut them into bite-sized pieces so they cook faster and are easier to eat. If you prefer chicken breasts, just be mindful not to overcook them, as they can dry out quickly. About 1.5 pounds is a good starting point for our sauce. A little salt and pepper for seasoning before they hit the pan is all they need. And if you can find pasture-raised, even better – you can taste the difference in quality!
For the Glorious Glaze:
This is the heart and soul of the dish, my friends! We’re talking about 1/2 cup of packed brown sugar. Use light or dark, whatever you have on hand, though dark brown sugar will give you a slightly deeper molasses flavor. The star alongside the sugar is, of course, the garlic. I’m talking about at least 4-6 cloves, minced finely. And I do mean *minced*. I’ve tried it with just smashing them, and you don’t get that same lovely infusion of flavor throughout the sauce. If you’re a true garlic lover like me, feel free to add more – I’ve definitely pushed it to 8 cloves on occasion, and it’s never been a bad decision! We’ll also need about 1/4 cup of chicken broth or water to help thin the sauce slightly and prevent it from burning. A tablespoon of soy sauce or tamari adds a nice umami depth, and a teaspoon of apple cider vinegar or white vinegar gives it just a tiny bit of tang to cut through the sweetness. A pinch of red pepper flakes is optional but gives it a lovely little warmth that I adore. And finally, a tablespoon of butter stirred in at the very end makes the glaze extra glossy and rich. It’s pure magic!
Optional Add-ins for Extra Zing:
Sometimes, I like to jazz it up a bit! A splash of Worcestershire sauce can add another layer of savory complexity. A little squeeze of fresh lemon or lime juice right at the end brightens everything up beautifully. For a bit of freshness, some chopped fresh parsley or chives sprinkled over the top before serving is lovely. And if you’re feeling adventurous, a tiny bit of grated fresh ginger with the garlic can add a fantastic aromatic kick.
Step-by-Step Instructions
Step 1: Preheat & Prep Pan
First things first, get your chicken ready. If you’re using thighs, cut them into roughly 1-inch pieces. If using breasts, do the same. Pat them completely dry with paper towels – this is key for getting a nice sear. Season them generously with salt and freshly ground black pepper. Now, grab a large skillet, preferably one that’s oven-safe if you have one, though it’s not strictly necessary for this recipe. Place it over medium-high heat. Add about 1 tablespoon of your favorite cooking oil (I usually go for olive oil or avocado oil). Let the pan get nice and hot; you want to hear a sizzle when the chicken hits it!
Step 2: Mix Dry Ingredients
Wait, we don’t really have dry ingredients to mix separately for this one, besides seasoning the chicken. The ‘dry’ part is essentially just the seasoned chicken itself, ready to hit the hot pan and get a beautiful golden-brown crust. So, while the pan is heating up, just make sure your chicken pieces are well-seasoned with salt and pepper. The real “mixing” comes in when we make the glaze.
Step 3: Mix Wet Ingredients
Now, let’s get that amazing glaze ready! In a small bowl, whisk together your packed brown sugar, minced garlic, chicken broth (or water), soy sauce (or tamari), vinegar, and optional red pepper flakes. Whisk it until it’s well combined. The brown sugar might clump a bit, but that’s okay; it will melt down beautifully in the pan. This is the flavor bomb, so don’t skip this step!
Step 4: Combine
Once your skillet is hot and the oil is shimmering, carefully add the seasoned chicken pieces in a single layer. Don’t overcrowd the pan; you might need to do this in batches. You want that beautiful sear, not steamed chicken. Let the chicken cook for about 3-4 minutes per side, until it’s nicely browned. Remove the chicken from the pan and set it aside on a plate. Don’t worry about cooking it all the way through at this stage; we’ll finish it in the sauce.
Step 5: Prepare Filling
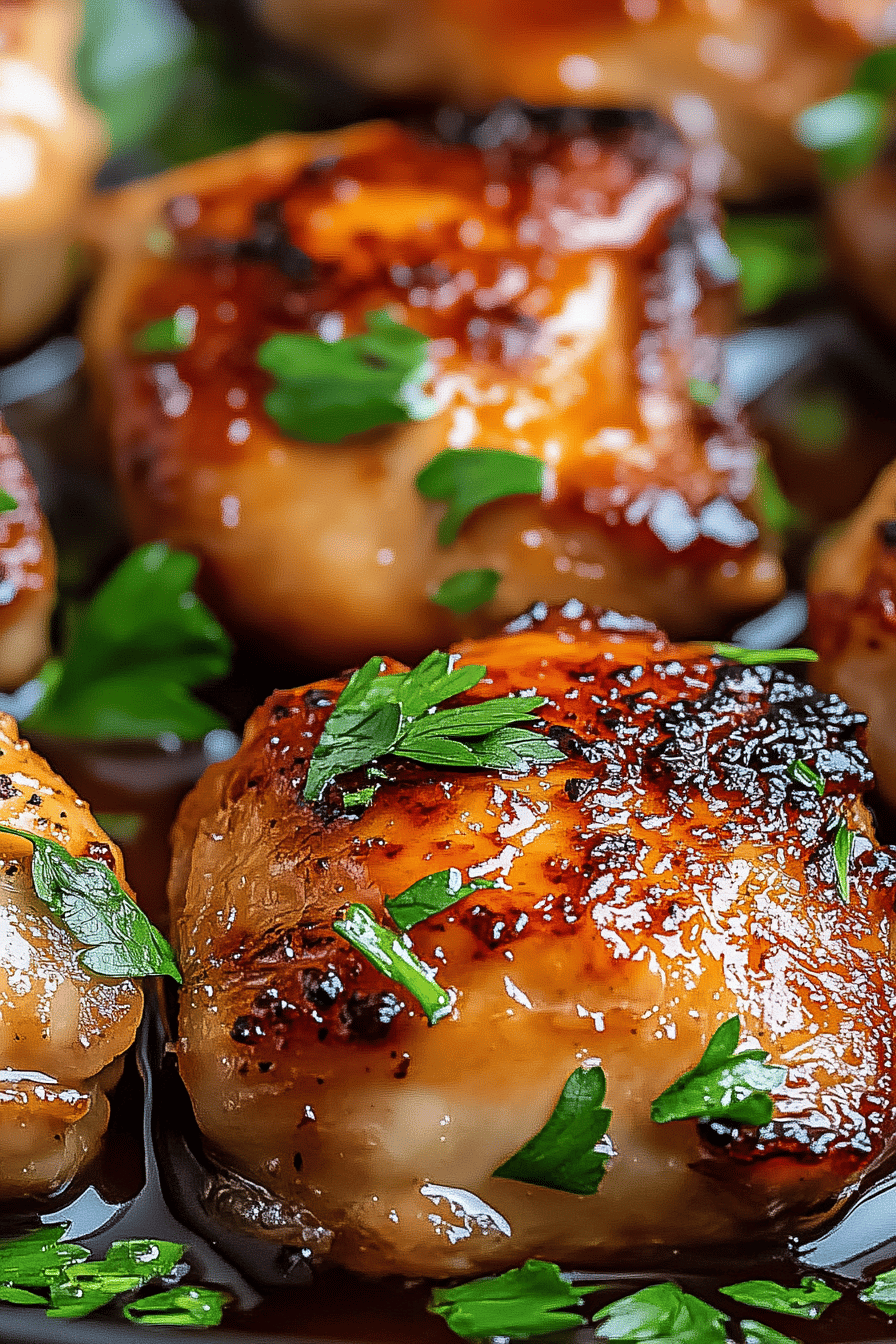
In the same skillet you used for the chicken (don’t clean it, those brown bits are flavor!), reduce the heat to medium. Pour in your prepared brown sugar and garlic mixture. Let it bubble gently for about 1-2 minutes, stirring constantly. The brown sugar will start to melt and caramelize. Be careful not to burn it! This is where that wonderful garlic aroma really starts to fill your kitchen.
Step 6: Layer & Swirl
Once the glaze is looking melty and fragrant, return the seared chicken pieces to the skillet. Toss them around in the sauce to coat them evenly. Let the chicken simmer in the sauce for about 5-7 minutes, or until it’s cooked through and the sauce has thickened to a lovely, syrupy consistency. Stir occasionally to ensure the chicken doesn’t stick and that every piece gets coated in that delicious glaze. If the sauce gets too thick, you can add another tablespoon or two of broth or water. This simmering time allows all those wonderful flavors to meld together beautifully.
Step 7: Bake
We’re not actually baking this in the oven in the traditional sense. The simmering in the sauce on the stovetop is our “baking” method here. It ensures the chicken is cooked through and perfectly tender, while the sauce reduces and thickens to that irresistible sticky glaze. So, the “baking” is really just the simmering on medium-low heat, covered or partially covered, until everything is cooked and glossy.
Step 8: Cool & Glaze
Once the chicken is cooked through and coated in the thickened glaze, remove the skillet from the heat. Stir in that tablespoon of butter. It sounds simple, but this makes the glaze extra shiny and luxurious. Let the chicken rest in the sauce for a minute or two off the heat. This allows the flavors to really settle in. If you’re adding any fresh herbs like parsley, stir them in now.
Step 9: Slice & Serve
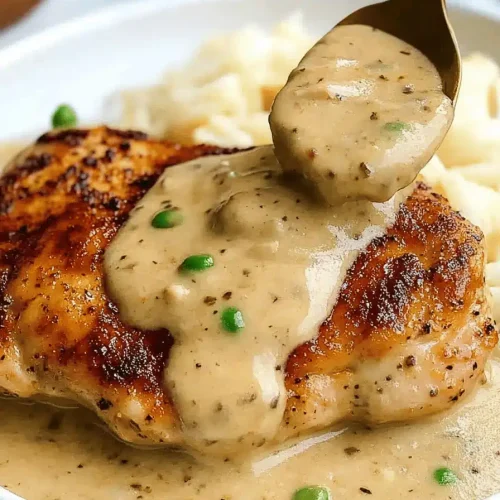
Serve the Brown Sugar Garlic Chicken immediately! It’s fantastic spooned over fluffy white or brown rice to soak up all that extra sauce. It’s also wonderful with mashed potatoes, roasted vegetables, or even tossed with pasta. Garnish with a few extra chopped herbs if you like. The aroma alone will have everyone at the table eagerly awaiting their plate. Enjoy!
What to Serve It With
This Brown Sugar Garlic Chicken is so versatile, it practically goes with everything! For a hearty breakfast (yes, I’ve done it!), I love serving a small portion alongside some scrambled eggs or a crispy hash brown. The sweet and savory notes can actually be a nice contrast to a more traditional breakfast. For brunch, it’s a little more elegant. I’ll often serve it alongside some fluffy buttermilk pancakes or waffles, letting the sweet glaze complement the breakfast pastries. A side of fresh fruit salad is always a good idea to balance the richness. If you’re serving it as a main course for dinner, the classic pairings are a must. Steamed white rice is my go-to because it soaks up that incredible sauce so perfectly. I also love it with garlic mashed potatoes, roasted broccoli or green beans, or a simple side salad with a light vinaigrette. For a more casual snack, or if you’re making a smaller batch, I sometimes chop it up and stir it into a creamy pasta dish, or even use it as a filling for quesadillas. My kids are obsessed with it stuffed into warm pita bread with a dollop of plain Greek yogurt or a bit of shredded lettuce. It’s just so adaptable to whatever you’re craving. The possibilities are truly endless!
Top Tips for Perfecting Your Brown Sugar Garlic Chicken
Over the years, I’ve picked up a few little tricks that really elevate this Brown Sugar Garlic Chicken from good to absolutely amazing. First, about that chicken prep: don’t skip patting the chicken completely dry! Moisture is the enemy of a good sear, and a good sear means more flavor. When you’re mixing the glaze, make sure your garlic is really finely minced or even grated. This helps it dissolve into the sauce rather than just sitting in big chunks. And when you add the chicken back to the sauce, resist the urge to stir it constantly. Let it simmer gently for a few minutes at a time so the sauce can thicken and coat the chicken beautifully. For swirl customization, while this recipe isn’t a swirled batter like a cake, you can really play with the glaze consistency. If you want it thicker, just simmer it a minute or two longer. If it gets too thick, a splash more broth is your friend. When it comes to ingredient swaps, if you don’t have brown sugar, you can try granulated sugar, but you might lose a little of that caramel depth. Coconut sugar is a decent substitute, though it will impart a slightly different flavor. For the soy sauce, tamari is a great gluten-free option, or even a little bit of coconut aminos for a soy-free alternative. And if you’re out of vinegar, a squeeze of lemon juice can work in a pinch. For baking tips, even though we’re mostly stovetop, ensuring your pan is hot enough when you first sear the chicken is crucial. Don’t be afraid of a little browning on the pan bottom – that’s where the flavor lives! Scrape those bits up when you add the sauce. And for the glaze variations, if you’re not a huge fan of super sweet, you can reduce the brown sugar by a tablespoon or two and add a little more soy sauce or a pinch of salt to compensate. Or, add a teaspoon of honey or maple syrup along with the brown sugar for a different kind of sweetness. A touch of Dijon mustard can also add a nice tang to the glaze. These little tweaks make the recipe truly your own!
Storing and Reheating Tips
This Brown Sugar Garlic Chicken is so delicious, you might just have leftovers – though in my house, that’s a rare occurrence! If you do have some, storing it properly is key to enjoying it later. At room temperature, it’s best to get it into the fridge within about 2 hours of cooking. It’s not ideal to leave it out for too long, especially with the sugar content in the glaze. For refrigerator storage, once it’s cooled down a bit, transfer the chicken and any leftover sauce to an airtight container. It should stay good in the fridge for about 3-4 days. I find that the flavors actually deepen a bit overnight, which is lovely. For freezer instructions, you can freeze this, but the texture of the chicken might change slightly upon thawing, especially if you used chicken breast. If you plan to freeze it, I recommend storing it in a freezer-safe container or a heavy-duty freezer bag. It’s best to remove as much air as possible. It should keep well in the freezer for up to 2-3 months. When you’re ready to thaw, the best method is to move it from the freezer to the refrigerator the night before. The glaze timing advice is simple: if you’re storing it in the fridge or freezer, it’s best to store the chicken *with* the glaze. When you reheat it, the glaze will melt and coat the chicken again. For reheating, the stovetop is my preferred method. Gently warm the chicken and sauce in a skillet over medium-low heat, stirring occasionally. You can add a tiny splash of water or broth if it seems too dry or thick. In a pinch, the microwave works too, just be sure to cover it to help retain moisture and heat it in short intervals, stirring in between. You want to heat it until it’s warmed through, not cooked further, to keep the chicken tender.
Frequently Asked Questions
Final Thoughts
So there you have it, my friends! My beloved Brown Sugar Garlic Chicken. I truly hope you give this a try. It’s one of those recipes that proves you don’t need a ton of fancy ingredients or complicated techniques to create something utterly delicious and satisfying. It’s perfect for those nights when you want a comforting, flavorful meal without spending hours in the kitchen. I just adore how the simple combination of brown sugar and garlic transforms humble chicken into something so special. If you love this recipe, you might also enjoy my Honey Soy Glazed Salmon or my Garlic Parmesan Baked Chicken Wings for more easy, flavorful chicken dishes. Don’t forget to leave a comment below and let me know how yours turned out! I’d love to hear about any variations you tried or how your family enjoyed it. Happy cooking, and happy eating!
Brown Sugar Garlic Chicken
Ingredients
Main Ingredients
- 1.5 pounds Boneless, skinless chicken breasts
- 0.25 cup Soy sauce
- 0.25 cup Brown sugar packed
- 3 tablespoons Garlic minced
- 1 tablespoon Olive oil
- 0.5 teaspoon Ground ginger
- 0.25 teaspoon Black pepper
Instructions
Preparation Steps
- Preheat oven to 375°F (190°C).
- In a bowl, whisk together soy sauce, brown sugar, minced garlic, olive oil, ground ginger, and black pepper.
- Place chicken breasts in a baking dish and pour the sauce over them, ensuring they are well coated.
- Bake for 30-35 minutes, or until chicken is cooked through and juices run clear.
- Let rest for a few minutes before serving. Garnish with sesame seeds and chopped green onions, if desired.


