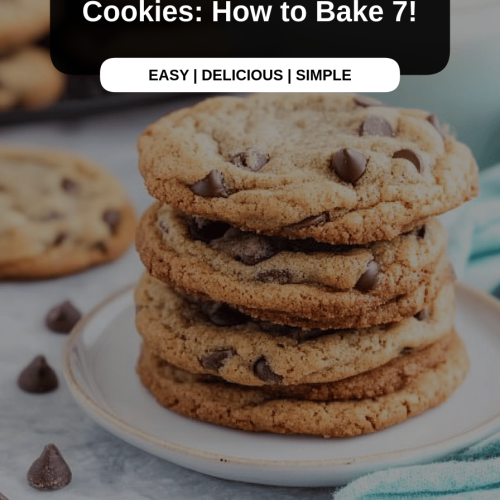
Oh, where do I even begin with these Chocolate Chip Cookies? For me, they’re more than just a dessert; they’re a warm hug, a memory of rainy afternoons spent baking with my grandma, and the ultimate cure for any craving that hits at 10 pm. Seriously, if you’re looking for that perfect balance of soft, chewy centers and slightly crisp edges, you’ve found it. They’re not overly complicated, which is a huge win in my book, especially when life gets hectic. I’ve tried so many variations over the years, from fancy double-chocolate to healthy oat-based versions, but these classic chocolate chip cookies? They’re the ones that always, always disappear first. They have that irresistible homemade charm that store-bought just can’t replicate, and the smell that fills the house while they’re baking is pure magic. Trust me, these are the chocolate chip cookies you’ll be making again and again.

What are some of the best chocolate chip cookies?
So, what makes this particular recipe for Chocolate Chip Cookies so special? Think of them as your ultimate comfort food, elevated. They’re the kind of cookies that, when you bite into one, you get that perfect yield – not too cakey, not too crisp, but that ideal chewy texture that just melts in your mouth. The name itself, “My Go-To Chewy Chocolate Chip Cookies,” is pretty straightforward, but it really captures the essence of what we’re aiming for. They’re a classic for a reason, and my version focuses on achieving that ideal texture and rich chocolate flavor that makes them utterly irresistible. They’re not trying to reinvent the wheel, but rather perfect a timeless favorite. It’s essentially a beautifully executed classic, designed for maximum deliciousness with minimal fuss.
Why you’ll love this recipe?
Honestly, there are so many reasons why this chocolate chip cookie recipe has earned its permanent spot in my recipe binder. First and foremost, the flavor profile is just divine. You get that rich, buttery base, the sweetness is perfectly balanced, and then there are those pockets of melted chocolate that create little bursts of pure joy in every bite. They’re the kind of cookies that make you close your eyes and savor the moment. But it’s not just about the taste! The simplicity of this recipe is a lifesaver. Even if you’re new to baking, you’ll find these incredibly easy to whip up. There are no fancy techniques or hard-to-find ingredients required. Plus, they’re wonderfully cost-efficient. You likely have most of what you need right in your pantry already! What I love most about these Chocolate Chip Cookies is their incredible versatility. They’re perfect for a quick afternoon treat, a go-to for bake sales, or even as a sweet ending to a family dinner. They pair beautifully with a cold glass of milk, a hot cup of coffee, or even a scoop of vanilla ice cream. They truly are the all-around champions of the cookie world.
How do I make Chewy Chocolate Chip Cookies?
Quick Overview
This recipe is all about creating that perfect chewy texture by getting the butter and sugar creamed just right, adding the wet ingredients, then gently folding in the dry, and finally, lots of delicious chocolate chips! We’ll then bake them until they’re just golden around the edges, ensuring they stay wonderfully soft in the center. It’s a straightforward process that yields incredibly rewarding results, proving that amazing Chocolate Chip cookies don’t need to be complicated at all.
Ingredients
For the Cookie Dough: For the Cookie Dough: For the Cookie Dough: For the Cookie Dough: For the Cookie Dough: For
- 1 cup (2 sticks or 226g) unsalted butter, softened to room temperature. This is key! If it’s too cold, it won’t cream properly. If it’s too melty, your cookies will spread too much.
- 3/4 cup (150g) granulated sugar. This helps with crisp edges.
- 3/4 cup (165g) packed light brown sugar. This is where the chewiness comes from! Don’t skimp on the brown sugar.
- 2 large eggs, room temperature. Room temperature eggs incorporate better into the batter, giving you a smoother, more consistent cookie.
- 1 teaspoon pure vanilla extract. Always use pure vanilla; the imitation stuff just doesn’t have the same depth of flavor.
- 2 1/4 cups (280g) all-purpose flour. Spooned and leveled, not scooped directly from the bag. Scooping can pack in too much flour.
- 1 teaspoon baking soda. This is the leavening agent that gives our cookies lift.
- 1/2 teaspoon salt. Balances the sweetness and enhances the chocolate flavor.
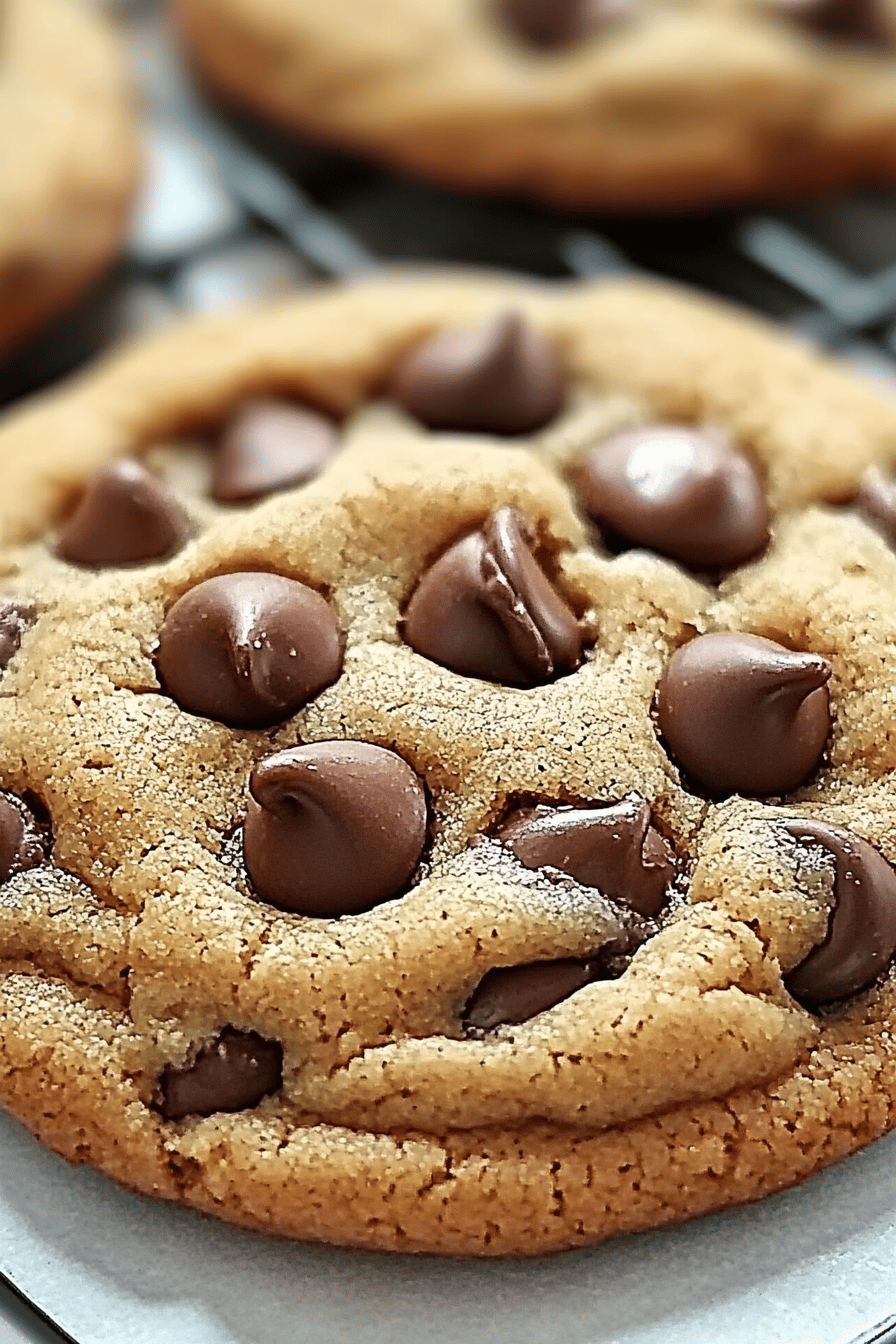
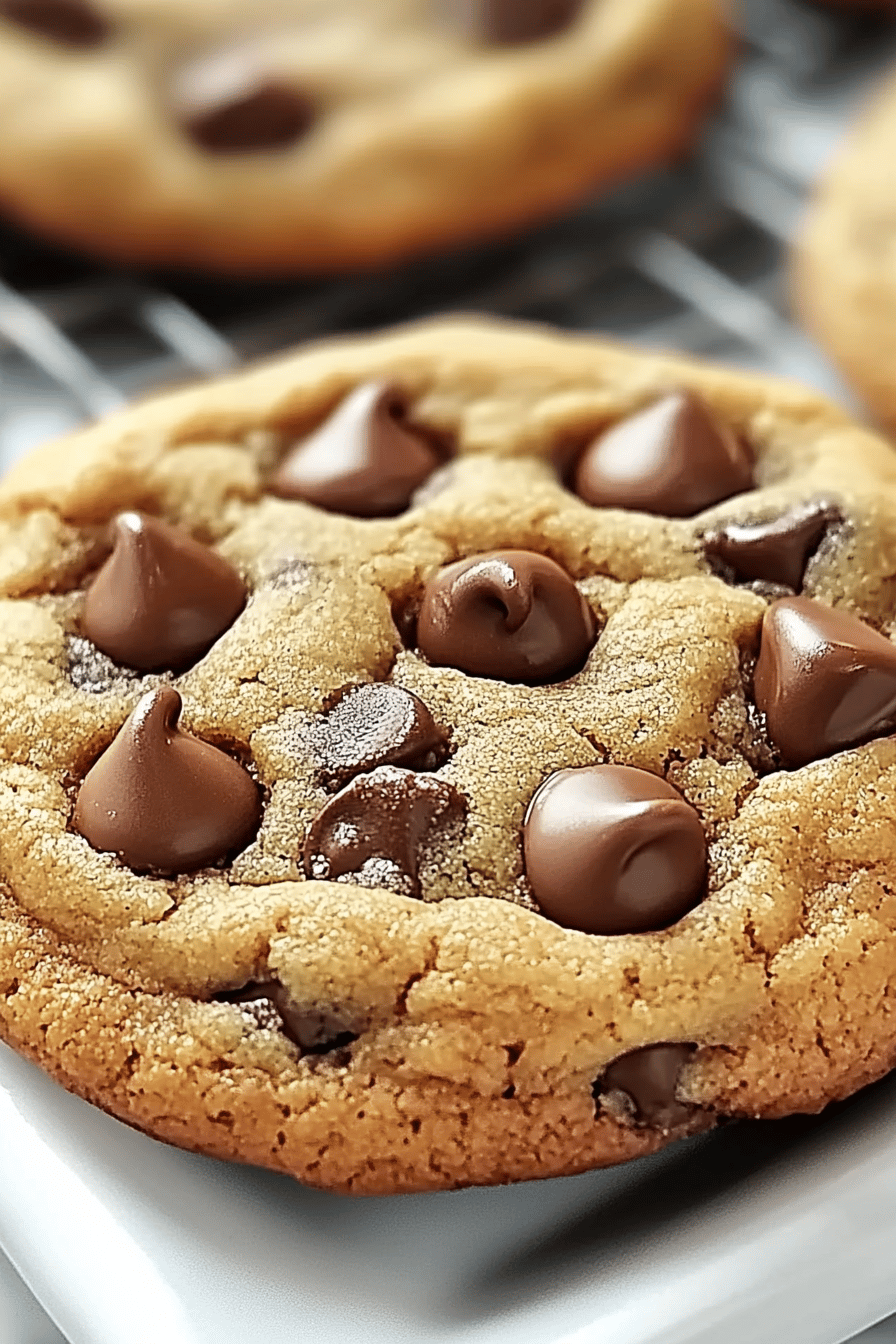
- 2 cups (340g) semi-sweet chocolate chips. I like a mix of chips and chunks for texture. Feel free to use milk chocolate or dark chocolate too!
Step-by-Step Instructions
Step 1: Preheat & Prep Pan
First things first, let’s get that oven preheating to 375°F (190°C). Line your baking sheets with parchment paper. This is a small step but a crucial one for preventing sticking and ensuring your cookies bake evenly. I always find that prepping my baking sheets ahead of time saves me so much hassle later on.
Step 2: Mix Dry Ingredients
In a medium bowl, whisk together the all-purpose flour, baking soda, and salt. Whisking them together ensures that the leavening agent and salt are evenly distributed throughout the flour, which means no more concentrated pockets of salt in your cookies! Give it a good whisk until everything looks uniform.
Step 3: Mix Wet Ingredients
In a large bowl, or the bowl of your stand mixer fitted with the paddle attachment, cream together the softened butter, granulated sugar, and packed light brown sugar. Beat on medium speed for about 2-3 minutes until light and fluffy. This creaming process is super important for incorporating air, which contributes to the cookie’s texture. Then, beat in the eggs one at a time, mixing well after each addition. Finally, stir in the pure vanilla extract. Make sure you scrape down the sides of the bowl occasionally to ensure everything is well combined.
Step 4: Combine
Gradually add the dry ingredients to the wet ingredients, mixing on low speed until just combined. Be careful not to overmix here! Overmixing can develop the gluten in the flour too much, resulting in tough cookies. Stop mixing as soon as you no longer see streaks of dry flour. It’s better to have a few tiny streaks than to overmix.
Step 5: Prepare Filling
This step isn’t about a separate filling, but rather about the star of the show: the chocolate chips! Gently fold in your semi-sweet chocolate chips using a spatula or wooden spoon. Again, do this until they’re just distributed throughout the dough. You can add more or fewer chips depending on your preference – I usually err on the side of more!
Step 6: Layer & Swirl
This step is more about portioning the dough. Drop rounded tablespoons of cookie dough onto your prepared baking sheets, spacing them about 2 inches apart. I like to use a cookie scoop for uniform size, which ensures even baking. If you want those pretty cracked tops, you can gently press a few extra chocolate chips onto the tops of the dough balls.
Step 7: Bake
Bake for 9-11 minutes, or until the edges are golden brown and the centers look slightly underbaked. They will continue to cook on the hot baking sheet after you take them out. For truly chewy cookies, it’s better to slightly underbake them than to overbake. Keep a close eye on them, as oven temperatures can vary.
Step 8: Cool & Glaze
Let the cookies cool on the baking sheets for 5-10 minutes before transferring them to a wire rack to cool completely. This is crucial for them to set up properly. I usually can’t resist eating one (or two!) while they’re still warm, but letting them cool a bit makes them the perfect chewy texture.
Step 9: Slice & Serve
Once cooled, these chocolate chip cookies are ready to be devoured! Serve them with a tall glass of milk, a cup of coffee, or share them with loved ones. They’re perfect for any occasion!
What to Serve It With
These classic chocolate chip cookies are so wonderfully versatile! For breakfast, though I know it’s a bit of a treat, a warm cookie alongside a strong cup of black coffee is surprisingly delightful. They have that comforting sweetness that can kickstart your day. For brunch, they make a charming addition to any spread. I love arranging them on a pretty platter with some fresh berries or a small bowl of whipped cream on the side. They feel a little more elegant when presented this way. As a dessert, well, they’re stars on their own, but imagine them served slightly warm with a scoop of high-quality vanilla bean ice cream – pure heaven! They’re also fantastic alongside a rich chocolate lava cake or a tangy fruit tart for a delightful contrast. And for those cozy, “just because” snacks? That’s where these cookies truly shine. They’re the perfect companion for an evening with a good book and a mug of tea, or when you need a little pick-me-up in the afternoon. My family loves them after school with a glass of cold milk, and they’re always gone in a flash!
Top Tips for Perfecting Your Chocolate Chip Cookies
Over the years, I’ve learned a few tricks that really make a difference when making these chocolate chip cookies. First, and this is a big one, always use softened butter, not melted. Melted butter leads to flat, crispy cookies, and while sometimes that’s what you want, for chewy cookies, softened butter is non-negotiable. I learned this the hard way early on! Second, don’t overmix the dough once you’ve added the flour. Mix until *just* combined. You’ll see those little streaks of flour disappear, and that’s your cue to stop. Overmixing develops the gluten, making your cookies tough instead of tender and chewy. Third, and this is a game-changer for texture, chilling the dough for at least 30 minutes (or even overnight!) can lead to even chewier cookies. It allows the flour to hydrate and the flavors to meld. If I’m in a rush, I skip this, but the results are noticeably better when I have the time. Fourth, for ingredient swaps, if you can’t find semi-sweet chips, a mix of milk and dark chocolate chips works beautifully, or even finely chopped chocolate bars. For flour, you can experiment with a gluten-free all-purpose blend, but you might need to add a touch more liquid or a binder like xanthan gum, as gluten-free flours can behave differently. Lastly, on baking: watch them carefully! Ovens can be finicky. You want the edges to be lightly golden and the centers to look slightly underdone. They’ll continue to set up on the baking sheet, which is exactly what gives you that wonderful chewy texture. If you pull them out when they look perfectly done, they’ll likely be dry by the time they cool.
Storing and Reheating Tips
When it comes to storing these delicious chocolate chip cookies, you’ve got a few great options to keep them tasting fresh. At room temperature, they’ll stay wonderfully chewy for about 3-4 days. The key is to store them in an airtight container. If they’re still a little warm when you put them in, the condensation can make them soggy, so make sure they’re completely cooled. For longer storage, the refrigerator is your friend. They’ll keep well for up to a week in an airtight container or a resealable bag. Reheating them in the fridge might make them a tad firmer, but you can easily revive them. If you want to freeze them, that’s also a fantastic option for enjoying them later. I like to bake a big batch and freeze half of them. You can freeze the baked cookies in an airtight container or a freezer bag for up to 3 months. To thaw, just leave them at room temperature for about 30 minutes. If you want that “just baked” warmth, you can pop them in a 300°F (150°C) oven for a few minutes. As for the glaze, I rarely use a glaze on these, but if you were to add one, it’s best to do so right before serving for maximum freshness and to avoid making the cookies soggy during storage.
Frequently Asked Questions
Final Thoughts
There you have it – my absolute favorite, tried-and-true chocolate chip cookie recipe. These cookies are a testament to the fact that sometimes, the simplest things are the most delicious. They bring such joy, whether it’s the nostalgic comfort they evoke or the pure delight they bring to taste buds. I really hope you give them a try and that they become a cherished recipe in your home too. If you love this recipe, you might also enjoy my chewy brownie recipe or my classic sugar cookie cutouts for more baking adventures! I can’t wait to hear how yours turn out, so please leave a comment below and let me know your thoughts, or share your own variations. Happy baking!
Pumpkin Spice Cinnamon Rolls
Ingredients
Dough
- 2.25 teaspoons active dry yeast
- 1 cup warm milk (105-115°F)
- 0.25 cup granulated sugar
- 0.5 teaspoon salt
- 0.25 cup unsalted butter, melted
- 4 cups all-purpose flour
Filling
- 0.25 cup unsalted butter, softened
- 0.75 cup packed brown sugar
- 2 tablespoons pumpkin pie spice
Glaze
- 4 ounces cream cheese, softened
- 0.5 cup powdered sugar
- 2 tablespoons milk
- 0.5 teaspoon vanilla extract
Instructions
Prepare the Dough
- In a large bowl, combine yeast, warm milk, and sugar. Let stand for 5 minutes until foamy.
- Add salt, melted butter, and 2 cups of flour. Mix until combined.
- Gradually add the remaining flour, kneading until a soft dough forms. Knead for 5-7 minutes.
- Place dough in a greased bowl, turning to coat. Cover and let rise in a warm place for 1 hour, or until doubled in size.
Assemble the Rolls
- On a lightly floured surface, roll out the dough into a 12x16 inch rectangle.
- Spread softened butter evenly over the dough. Sprinkle with brown sugar and pumpkin pie spice.
- Roll up the dough tightly. Cut into 12 equal rolls.
- Place rolls in a greased 9x13 inch baking dish. Cover and let rise for 30 minutes.
Bake and Glaze
- Preheat oven to 350°F (175°C). Bake for 20-25 minutes, or until golden brown.
- While the rolls are baking, make the glaze by whisking together cream cheese, powdered sugar, milk, and vanilla extract.
- Let the rolls cool slightly before drizzling with glaze.