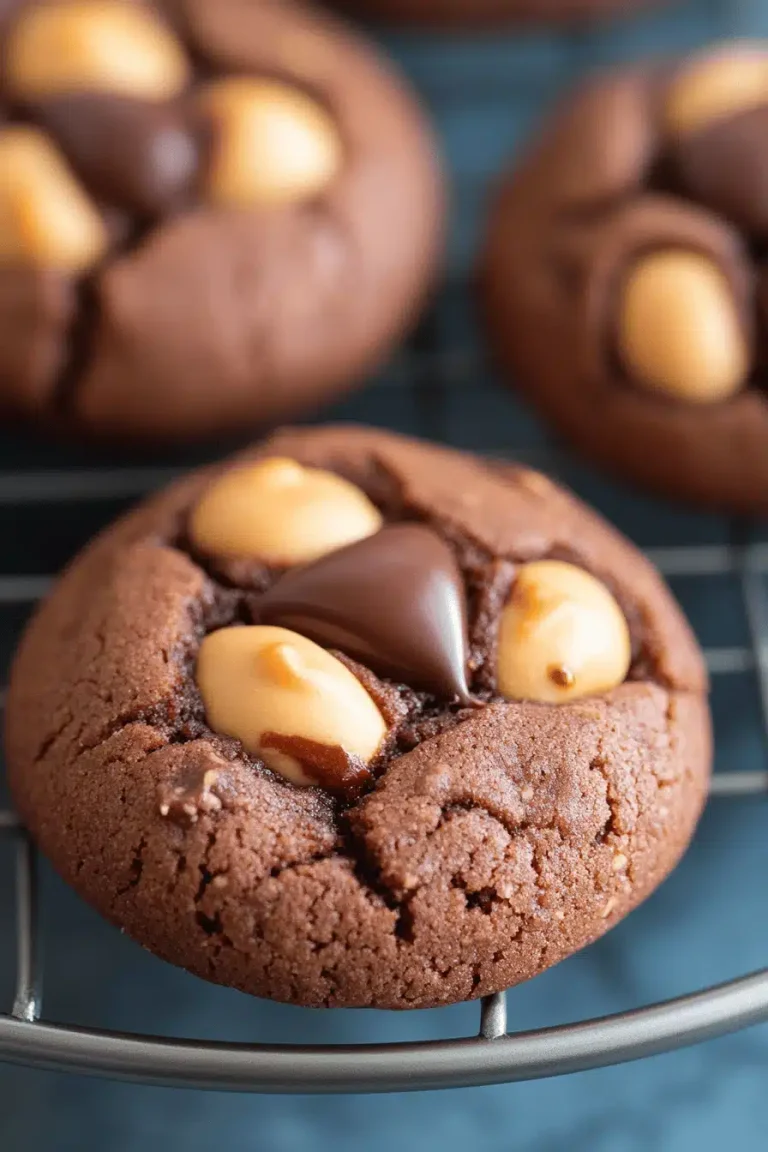
I swear, sometimes I think my oven just sits there, judging me. It knows I’m usually reaching for the “no bake” option when the craving hits, especially for something rich and chocolatey. And let me tell you, when that craving strikes hard and fast, this no bake vegan Brownies Recipe is my absolute savior. Forget waiting for dough to chill or preheating anything; this is pure, unadulterated chocolate bliss, ready to be devoured in under 30 minutes (prep time, that is!). It’s the kind of treat that makes people’s eyes widen, and then they ask, “Wait, this is vegan? And no bake?!” It’s my go-to when I need a serious dessert fix without any fuss, a little piece of chocolate heaven that feels like a decadent, fudgy brownie but requires zero oven time. It’s like magic, but with more cocoa powder.
What are some vegan brownie recipes?
So, what exactly are these magical little squares of joy? Think of them as the ultimate shortcut to brownie town. They’re essentially a dense, fudgy, intensely chocolatey base that comes together in one bowl, then gets chilled until firm enough to slice. The “vegan” part means no eggs, no butter, and no dairy – we use plant-based goodness to achieve that incredible texture and flavor. The “no-bake” is the real star here; it’s all about combining the right ingredients, letting them set up in the fridge, and voila! You’ve got yourself a treat that rivals any baked version, but with a fraction of the effort. It’s the perfect answer to a late-night sweet tooth or when you’re entertaining unexpected guests and need something impressive without breaking a sweat.
Why you’ll love this recipe?
Honestly, where do I even begin? The flavor is just out of this world – deep, dark, rich chocolate that satisfies every single craving. It’s not just sweet; it’s got this wonderful complexity from the cocoa powder and a hint of salt that really makes the chocolate sing. And the texture? Oh, the texture! It’s dense, chewy, and wonderfully fudgy, almost like a truffle meets a brownie. It’s the kind of thing that melts in your mouth and leaves you blissfully content. What I love most about these no bake vegan brownies is the sheer simplicity. You literally throw everything into a bowl, mix it up, press it into a pan, and let the fridge do the rest. It’s so easy, my nephews can help make them, and they absolutely love it. Plus, the ingredients are pretty pantry-staple friendly, making it a budget-conscious indulgence too. They’re incredibly versatile – I sometimes add a sprinkle of sea salt on top, or a swirl of Peanut Butter before chilling. Compared to other no-bake treats, this one hits that perfect brownie sweet spot that’s hard to find. It’s the ultimate in effortless, delicious indulgence.
How do I make vegan brownies?
Quick Overview
The process for these no bake vegan brownies is incredibly straightforward. We’ll start by combining our dry ingredients, then mix in the wet until a thick, dough-like batter forms. This mixture gets pressed into a prepared pan and then chilled until it’s perfectly firm and sliceable. It’s all about getting that rich, chocolatey flavor and fudgy texture without ever turning on the oven. This method is a lifesaver on busy days or when you simply don’t have the energy for baking but desperately need chocolate.
Ingredients
For the Main Batter:
Here’s where the magic happens. We’re going for rich, dark, and delicious.
- 1 cup rolled oats (make sure they’re certified gluten-free if needed) – These give our brownies structure and a lovely texture. I prefer old-fashioned rolled oats; instant ones can make it a bit too mushy.
- 1/2 cup unsweetened cocoa powder (use a good quality one, it makes a difference!) – This is non-negotiable for that deep chocolate flavor.
- 1/4 cup almond flour (or any nut flour you have on hand) – This helps bind everything together and adds a subtle richness.
- 1/4 teaspoon fine sea salt – Balances the sweetness and enhances the chocolate flavor. Don’t skip this!
- 1/2 cup pitted Medjool dates, packed (about 8-10 large dates) – These are our natural sweetener and binder. Make sure they’re soft and sticky. If yours are a bit dry, soak them in warm water for 10 minutes and then drain well.
- 1/4 cup unsweetened plant-based milk (almond, soy, or oat work wonderfully) – Just enough to help everything come together.
- 1/4 cup creamy almond butter (or Peanut Butter, cashew butter) – For richness, fudginess, and amazing flavor.
- 1 teaspoon pure vanilla extract – A flavor enhancer, it really rounds out the chocolate.
For the Optional Swirl:
This is where you can get a little fancy, but it’s totally optional!
- 2 tablespoons vegan chocolate chips, melted
- 1 tablespoon smooth nut butter
For the Optional Glaze:
Because sometimes, you just need more chocolate!
- 1/4 cup vegan chocolate chips
- 1 tablespoon coconut oil
Step-by-Step Instructions
Step 1: Preheat & Prep Pan
Okay, no preheating needed for the oven, but we do need to prep our pan! Line an 8×8 inch baking pan with parchment paper, leaving some overhang on the sides. This makes it super easy to lift the brownies out later. Trust me, struggling to get brownies out of the pan is nobody’s idea of fun.
Step 2: Mix Dry Ingredients
In a large bowl, add the rolled oats, cocoa powder, almond flour, and salt. Give everything a good whisk or stir with a fork to combine. Make sure there are no clumps of cocoa powder lingering. This step ensures all our dry ingredients are evenly distributed, so you get that perfect chocolatey goodness in every bite.
Step 3: Mix Wet Ingredients
In a food processor or high-powered blender, combine the pitted Medjool dates, plant-based milk, almond butter, and vanilla extract. Process until the mixture is smooth and creamy, forming a paste. You might need to scrape down the sides a couple of times. If your dates are a bit dry, this is where the little bit of milk really helps them break down into a luscious paste.
Step 4: Combine
Pour the wet date mixture from the food processor into the bowl with the dry ingredients. Now, grab a sturdy spoon or a spatula and mix everything together. It will be thick and a little sticky – that’s exactly what we want! Keep mixing until no dry streaks of flour or cocoa powder remain. The consistency should be like a thick, dense dough. Don’t overmix; just ensure everything is thoroughly combined.
Step 5: Prepare Filling (Optional Swirl)
If you’re feeling fancy and want that swirled effect, this is the time. In a small bowl, melt the 2 tablespoons of vegan chocolate chips (you can do this in the microwave in 30-second increments, stirring in between, or over a double boiler). Stir in the tablespoon of nut butter until smooth. This creates a lovely, slightly richer chocolate ribbon throughout the brownies.
Step 6: Layer & Swirl
Spoon the brownie batter into your prepared pan. Use the back of your spoon or a spatula to press the mixture down firmly and evenly into the pan. Get into the corners and make sure it’s nice and compact. If you’re doing the swirl, dollop spoonfuls of the melted chocolate-nut butter mixture over the top of the brownie batter. Then, use a toothpick or the tip of a knife to gently swirl the chocolate into the batter. Don’t overdo it, just a few passes to create a marbled effect.
Step 7: Chill
Now for the hardest part: waiting! Cover the pan and place it in the refrigerator for at least 1-2 hours, or until the brownies are firm to the touch. The longer they chill, the firmer they’ll get, making them easier to slice cleanly. I usually make these in the afternoon and let them chill overnight for the best texture.
Step 8: Glaze (Optional)
If you want to add a chocolate glaze, melt the 1/4 cup of vegan chocolate chips with the coconut oil in a small saucepan over low heat or in the microwave. Stir until smooth and pourable. Once the brownies are firm from chilling, drizzle or spread the glaze evenly over the top. Return the pan to the refrigerator for another 15-30 minutes to allow the glaze to set.
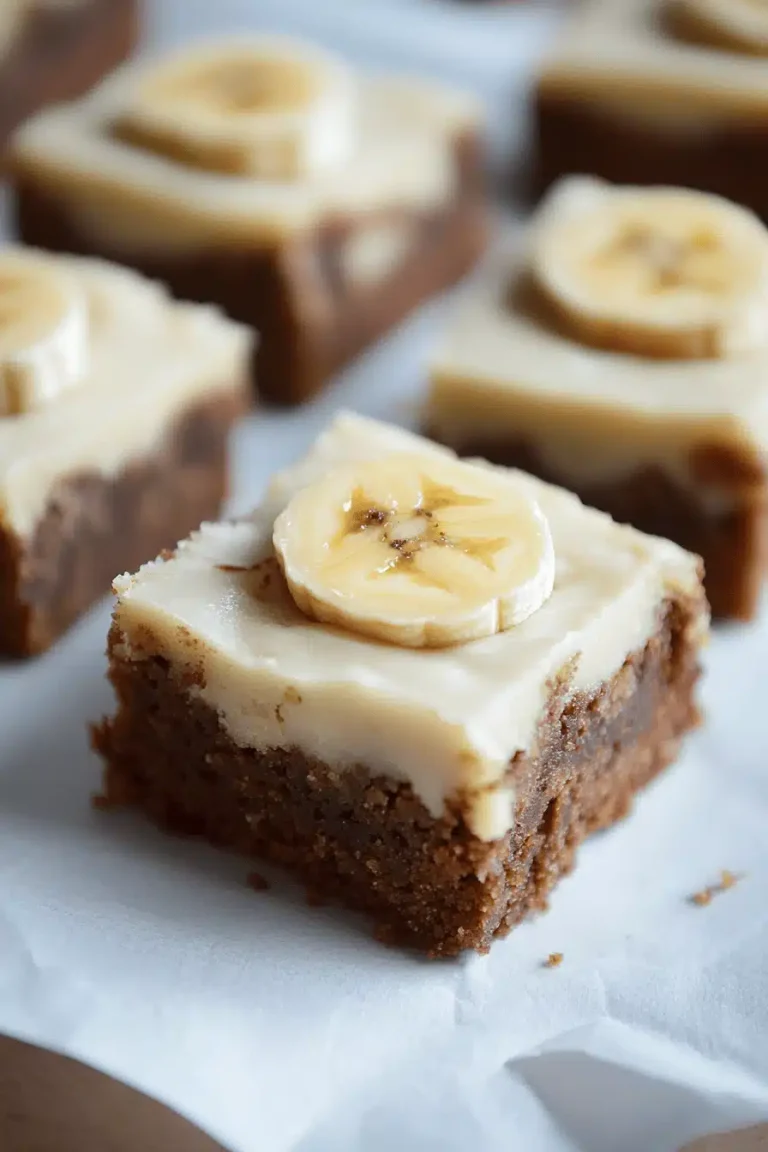
Step 9: Slice & Serve
Once firm and glazed (if you opted for it), use the parchment paper overhang to carefully lift the entire block out of the pan onto a cutting board. Slice into squares using a sharp knife. For cleaner cuts, you can wipe the knife blade clean between slices. These are best served chilled.
What to Serve It With
These no bake vegan brownies are so decadent on their own, but they also play wonderfully with other flavors and drinks. For a delightful breakfast treat (because who says brownies can’t be for breakfast?), I love serving a small square alongside a strong, hot cup of black coffee. The bitterness of the coffee cuts through the sweetness beautifully. For a more elegant brunch spread, a slice of these brownies alongside fresh berries and a dollop of vegan whipped cream feels wonderfully indulgent. As a dessert, they’re a dream. I often serve them with a scoop of good quality vanilla bean or raspberry sorbet, or a dusting of powdered sugar and a sprinkle of flaky sea salt. For those cozy snack moments when you just need comfort, they’re perfect with a glass of cold, unsweetened plant-based milk. My kids always beg for them after school, and I often just hand them a piece as is – they’re happy!
Top Tips for Perfecting Your No-Bake Vegan Brownies
Over the years, I’ve tinkered and tested these no bake vegan brownies countless times, and I’ve picked up a few tricks that make all the difference. First off, for the dates, always use soft, pliable Medjool dates. If yours feel a bit hard, a quick soak in warm water (and then draining them thoroughly!) will bring them back to life, ensuring a smooth, sweet paste. Don’t skimp on the quality of your cocoa powder; a good Dutch-processed cocoa will give you that deep, dark, rich chocolate flavor that’s essential. When it comes to the nut butter, creamy and smooth is key. I find almond butter gives a wonderfully neutral yet rich base, but peanut butter adds a delightful nutty depth that’s also fantastic. If you’re going for the optional swirl, don’t go overboard with it; a little goes a long way to add visual appeal and an extra layer of chocolatey goodness without overpowering the main brownie flavor. And remember, pressing the mixture firmly into the pan is crucial for that dense, fudgy texture. If it’s too loosely packed, it might crumble. For the glaze, if it’s too thick, add a tiny bit more coconut oil or plant milk; if it’s too thin, add a few more chocolate chips. The goal is a smooth, pourable consistency that sets up nicely. I’ve found that using an 8×8 pan gives the perfect thickness, but if you prefer thinner brownies, you could try a 9×9 pan, though you might need to reduce the chilling time slightly.
Storing and Reheating Tips
These no bake vegan brownies are actually quite forgiving when it comes to storage. At room temperature, they’ll stay fresh for about 2-3 days, provided your kitchen isn’t too warm. I like to keep them in an airtight container to maintain their fudgy texture. If you’re going to be storing them for longer than that, or if your kitchen tends to be on the warmer side, I highly recommend refrigerator storage. In the fridge, they’ll keep beautifully for up to a week. They actually become even fudgier and more intensely flavored after a few days! I store them in an airtight container, and they’re delicious straight from the cold. If you want to freeze them, which I often do when I make a double batch, wrap individual squares or the whole block tightly in plastic wrap, then in aluminum foil, and store them in a freezer-safe bag or container. They’ll be good in the freezer for up to 2-3 months. To thaw, simply transfer them to the refrigerator overnight, or leave them on the counter for an hour or two. As for the glaze, it holds up well with all storage methods, but if you’re freezing them and plan to thaw at room temperature, you might want to reapply a fresh glaze after thawing for the best look.
Frequently Asked Questions
Final Thoughts
Seriously, if you’re looking for a ridiculously easy, incredibly satisfying chocolate fix, you HAVE to try these no bake vegan brownies. They are proof that you don’t need a ton of time or fancy equipment to create something truly special. They’re rich, fudgy, and packed with that deep chocolate flavor that just makes your soul happy. They’re perfect for any occasion, from a quick afternoon pick-me-up to a show-stopping dessert for guests. If you love rich, decadent chocolate treats, you might also enjoy my Vegan Chocolate Avocado Mousse, which is another wonderfully simple and indulgent recipe. I can’t wait to hear what you think of these brownies! Let me know in the comments below how yours turned out, and if you tried any fun variations. Happy no-baking!
No Bake Vegan Brownies
Ingredients
Brownie Base
- 0.75 cup peanut butter or any nut or seed butter
- 0.33 cup maple syrup or honey
- 3 tablespoon coconut oil or olive oil
- 1 teaspoon vanilla extract
- 0.5 cup cacao powder sifted
- 0.67 cup almond flour
- 0.33 cup dairy free mini chocolate chips
- 0.25 teaspoon salt
Chocolate Topping
- 0.5 cup dairy free chocolate chips
- 1 teaspoon coconut oil
Instructions
Preparation Steps
- Line a 13x9 inch sheet pan with parchment paper.
- In a medium bowl, whisk together the peanut butter, maple syrup, oil and vanilla. Add in the sifted cacao powder, almond flour, mini chips and salt and mix to combine. Transfer the dough to your prepped pan and spread out evenly with your hands, to form a rectangular shape that's about 0.5 inch thick.
- Melt your chocolate chips and coconut oil in a small pot over low heat. Pour this ganache onto the brownie rectangle. Using a small rubber spatula, spread out the ganache evenly. Transfer this pan to your freezer for about 40 minutes to set.
- Remove the pan from the freezer and slice into 16 squares. Store leftovers in an airtight container in your freezer.