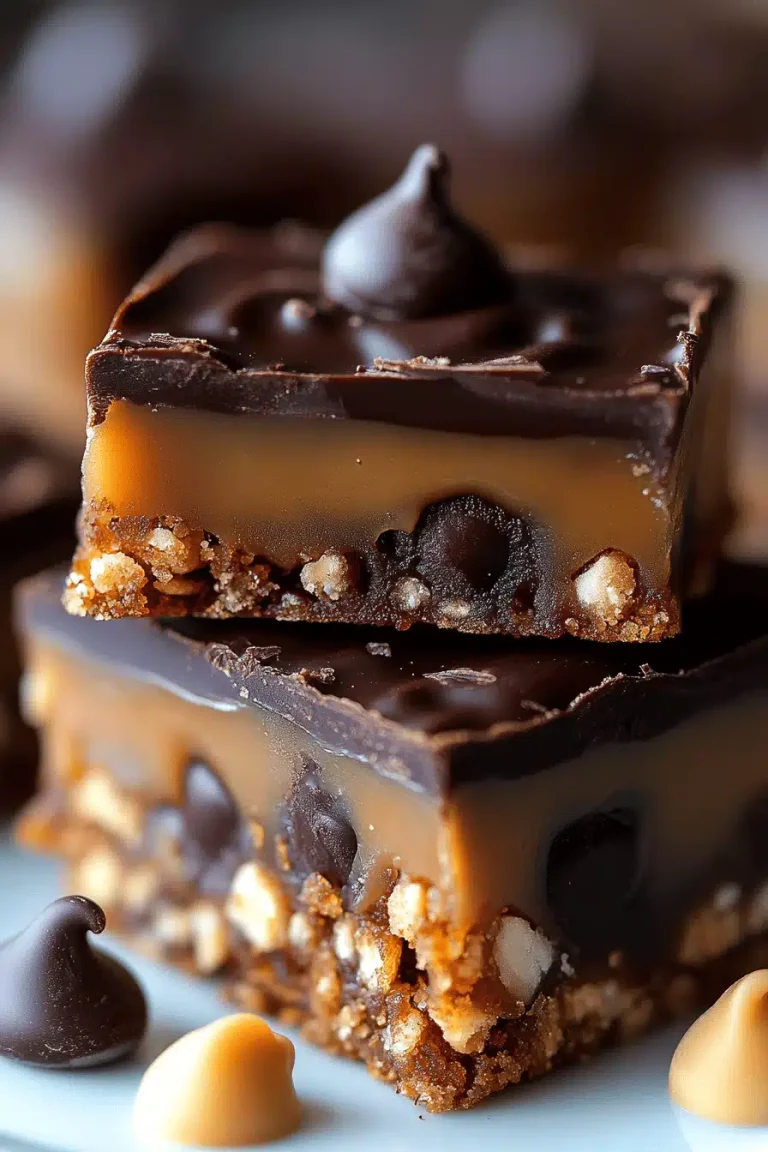
There’s something about Thin Mints that just takes me back to chilly evenings with hot cocoa in hand, sharing stories around the kitchen table. Maybe it’s the perfect balance of crisp chocolate and that cool, refreshing mint that makes these cookies utterly addictive. I remember the year I first tried making them at home – full disclosure, my first batch came out a bit crumbly, but after a few tweaks, I found the sweet spot. Now, these Thin Mints vanish faster than I can hide them! If you’re a fan of the classic Girl Scout cookie or just love chocolate-mint combos, you’re going to adore this recipe. It’s basically like having that box of Thin Mints right in your own oven, minus the guilt of emptying the entire package in one sitting.
What is Thin Mints?
Think of Thin Mints as those iconic chocolate cookies with a cool minty punch that dance on your taste buds. They’re essentially crispy, chocolate-coated wafers with a refreshing mint-flavored center. The name “Thin Mints” comes from the cookie’s characteristic slender shape and that unmistakable mint flavor which makes it stand out from other treats. These cookies have become a staple for many, especially around the time Girl Scouts sell them in their fundraising campaigns. But honestly, making Thin Mints at home is way more fun — you get to control the mint intensity and the chocolate thickness, and they warm up your kitchen with amazing smells while baking. It’s a lovely project that’s actually easier than it looks, and the results? Pure nostalgia in every bite.
Why you’ll love this recipe?
What I love most about homemade Thin Mints is how effortlessly they deliver that iconic flavor with a fresh homemade touch. The combination of rich dark chocolate and vibrant mint is nothing short of magical – it’s like a little holiday in your mouth, no matter the season. And the best part? This isn’t one of those recipes where you need a pantry full of fancy ingredients. Most things you probably already have at home, which makes these cookies a pinch on your wallet—especially during those mid-month sweet tooth emergencies. Plus, the process is surprisingly simple. You don’t have to be a pro baker to pull this off, I promise. It’s quick to mix, the dough chills fast, and the dipping part is almost meditative—kind of like chocolate therapy.
Also, these Thin Mints are incredibly versatile. Sure, they’re fantastic straight from the freezer, but have you ever tried them crumbled over your ice cream or stirred into a cup of hot coffee? Life changing! If you’ve ever liked my other chocolate treats like fudgy brownies or those peppermint bark bars, this recipe will fit right into your rotation. My kids actually beg for these to be included in lunchboxes, and guests always leave asking for the recipe. It’s the kind of cookie that brings people together, whether it’s a casual snack or a special dessert.
How do I make thin mints?
Quick Overview
Here’s the gist: You’ll start by crafting a crisp chocolate-mint cookie base that’s light and just thin enough. After chilling the dough to get perfect crispiness, you bake the cookies to that ideal snap. Then comes the fun part — dipping each cookie into luscious melted chocolate infused with a touch of mint extract for that classic flavor punch. The whole process feels almost meditative, like you’re creating little chocolate works of art. Don’t worry if you’re new at dipping — I’ll share tips to get that smooth, even coat without making a mess. Plus, chilling the cookies before dipping is key to keeping them crisp, so patience pays off here.
Ingredients
For the cookies:
- 1 cup all-purpose flour – I use unbleached for a cleaner flavor.
- ⅓ cup unsweetened cocoa powder – the richer, the better. I always pick Dutch-processed for that deep chocolate tone.
- ½ teaspoon baking soda – to help them puff just the tiniest bit.
- ¼ teaspoon salt – it balances the sweetness wonderfully.
- ⅔ cup granulated sugar – straightforward sweet, but not overpowering.
- ⅓ cup unsalted butter, softened – makes the cookies tender yet crisp.
- 1 large egg – binds everything together perfectly.
- ½ teaspoon peppermint extract – fresh, clean mint is the star here!
For the Chocolate Coating:
- 8 ounces semi-sweet or dark chocolate chips or chunks – I switch between them depending on my chocolate mood.
- 1 teaspoon peppermint extract – just a hint to brighten the chocolate.
- 1 teaspoon coconut oil or vegetable oil – this helps the chocolate shine and smooth out for easy dipping.
Step-by-Step Instructions
Step 1: Preheat & Prep Pan
Start by preheating your oven to 350°F (175°C). Line two baking sheets with parchment paper or silicone baking mats — trust me, this is a game changer for clean baking and crisp bottoms. If you don’t have parchment, just give your pan a light buttering.
Step 2: Mix Dry Ingredients
In a medium bowl, whisk together the flour, cocoa powder, baking soda, and salt. Make sure there are no lumps, especially from the cocoa powder. I like to sift mine for that added smoothness — it helps with an even texture in the cookies.
Step 3: Mix Wet Ingredients
In a large bowl, cream the softened butter and sugar together until light and fluffy — it smells like the promise of chocolate heaven. Add the egg and peppermint extract, beating just until combined. The mint scent here will make you want to dive in immediately.
Step 4: Combine
Gradually mix the dry ingredients into the wet mixture. Don’t overdo it; a few small flour streaks here and there are okay. Too much mixing means tougher cookies, and we want that delicate snap. The dough will be slightly firm and a bit sticky, which is just right.
Step 5: Prepare the Cookies
Roll the dough into small, thin discs, about 2 inches in diameter and 1/8 inch thick — thinner than a pizza crust, really. If the dough gets too soft, pop it back in the fridge for 10 minutes. Place the discs on your lined baking sheets, leaving at least an inch between them since they won’t spread much.
Step 6: Bake
Bake the cookies for 10-12 minutes. They should be firm to the touch but not hard — remember, they crisp up as they cool. If you’re unsure, take one out and let it cool a minute; it should snap with a gentle bend.
Step 7: Cool Fully
Cool the cookies completely on the baking sheets — this is crucial before the chocolate dip. Warm cookies plus melted chocolate usually equals a sticky disaster. I usually wait about 20 minutes before moving to the fun part.
Step 8: Make the Chocolate Coating
In a microwave-safe bowl or using a double boiler, gently melt the chocolate with the coconut oil. Stir in the peppermint extract once melted — this step brightens the chocolate and keeps the mintawesomeness going strong.
Step 9: Dip & Dry
One by one, dip the cookies into the chocolate, using a fork to lift and gently tapping off excess. Place them on a parchment-lined tray. You can swirl the chocolate with a toothpick if you want a little texture. Let them set in the fridge for at least 30 minutes until firm. This chilling step seals the crisp inside with a lux, chocolatey shell.
Step 10: Serve & Enjoy
Bring them out to room temperature before serving for the best snap and richness. These cookies are pretty eye-catching stacked or scattered across a plate, and the aroma of chocolate and mint will bring anyone running to the kitchen.
What to Serve It With
For Breakfast: Coffee is your best friend here — a strong espresso or a creamy latte complements the chocolate-mint magic perfectly. Try topping a bowl of plain Greek yogurt with crumbled Thin Mints and fresh berries for a quick morning pick-me-up.
For Brunch: Plate your Thin Mints alongside a fresh fruit salad and a glass of sparkling water with a slice of lime. It’s a subtle counterpoint that makes it feel fancy but effortless.
As Dessert: Serve Thin Mints with a scoop of vanilla ice cream or alongside a rich hot chocolate for a full-on chocolate fiesta. Sprinkling crushed cookies over a chocolate mousse is also a surefire hit – the texture contrast is delightful.
For Cozy Snacks: These cookies are absolute comfort food. My family adores grabbing one or two after school with a glass of cold milk or a quick cup of tea. They’re the kind of treat that makes you slow down, savor, and feel cozy inside.
Every time I make these, it brings back family memories — sharing cookie plates during holiday movie nights or sneaking one with a whisper to avoid spoiling dinner. It’s these little moments that make Thin Mints a forever favorite around here.
Top Tips for Perfecting Your Thin Mints
Cookie Thickness: I’ve learned that keeping the cookies thin (about 1/8 inch) is what gives that perfect snap. Too thick, and they turn cakey — which isn’t bad, but not quite what we want here.
Mint Extract Quality: Don’t skimp on the mint extract. The fresh, clean flavor makes all the difference. If you want to experiment, add a few drops of natural peppermint oil, but go easy — it’s super concentrated!
Chill Your Dough: If your kitchen is warm, chill your dough for 20 minutes before rolling. It’s easier to handle and helps maintain that ideal thinness.
Dipping the Cookies: When dipping, if your chocolate hardens too quickly, just warm it a bit more to keep it fluid. Using coconut oil helps a lot here, making the chocolate silky and less prone to clumping. I always keep a fork and toothpick handy to smooth out drips and create pretty finishes.
Storage: These cookies keep best when chilled, so a tightly sealed container in the fridge is a win, especially in warmer homes. Room temperature works in cool environments but be mindful of humidity.
Ingredient Swaps: If dairy is an issue, I’ve tried vegan butter and it worked wonderfully. Almond milk in the batter? Yes, please — it actually made the cookies a little more tender without losing that crispness.
One “oops” I learned the hard way was rushing the cookie cooling before dipping – the chocolate melted right off. Trust me, patience is your friend here, especially for achieving that perfect glossy finish on your Thin Mints.
Storing and Reheating Tips
Room Temperature: Keep your Thin Mints in an airtight container at room temp for up to 3 days. Just make sure your kitchen isn’t too warm, or the chocolate might get melty. A cool spot works best.
Refrigerator Storage: If your house tends to be on the warmer side, pop them in the fridge sealed in a container with parchment layers between cookie stacks. They’ll last up to 2 weeks this way, and honestly, the chill makes the chocolate a nice firm snap.
Freezer Instructions: Wrap Thin Mints individually in wax paper, then place them in a freezer-safe zip bag. They’ll keep for up to 3 months. To enjoy, thaw at room temperature—don’t microwave unless you want a chocolaty mess!
Glaze Timing Advice: Always add the chocolate coating after the cookies have fully cooled. If you want to keep some cookies uncoated for a less decadent option, store them separately and add glaze only before serving for the freshest bite.
Frequently Asked Questions
Final Thoughts
Making Thin Mints at home isn’t just about enjoying a favorite cookie—it’s about creating little moments filled with chocolatey joy and minty freshness that stay with you long after the last bite. I love that this recipe is approachable enough for anyone to try, yet special enough to impress friends and family. Plus, it’s just so satisfying to say, “Yep, I made these from scratch!” If you enjoy this, definitely give some of my other chocolatey recipes a spin — there’s nothing like the glow of homemade sweets in the kitchen. Can’t wait to hear how your Thin Mints turn out and if they become your new go-to treat. Happy baking and enjoy every delicious moment!

Thin Mints
Ingredients
Main Ingredients
- 1.25 cups butter (at room temperature)
- 2 cups powdered sugar
- 1 cup Dutch processed cocoa powder or dark cocoa powder
- 0.5 teaspoon salt
- 1 teaspoon vanilla extract
- 1.75 cups all-purpose flour use 1.5 to 1.75 cups as needed for dough texture
- 1 pound good quality melting chocolate
- 1 teaspoon pure peppermint extract start with 0.5 teaspoon and adjust to taste
Instructions
Preparation Steps
- In a stand mixer fitted with a paddle attachment, cream the butter and powdered sugar together on medium speed until the mixture is light and fluffy, about 2 minutes.
- Add the cocoa powder, salt, and vanilla extract; mix until fully incorporated. Gradually add half of the flour and mix, then add the remaining flour in 0.25 cup increments until you achieve a dry, non-sticky dough.
- Divide the dough into three disks, wrap in plastic wrap, and refrigerate for about 15 minutes. If refrigerated longer, let dough rest at room temperature for 15 minutes before rolling.
- Preheat oven to 350°F. Roll dough between two sheets of parchment paper to a thickness between 0.125 and 0.25 inches.
- Cut cookies using a 2-inch round cutter and place on baking sheets. Bake for 8 to 10 minutes; adjust time to avoid burnt bottoms. Cool cookies on wire rack.
- Chop the melting chocolate and melt it gently in the microwave at half power in 30-second intervals, stirring in between until smooth. Stir in peppermint extract to the melted chocolate.
- Dip each cooled cookie into the melted chocolate to cover fully. Remove with a fork and tap off excess chocolate. Place on parchment paper to set.
- Allow the chocolate coating to set completely. For best flavor and texture, wait at least 8 hours before serving.