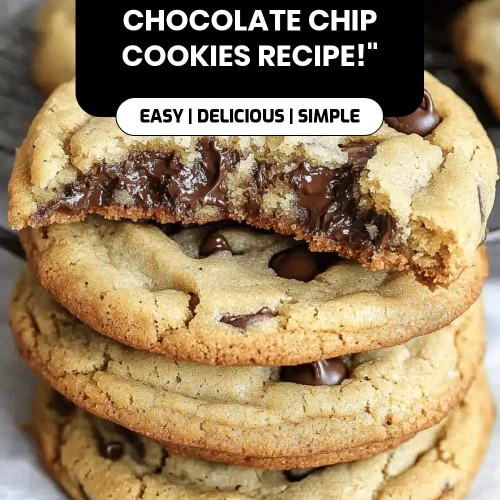
There’s something almost magic-like about baking dark chocolate cookies on a chilly afternoon — the way the rich aroma edges its way through the house, nudging everyone into the kitchen with inevitable smiles. These cookies have a history in my family that stretches back to my childhood; my grandma used to sneak a few batches out just before dinner, whispering that “a little dark chocolate never hurt anyone.” Unlike your typical plain chocolate chip cookies, these lean fully into that bittersweet intensity, promising a soft, chewy center with edges that crackle just right. I always do this when I’m craving something that feels indulgent but not overly sweet — it’s that perfect balance between a treat and a comforting hug. Honestly, if you’re a fan of brownies but too lazy to slice and serve, these dark chocolate cookies might just be your new best friend.
What is dark chocolate cookies?
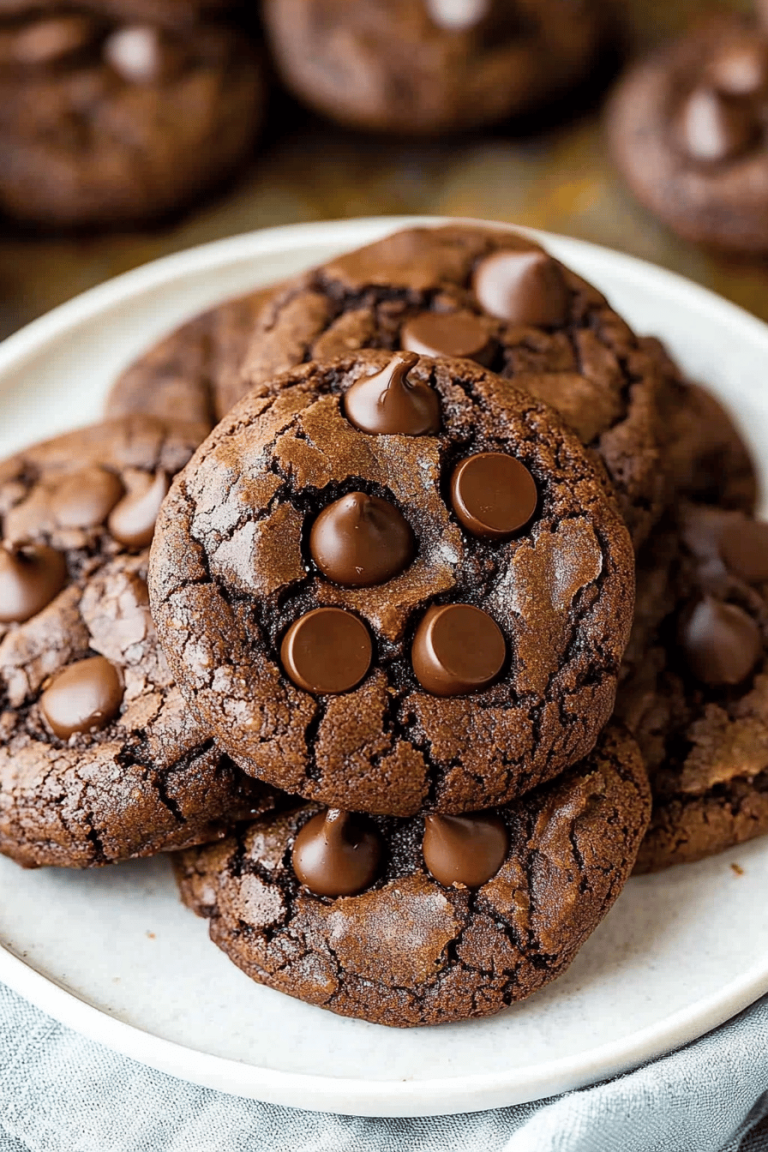
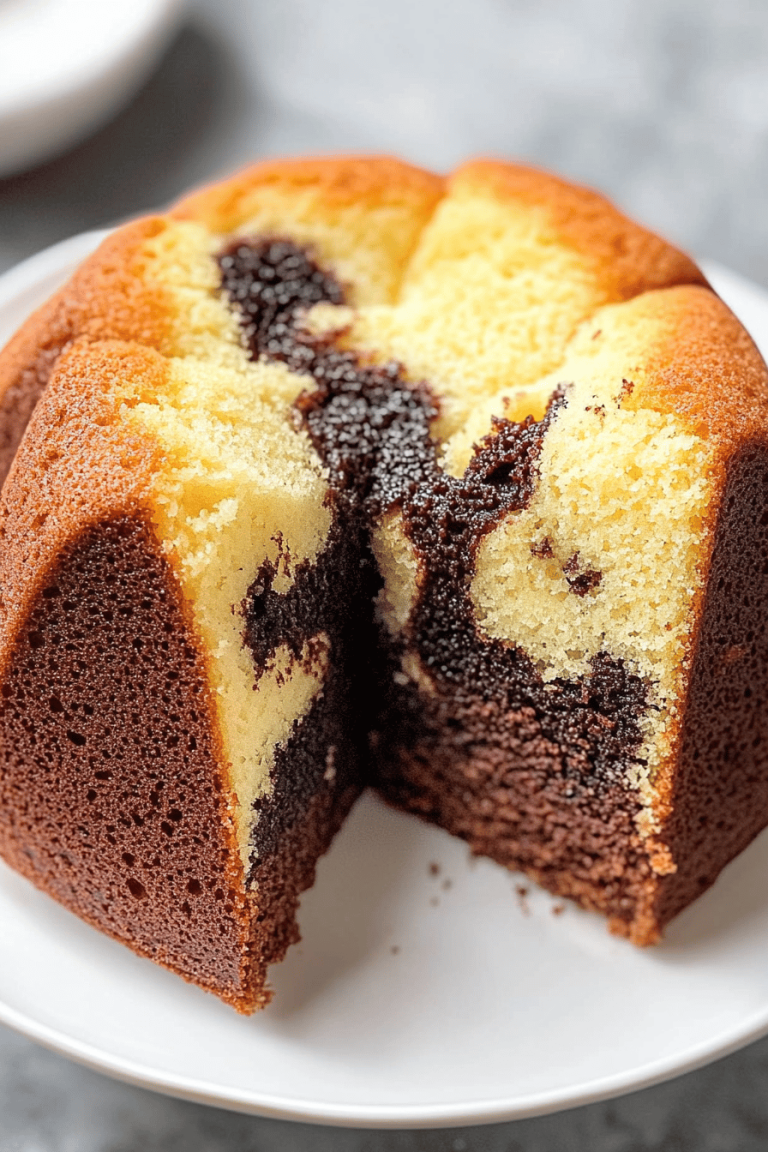
Think of dark chocolate cookies as that delicious, grown-up cousin of the classic chocolate chip cookie. It’s essentially a cookie where dark chocolate takes center stage, either in chunks or melted bits, infusing every bite with deep, nuanced cocoa flavor. This isn’t about overwhelming sweetness; it’s about that bittersweet dance on your tongue that feels more like a whisper than a shout. The concept is simple but effective — rich dough mixed with high-quality dark chocolate, sometimes with a touch of espresso powder or vanilla to amp up the flavor. These cookies walk the line between chewy and cakey, frequently inviting a slight crispness along their edges to give you a perfect textural contrast. They feel fancy and comforting all at once, which is why they keep showing up at family gatherings and midnight snack runs alike.
Why you’ll love this recipe?
What I love most about these dark chocolate cookies is how effortlessly they strike the perfect note of flavor and texture. The chocolate here isn’t just a sprinkle or a chip; it’s the very soul of the cookie, giving it that intense cocoa richness that makes you close your eyes after the first bite. I’ve found that the simplicity of the ingredients is a total lifesaver on busy nights when I want to whip up something fast yet utterly satisfying — nothing fancy, no fuss, but pure joy in every bite. Plus, the ingredients are incredibly budget-friendly — a few staples from any pantry and you’re good to go. Trust me, you won’t feel like you’re skimping on indulgence just because this is a humble, homey recipe.
Another thing: the versatility here is unbeatable. You can keep it classic, fold in some toasted nuts, or even sprinkle a little sea salt on top for that salty-sweet magic. It’s like every time I make this recipe, it can taste slightly different, yet it never fails to delight. And yes, my kids actually ask for seconds — which is saying a lot, since they tend to be picky! If you’ve ever loved a chewy brownie or a thick chocolate cookie, you’ll see why this recipe becomes a household favorite quickly.
How do I make dark chocolate cookies?
Quick Overview
Making these dark chocolate cookies is surprisingly easy, and that’s part of why I keep coming back to them. After preheating your oven and prepping your pans, you’ll mix your dry ingredients separately from your wet, then combine gently to avoid overmixing. The key is to fold in generous chunks of dark chocolate that melt slowly in the oven, leaving gooey pockets in your cookies. A little swirl or sprinkle of sea salt at the end can elevate these from everyday sweet bites to something really memorable. The total time isn’t intimidating either — you can have warm, amazing cookies ready to share in under 30 minutes, which is a huge win when the craving hits late!
Ingredients
For the Main Batter:
- 1 cup unsalted butter, softened – trust me, room temp is key here for smooth mixing
- 3/4 cup brown sugar (light or dark) – adds that lovely chewiness and depth
- 1/2 cup granulated sugar – balances the richness without overpowering
- 2 large eggs – straight from the fridge is fine, just make sure to beat well
- 2 teaspoons pure vanilla extract – for that warm, inviting aroma
- 1 3/4 cups all-purpose flour – sifted if you’re feeling fancy
- 1/2 cup unsweetened cocoa powder – the dark chocolate backbone
- 1 teaspoon baking soda – gives a slight lift and chew
- 1/2 teaspoon salt – enhances all the flavors
For the Filling:
- 1 1/2 cups dark chocolate chunks or chips – go for 70% cacao or above for richness
- Optional: 1 teaspoon espresso powder – boosts chocolate intensity without coffee flavor
- Optional: 1/2 cup chopped toasted walnuts or pecans – adds crunch and earthy contrast
For the Glaze:
- 1/2 cup powdered sugar – sifted to avoid lumps
- 2-3 teaspoons milk or cream – adjust for drizzle consistency
- 1/4 teaspoon vanilla extract or a pinch of sea salt – for extra flavor oomph
Step-by-Step Instructions
Step 1: Preheat & Prep Pan
Go ahead and preheat your oven to 350°F (175°C). Line a baking sheet with parchment paper or a silicone mat — I learned the hard way early on that greasing the pan alone sometimes makes the cookies spread too much. That parchment paper is a game changer for easy removal and clean-up.
Step 2: Mix Dry Ingredients
In a medium bowl, whisk together the all-purpose flour, cocoa powder, baking soda, and salt. I always sift these to make sure the cocoa powder doesn’t clump up — it keeps the texture super even. Mixing the dry alone helps keep your batter lighter when you fold everything together later.
Step 3: Mix Wet Ingredients
In a large bowl, beat the softened butter with the brown and granulated sugar until it’s light and fluffy — this usually takes about 3-4 minutes with a hand mixer. You’ll notice it turns a lovely tan color and smells heavenly, almost caramel-like. Then, beat in the eggs one at a time, making sure each is well incorporated before adding the next. Stir in the vanilla extract, and if you’re feeling adventurous, the espresso powder here.
Step 4: Combine
Now, add the dry ingredients to the wet mixture in batches. Use a spatula to fold everything together gently — you want to combine just until everything is mixed. Overmixing is the enemy here; it can make the cookies dense and tough. If the dough feels too sticky, a quick chill in the fridge for 15 minutes helps it hold shape better.
Step 5: Prepare Filling
Fold in the dark chocolate chunks and nuts if you’re using them. I find that big chunks create irresistible pockets of molten chocolate, but feel free to vary it up depending on how intense you want the chocolate experience.
Step 6: Layer & Swirl
This is your chance to be playful! Scoop cookies evenly onto your pan, leaving about 2 inches between each. If you want a fun visual swirl — maybe an extra drizzle of melted chocolate or a sprinkle of coarse sea salt — now’s the time. Swirling this into the top with a toothpick creates a little marbled look that makes these look extra special.
Step 7: Bake
Bake the cookies for 10-12 minutes. Don’t let them get too dark on the edges — you want them just a tad soft in the middle when you pull them out. The smell here is unreal — like a cozy chocolate hug. If your oven runs hot, check them a minute or two early. They’ll firm up as they cool.
Step 8: Cool & Glaze
Let the cookies cool on the baking sheet for about 5 minutes before transferring to a wire rack. While warm, drizzle on your glaze made from powdered sugar, a splash of milk or cream, and vanilla or sea salt. If you prefer skipping the glaze, a quick dusting of cocoa powder or powdered sugar works just as well.
Step 9: Slice & Serve
If you baked these thick and want nice, neat squares instead of drop cookies, gently slice them with a sharp knife once fully cooled. Serve them warm or at room temperature with a glass of cold milk or your coffee of choice. I love pairing these with a lightly brewed spiced black tea — the bitterness balances the chocolate beautifully.
What to Serve It With
For Breakfast: These cookies actually make a surprisingly good morning treat with a strong black coffee or a latte. I sometimes crumble a cookie over Greek yogurt with a drizzle of honey for a quick, indulgent but balanced breakfast.
For Brunch: Plate your dark chocolate cookies alongside fresh berries and a pot of rich hot cocoa or a vanilla spiced chai. The contrast of fruity brightness cuts through the chocolate’s richness elegantly.
As Dessert: Serve warm with a scoop of vanilla bean ice cream and a few fresh mint leaves — no one’s ever turned this down in my family. A dash of flaky sea salt sprinkled on top of the ice cream adds an extra layer of flavor magic.
For Cozy Snacks: Nothing beats these cookies as an afternoon pick-me-up with a cozy blanket and a tall glass of milk. My kids often sneak them as after-school treats — they always come back with big smiles!
Top Tips for Perfecting Your Dark Chocolate Cookies
Butter Temperature: Always make sure your butter is softened, not melted. Too warm and your cookies will spread too much, losing that chewy texture I love so much.
Mixing: Resist the urge to overmix after adding flour — folding gently keeps the cookies tender. I’ve learned that more mixing leads to tougher bites, and none of us want that with chocolate cookies!
Swirl & Texture: For fun patterns, try swirling in a little extra melted chocolate using a toothpick before baking. It looks impressive but is actually super easy.
Chocolate Choices: Experiment with your dark chocolate. I tested this recipe with 85% cacao bars, which are intense and slightly bitter, and the kids loved the 70% for its sweeter notes. Adjust according to your palate.
Baking Breadth: Changing the scoop size alters baking time dramatically. Bigger cookies take longer and stay chewy inside. Smaller ones bake fast but can dry out if you’re not careful.
Glaze Variations: Feel free to swap out vanilla in the glaze for almond extract or even a splash of bourbon for grown-up vibes. You can thin the glaze with orange juice instead of milk for a bright zing.
Storing and Reheating Tips
Room Temperature: Store your cookies in an airtight container on the counter for up to 3 days. Placing a slice of bread inside helps maintain their softness — another grandma trick that works wonders.
Refrigerator Storage: Cookies keep well wrapped in plastic or sealed containers for up to a week. Let them come back to room temp or warm briefly for best taste.
Freezer Instructions: You can freeze baked cookies, well wrapped in foil and placed in freezer bags, for up to 3 months. Thaw overnight in the fridge, then warm for 10 seconds in the microwave to regain that fresh-baked feel.
Glaze Timing Advice: If freezing, I suggest glazing after thawing. The glaze can crack or dull in cold storage but adding it fresh keeps that beautiful sheen and flavor zip.
Frequently Asked Questions
Final Thoughts
Honestly, these dark chocolate cookies hold a special place in my kitchen — every batch feels like a little celebration of those rich, comforting flavors we all crave. Whether you’re baking for family, friends, or a quiet night in, these treats won’t let you down. I love how they’re simple enough to make any day feel special without demanding a ton of prep or fancy ingredients. If you find yourself loving this recipe like I have, you might want to check out my favorite chocolate chip cookie or double chocolate brownie recipes — they’re all part of my never-ending quest for the perfect chocolate indulgence! I can’t wait to hear how your cookies turn out, so don’t be shy about dropping a comment or sharing your own variations. Happy baking, my friend!
dark chocolate cookies
Ingredients
Main Ingredients
- 1.75 cups all-purpose flour
- 0.5 cup unsweetened cocoa powder
- 1 teaspoon baking soda
- 0.5 teaspoon salt
- 0.75 cup unsalted butter softened
- 1 cup granulated sugar
- 0.5 cup brown sugar packed
- 1 large egg
- 1 teaspoon vanilla extract
- 1 cup dark chocolate chips semisweet or bittersweet
Champagne Buttercream
- 0.5 cup unsalted butter softened
- 3 cups powdered sugar sifted
- 0.25 cup champagne at room temperature
- 1 teaspoon vanilla extract
Instructions
Preparation Steps
- Preheat your oven to 350°F (177°C) and line baking sheets with parchment paper.
- In a medium bowl, whisk together the flour, cocoa powder, baking soda, and salt; set aside.
- In a large bowl, beat the softened butter with granulated and brown sugars until light and fluffy.
- Add the egg and vanilla extract to the butter mixture and beat until combined.
- Gradually add the dry ingredients to the wet ingredients, mixing until just combined.
- Fold in the dark chocolate chips evenly through the dough.
- Scoop spoonfuls of dough onto the prepared baking sheets, spacing them about 2 inches apart.
- Bake for 10-12 minutes until the edges are set but the centers remain soft. Let cookies cool on the baking sheet for 5 minutes before transferring to a wire rack to cool completely.
- For the champagne buttercream, beat softened butter until creamy. Gradually add powdered sugar, alternating with champagne, beating well after each addition, until smooth and fluffy.
- Add vanilla extract to the buttercream and mix well. Spread or pipe buttercream on cooled cookies.