You know those nights? The ones where you stare into the fridge, a gnawing hunger in your belly, and absolutely zero desire to do anything more complicated than boil water? Yeah, I’ve been there. So many times! And that’s exactly why I fell head over heels in love with making Air Fryer Chicken breast. Forget dry, bland, or rubbery chicken – this method is a total game-changer. It’s like a little culinary magic wand for your weeknights. I used to dread cooking chicken breasts because I was always so worried about them turning out tough, but ever since I discovered the wonders of the air fryer for this specific cut, it’s become my go-to. It’s so simple, yet the results are consistently fantastic. If you’ve ever found yourself disappointed with a plain chicken breast, buckle up, because this air fryer chicken breast recipe is about to become your new best friend.
What is an air fry chicken breast
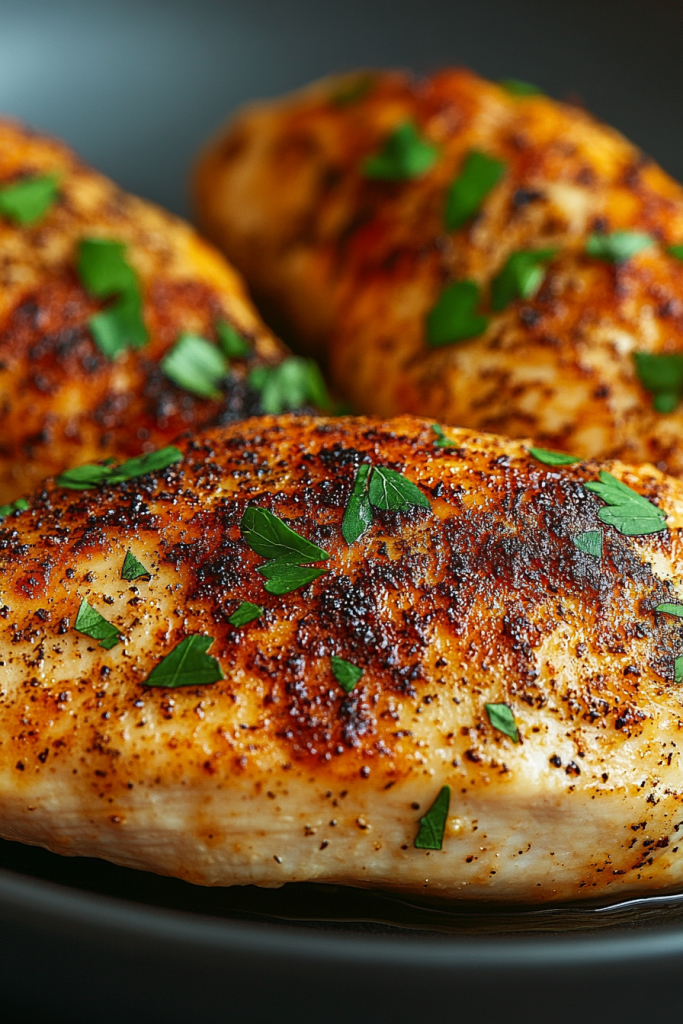
Okay, so “Air Fryer Chicken Breast” might sound super basic, and in a way, it is! But that’s part of its beauty. Think of it as a super-powered, lightning-fast way to cook boneless, skinless chicken breasts so they come out incredibly tender and juicy, every single time. Instead of relying on an oven that takes ages to preheat or a pan that can easily lead to uneven cooking, the air fryer uses hot, circulating air to create a beautiful, slightly crisp exterior while keeping the inside wonderfully moist. It’s essentially a countertop convection oven on steroids, and it’s perfect for this job. The name itself just tells you exactly what you’re getting: delicious, perfectly cooked chicken breast, made with the magic of your air fryer. It’s not a fancy dish with a complicated backstory; it’s a straightforward, incredibly effective cooking method that delivers on flavor and ease.
Why you’ll love this
Honestly, where do I even begin? There are so many reasons why this Air Fryer Chicken breast recipe has earned a permanent spot in my weekly rotation. First and foremost, the FLAVOR. Even with just a few simple seasonings, the chicken comes out so incredibly savory and satisfying. You get this subtle, almost caramelized outer layer that’s just divine, and then you bite into the most succulent chicken breast imaginable. It’s a far cry from the sometimes-dull chicken I used to bake or pan-fry! Then there’s the SIMPLICITY. I’m talking five minutes of prep, maybe ten if you’re feeling fancy with your spice blend. You literally just season the chicken, pop it in the air fryer, and let it do its thing. No hovering, no flipping every two minutes, just pure, simple cooking. This makes it incredibly COST-EFFICIENT too – chicken breasts are already a budget-friendly protein, and by cooking them perfectly every time, you’re not wasting any ingredients or having to throw out a batch of dry chicken. And VERSATILITY? Oh, it’s a chameleon! This chicken breast is amazing sliced over salads, shredded into tacos, diced into pasta, or even just eaten on its own with a side of veggies. It’s the workhorse of my kitchen, ready to be adapted to whatever meal I’m dreaming up. What I love most about this is that it completely removes the fear factor from cooking chicken breasts. It’s so reliable, and honestly, it tastes so much better than most restaurant-prepared chicken breast I’ve had. It’s a true lifesaver.
How to Make Air Fryer Chicken Breast
Quick Overview
This recipe is all about speed and simplicity. You’ll season your chicken breasts generously, let them get cozy in the Air Fryer basket, and cook them until they’re perfectly golden and cooked through. The hot air circulation in the air fryer does all the heavy lifting, ensuring a tender, juicy interior and a beautifully browned exterior. It’s a truly hands-off approach that delivers restaurant-quality results in a fraction of the time. Seriously, you can have perfectly cooked chicken breast ready to go in under 20 minutes from start to finish, which is why this is my absolute favorite for those busy weeknights when dinner needs to happen NOW.
Ingredients
For the Chicken Breast:
2-4 boneless, skinless chicken breasts (about 6-8 oz each)
1 tablespoon olive oil (or avocado oil)
1 teaspoon smoked paprika
1/2 teaspoon garlic powder
1/2 teaspoon onion powder
1/2 teaspoon dried oregano
1/4 teaspoon salt (or to taste)
1/4 teaspoon Black Pepper (or to taste)
Optional: A pinch of cayenne pepper for a little kick!
For a Simple Marinade (Optional but Recommended!):
1/4 cup plain Greek yogurt (this is my secret for extra moisture!)
1 tablespoon lemon juice
1 clove garlic, minced
1/2 teaspoon salt
For Serving (Optional Ideas):
Fresh parsley, chopped
Lemon wedges
Step-by-Step Instructions
Step 1: Preheat & Prep Basket
First things first, let’s get that air fryer ready to work its magic. I always like to preheat my air fryer to 375°F (190°C) for about 3-5 minutes. This ensures the chicken starts cooking evenly the moment it hits the basket. While it’s preheating, take a moment to pat your chicken breasts completely dry with paper towels. This is a small step, but it makes a HUGE difference in getting that lovely slight crisp on the outside. Don’t skip it!
Step 2: Marinate (Optional but Highly Recommended!)
If you’re opting for the extra moisture boost (and trust me, you should!), this is where you do it. In a small bowl, whisk together the Greek yogurt, lemon juice, minced garlic, and salt. Place your dried chicken breasts in a bowl or a zip-top bag and pour the marinade over them. Make sure each piece is well-coated. Let them sit for at least 15 minutes, or up to a few hours in the fridge. If you’re short on time, you can skip this marinating step and go straight to seasoning, but the yogurt really does make them unbelievably tender. If you skip the marinade, proceed directly to Step 3.
Step 3: Season the Chicken
If you marinated, gently lift the chicken breasts out of the marinade and let any excess drip off. You don’t need to wipe them clean, just get rid of the really wet bits. Now, place the chicken breasts on a clean plate or cutting board. Drizzle them with the olive oil and rub it all over to create a nice base for your seasonings. In a separate small bowl, mix together the smoked paprika, garlic powder, onion powder, oregano, salt, pepper, and cayenne if you’re using it. Generously sprinkle this spice blend all over both sides of the chicken breasts, pressing gently to help it adhere. Don’t be shy with the seasoning – this is where a lot of the flavor comes from!
Step 4: Arrange in Air Fryer Basket
Carefully place the seasoned chicken breasts in a single layer in your preheated air fryer basket. It’s super important that they aren’t overlapping or crowded. If they are, the air won’t be able to circulate properly, and you won’t get that even cooking we’re aiming for. If you need to, cook them in batches. This is a small price to pay for perfectly cooked chicken!
Step 5: Air Fry Time!
Now for the main event! Cook the chicken breasts at 375°F (190°C) for about 15-20 minutes. The exact time will depend on the thickness of your chicken breasts and the specific model of your air fryer. I always recommend checking for doneness around the 15-minute mark. The chicken is ready when it’s golden brown on the outside and the internal temperature reaches 165°F (74°C) when checked with an instant-read thermometer in the thickest part. If they’re not quite done, pop them back in for another 3-5 minutes and check again.
Step 6: Rest the Chicken
This is another crucial step that people often rush. Once the chicken is cooked, carefully remove it from the air fryer basket and place it on a clean cutting board. Tent it loosely with foil and let it rest for at least 5-10 minutes. This allows the juices to redistribute throughout the meat, ensuring every bite is incredibly moist and flavorful. If you cut into it too soon, all those delicious juices will just run out onto the board, leaving you with dry chicken. Patience, my friends, is key here!
Step 7: Slice and Serve
After resting, your air fryer chicken breast is ready to be sliced and enjoyed! I usually like to slice it against the grain for maximum tenderness. You can garnish with a sprinkle of fresh parsley and serve with lemon wedges for squeezing over the top. It’s beautiful, it’s simple, and it smells absolutely incredible. Enjoy!
What to Serve It With
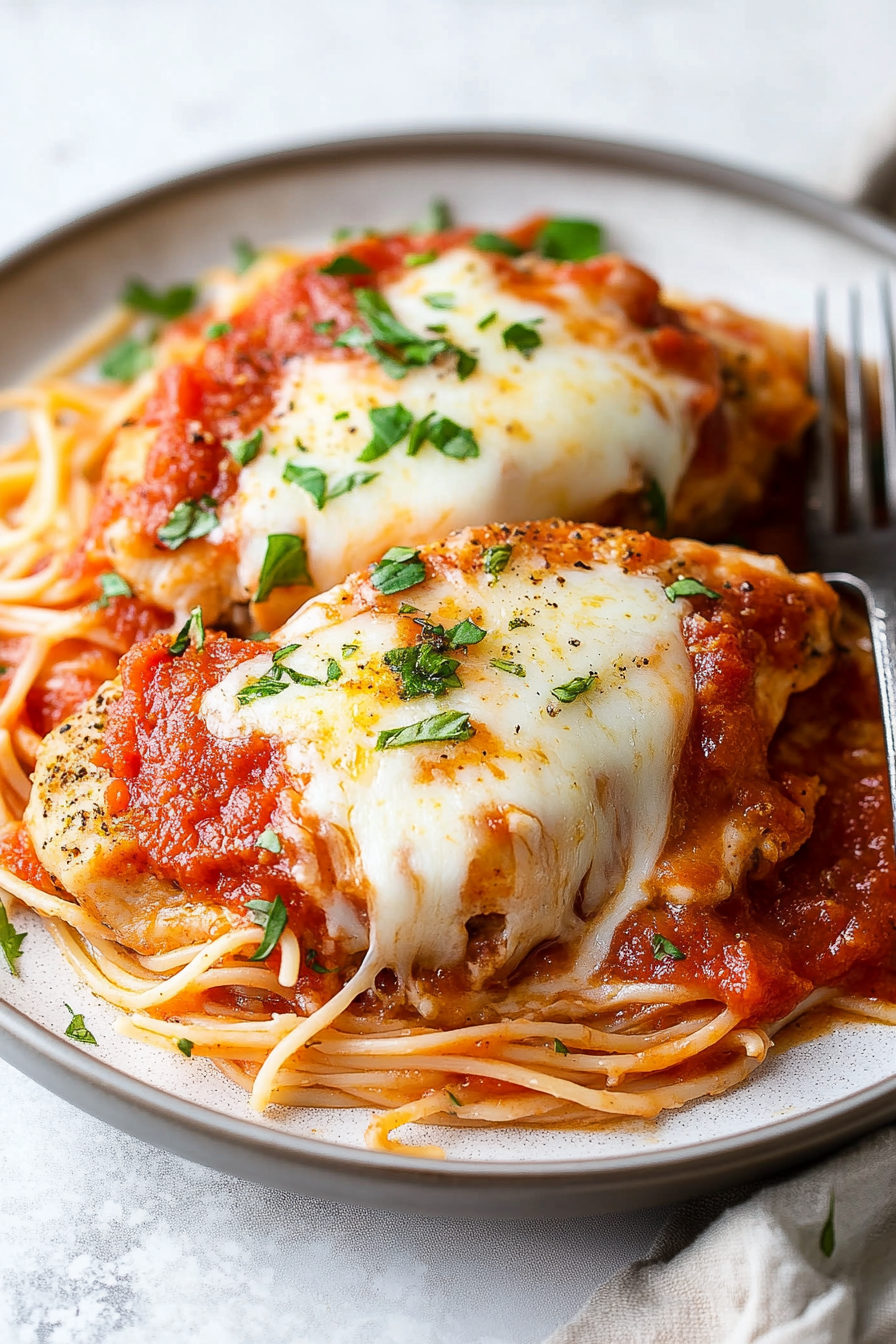
Oh, the possibilities are endless with this perfectly cooked air fryer chicken breast! For a simple, no-fuss Breakfast, I love slicing it thinly and serving it alongside some scrambled eggs and maybe a few cherry tomatoes. It adds a nice protein punch to start the day without being heavy. If you’re planning a lovely weekend Brunch, this chicken is a star. Imagine it carved and fanned out on a platter next to a fresh green salad, some roasted potatoes, and maybe a light hollandaise sauce. It feels elegant but requires minimal effort! As a Dessert alternative, okay, maybe not *dessert* dessert, but as a satisfying evening snack, it’s fantastic. Think of it as a protein-packed treat instead of reaching for something sweet. Serve it with a side of cucumber slices or a dollop of tzatziki. And for those days when you need a quick, wholesome meal, serving it with a big, colorful salad is always a win. I also love shredding leftovers and mixing them into pasta salads or topping grain bowls. My family particularly loves it when I shred it and mix it with a little barbecue sauce for quick sliders on slider buns – they disappear in minutes!
Top Tips for Perfecting Your Air Fryer Chicken Breast
Okay, so you’ve got the basic recipe down, but let’s talk about those little tweaks and tricks that take your air fryer chicken breast from good to absolutely phenomenal. First up, Zucchini Prep: I know, it sounds random, but I’ve found that if you’re making anything *else* with zucchini and have some extra, a little bit grated into the marinade doesn’t hurt! It adds a subtle moisture that can’t be detected. More importantly, for the chicken itself, proper PAT-DOWN is crucial. I mentioned it in the steps, but I cannot stress enough how important it is to get those chicken breasts as dry as possible before seasoning. It helps the oil and spices adhere better and promotes that lovely browning. For Mixing Advice, when you’re tossing the chicken with the oil and spices, do it with clean hands or in a bowl. This ensures every nook and cranny gets coated evenly. Don’t just sprinkle it on top; really work it in. When it comes to Swirl Customization, if you’re feeling adventurous, you can always add a swirl of pesto or a spicy harissa paste to your yogurt marinade for an extra layer of flavor and color. It’s a fun way to make it your own! For Ingredient Swaps, if you don’t have Greek yogurt, sour cream or even mayonnaise can work in a pinch for the marinade, though Greek yogurt is my favorite for its tangy creaminess and protein boost. For Baking Tips, remember that air fryers can be finicky. Some run hotter than others. My best advice is to get to know YOUR air fryer. Start with the lower end of the cooking time and check for doneness. You can always add more time, but you can’t un-cook dry chicken! I also find that placing the chicken slightly elevated if possible in the basket (like on a small rack if you have one) can help with air circulation, but it’s not essential. And for Glaze Variations, while I love this seasoned chicken on its own, if you’re craving something saucier, you can brush on some BBQ sauce or a teriyaki glaze during the last 5 minutes of cooking. Just watch it closely to prevent burning!
Storing and Reheating Tips
So, you’ve made a glorious batch of air fryer chicken breast, and perhaps, just perhaps, there are a few leftovers. Good for you! Let’s talk about keeping that deliciousness fresh. For Room Temperature storage, it’s best to let the cooked chicken cool down a bit before storing it. I wouldn’t leave it out for more than two hours to be safe, especially if your kitchen is warm. Refrigerator Storage is where most leftovers end up, and that’s perfectly fine. Once the chicken has cooled to room temperature, store it in an airtight container or wrap it tightly in plastic wrap or foil. It should stay good in the fridge for about 3-4 days. When it comes to Freezer Instructions, this chicken freezes surprisingly well! Wrap individual portions tightly in plastic wrap, then place them inside a freezer-safe zip-top bag, squeezing out as much air as possible. It will keep in the freezer for up to 3 months. To thaw, it’s best to move it from the freezer to the refrigerator the night before. For reheating, if it’s just from the fridge, I love to pop it back into the air fryer for 5-7 minutes at 350°F (175°C) to get it nice and warm without drying it out. If it’s frozen, thaw it first, then reheat as you would refrigerated leftovers. For Glaze Timing Advice, if you decide to glaze the chicken *before* cooking, make sure it’s a glaze that won’t burn easily. For reheating, I usually add any finishing glaze *after* reheating or just before serving to keep it fresh and vibrant.
Frequently Asked Questions
Final Thoughts
Honestly, I hope you give this air fryer chicken breast recipe a try. It’s more than just a recipe for me; it’s a solution. It’s that reliable, delicious meal that saves me when I’m short on time or energy, and it never, ever disappoints. The fact that it’s so simple yet produces such tender, flavorful chicken breast is something I still marvel at. It’s perfect for busy weeknights, easy lunches, or even impressing guests with minimal effort. If you’re someone who struggles with dry, boring chicken, this is your answer. I’m also a huge fan of anything that can be adapted, and this chicken is the epitome of that – it goes with everything! I can’t wait to hear what you think once you’ve tried it. Please, leave a comment below and let me know how yours turned out, or share any fun variations you’ve come up with! And if you enjoyed this recipe, you might also love my recipe for Lemon Herb Roasted Chicken Thighs or my Quick and Easy Baked Salmon. Happy cooking, and I hope this recipe brings as much ease and deliciousness to your kitchen as it does to mine!
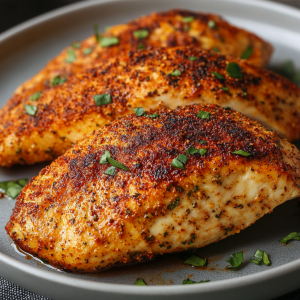
Air Fryer Chicken Breast
Ingredients
Main Ingredients
- 2 pounds Chicken breasts
- 1 tablespoon Olive oil
- 1 teaspoon Salt
- 0.5 teaspoon Black pepper
- 1 teaspoon Garlic powder
- 1 teaspoon Paprika
Instructions
Preparation Steps
- Preheat your air fryer to 400°F (200°C).
- In a bowl, combine olive oil, salt, pepper, garlic powder, and paprika.
- Place the chicken breasts in the bowl and rub them with the spice mixture, ensuring they are evenly coated.
- Place the chicken breasts in the air fryer basket, making sure they are not overcrowded.
- Cook for 15 minutes, or until the internal temperature reaches 165°F (74°C).
- Let the chicken rest for a few minutes before serving.


