You know, there are some desserts that just transport you back in time, right? For me, that’s this angel food cake. It’s not just a dessert; it’s a memory. I can still picture my grandma, her hands dusted with flour, carefully folding egg whites into a cloud-like batter. The scent of vanilla and sugar would fill her tiny kitchen, and we kids would hover, eager for just a sliver of the finished product. It’s like a fluffy, sweet hug in cake form. While some cakes can be dense and heavy, this angel food cake is the polar opposite – it’s ethereal, delicate, and surprisingly simple to make once you get the hang of it. It always feels like a special occasion when I pull this out, even if it’s just a Tuesday. It’s definitely a step up from my usual Chocolate Chip Cookies, but honestly, it’s not as intimidating as it sounds!
What is angel food cake?
So, what exactly makes an Angel Food Cake so special? Well, think of it as the fairy godmother of cakes. It’s made primarily from egg whites, sugar, and flour, with absolutely no fat (like butter or oil) and no egg yolks. This is what gives it that incredibly light, airy, and almost cloud-like texture that literally melts in your mouth. The name “angel food” is just perfect, isn’t it? It conjures up images of pure, delicate sweetness. It’s essentially a sponge cake that’s been taken to its absolute lightest, fluffiest extreme. Unlike a regular sponge cake, it relies on the protein in the egg whites to provide structure, and the sugar helps stabilize them while also contributing to that irresistible sweetness. It’s a delicate dance of ingredients and technique, but the result is pure magic.
Why you’ll love this recipe?
There are so many reasons why this Angel Food Cake recipe has become my absolute go-to. First off, the flavor is just unbelievable. It’s delicately sweet with this wonderful hint of vanilla that’s not overpowering at all. The texture is what truly sets it apart – it’s so light and airy, you’ll feel like you’re eating a sweet little cloud. Seriously, it’s like nothing else. And you know what else I love? How surprisingly simple it is. Once you get the hang of separating your eggs and whipping those whites to stiff peaks, the rest is a breeze. It’s one of those recipes that looks incredibly impressive but doesn’t require hours in the kitchen or a million fancy ingredients. Plus, it’s incredibly cost-efficient. You probably have most of the ingredients in your pantry right now! It’s also incredibly versatile. I mean, it’s fantastic on its own, but it’s also a perfect canvas for fresh berries, a dollop of whipped cream, or a light fruit sauce. It’s what I reach for when I need a beautiful dessert for a potluck or a last-minute get-together because it always looks so elegant without much fuss. Compared to something like a heavy pound cake, this angel food cake is a breath of fresh air. It’s the perfect treat when you want something sweet and celebratory but don’t want to feel weighed down.
How do I make angel food cake?
Quick Overview
Making this angel food cake is all about creating volume and then gently baking it to perfection. You’ll whip egg whites until they’re super fluffy, fold in the sugar and flour, and then bake it in a special tube pan. The key is to be gentle and patient! It’s a straightforward process, really, just requiring a little attention to detail, especially when it comes to your egg whites. The result is a cake that’s unbelievably light and airy, perfect for any occasion.
Ingredients
For the Main Batter:
1 ½ cups (12-14 large) egg whites, at room temperature (this is key for volume!)
1 ½ teaspoons cream of tartar (don’t skip this, it stabilizes the egg whites!)
1 teaspoon pure vanilla extract
¼ teaspoon almond extract (optional, but it adds a lovely depth!)
1 ½ cups granulated sugar, divided
¾ cup sifted cake flour (sifting is important for a light texture)
For the Whipped Cream Topping:
1 ½ cups heavy whipping cream, chilled
¼ cup powdered sugar (or to taste)
1 teaspoon vanilla extract
For Fresh Berry Garnish:
2 cups mixed fresh berries (strawberries, blueberries, raspberries)
Step-by-Step Instructions
Step 1: Preheat & Prep Pan
First things first, let’s get the oven ready and the pan prepared. Preheat your oven to 350°F (175°C). Now, for the pan, you absolutely need a 10-inch angel food cake tube pan. This pan has little feet on it, which are crucial for cooling. And here’s a big tip: do NOT grease or flour this pan. Seriously, resist the urge! The batter needs to cling to the sides to climb up and get that amazing height. Trust me on this one.
Step 2: Mix Dry Ingredients
In a small bowl, whisk together the ¾ cup of sifted cake flour and ½ cup of granulated sugar. Whisking them together ensures the sugar is evenly distributed through the flour, which helps create a finer crumb. Then, sift this mixture again – yes, sift it again! This is a little extra step, but it’s what guarantees that super-fine, lump-free texture that makes this angel food cake so divine. Set this aside.
Step 3: Mix Wet Ingredients
In a large, clean, dry bowl (I mean, spotless! Any trace of grease will mess up your egg whites), add your room-temperature egg whites. Add the cream of tartar and vanilla extract (and almond extract if you’re using it). Start beating these on medium speed with an electric mixer. You want them to get foamy and then start to look opaque.
Step 4: Combine
Gradually add the remaining 1 cup of granulated sugar, about 2 tablespoons at a time, while continuing to beat the egg whites on medium-high speed. Keep beating until the mixture forms stiff, glossy peaks. This means when you lift the beaters, the peaks stand straight up without drooping. Now, gently fold in the sifted flour and sugar mixture in two or three additions. Use a large rubber spatula and fold carefully, just until no streaks of flour remain. Don’t overmix; you don’t want to deflate all those lovely air bubbles you just created!
Step 5: Prepare Filling
(This step is for the Whipped Cream topping, not a filling within the cake itself as angel food cake is typically unfussy!) For the whipped cream, pour the chilled heavy whipping cream into a clean, chilled bowl. Add the powdered sugar and vanilla extract. Beat on high speed until stiff peaks form. Be careful not to overbeat, or you’ll end up with butter!
Step 6: Layer & Swirl
Spoon the batter into your ungreased angel food cake pan. Don’t smooth the top; just let it fall naturally. Gently run a knife or skewer through the batter a couple of times to release any large air pockets, but again, be gentle!
Step 7: Bake
Bake for 35-45 minutes, or until the cake is golden brown and springs back when lightly touched. A wooden skewer inserted near the center should come out clean. Don’t be tempted to open the oven door too early, as this can cause the cake to collapse.
Step 8: Cool & Glaze
This is the MOST important part! As soon as the cake comes out of the oven, invert the pan immediately. Use the pan’s feet, or balance it upside down on a bottle or cans. This allows gravity to work its magic and prevent the cake from sinking and becoming dense. Let it cool completely upside down, which can take a couple of hours. Once completely cool, carefully run a thin knife or offset spatula around the edges of the pan to loosen the cake. Gently remove it from the pan.
Step 9: Slice & Serve
To slice, use a long, serrated knife. Slice it into wedges. Top each slice with a generous dollop of the homemade whipped cream and a handful of fresh berries. It’s simple, elegant, and utterly delicious.
What to Serve It With
This angel food cake is so versatile, it’s practically a chameleon! For a delightful breakfast treat, I love pairing a thin slice with a good cup of strong coffee. It’s not overly sweet, so it doesn’t feel like a dessert first thing in the morning. The lightness is just perfect to start the day. If you’re thinking brunch, elevate it a bit by serving it with a mixed berry compote and a sprig of mint for a pop of color. A sparkling rosé or a mimosa would be a fantastic beverage pairing here. As a dessert, it truly shines. A simple dusting of powdered sugar is lovely, but I often go for the homemade whipped cream and fresh berries – it’s classic for a reason. Sometimes, a drizzle of lemon curd or a light raspberry sauce is a wonderful addition too. And for those cozy snack moments? A slice with a glass of milk, or even a small bowl of fresh strawberries on the side, is pure comfort. My family loves it after dinner when we want something sweet but not heavy. It’s just so satisfying without being overwhelming.
Top Tips for Perfecting Your Angel Food Cake
I’ve made this angel food cake more times than I can count, and I’ve learned a few things along the way that I think make all the difference. First, about those egg whites: they MUST be at room temperature. Cold egg whites just won’t whip up as voluminous. Also, make absolutely sure there’s no yolk in your whites. Even a tiny speck of fat can prevent them from reaching those beautiful stiff peaks. And for goodness sake, use a super clean bowl and beaters! I’ve learned the hard way that even a little residue can ruin the meringue. When you’re folding in the flour, be super gentle. Think of it as lifting and turning, not stirring. You want to keep all that air you’ve worked so hard to incorporate. I’ve found that sifting the flour and sugar *twice* is a game-changer for that incredibly fine texture. It might seem like a lot of effort, but it’s worth it! For ingredient swaps, if you can’t find cake flour, you can make your own by taking regular all-purpose flour and removing about 2 tablespoons per cup, then replacing it with 2 tablespoons of cornstarch, sifting it together several times. It’s not quite the same, but it works in a pinch. And for baking, really pay attention to the doneness test. A slightly underbaked cake will collapse, and an overbaked one can be dry. That upside-down cooling is non-negotiable; it’s the secret to that iconic height. Don’t rush it!
Storing and Reheating Tips
Proper storage is key to keeping your angel food cake delicious. At room temperature, it’s best to keep it uncovered, or very loosely covered with a cake dome or inverted bowl, for about 2-3 days. This helps maintain its airy texture. If you’ve frosted it with whipped cream, it’s best to refrigerate it. In the refrigerator, it will stay fresh for about 4-5 days. Make sure to store it in an airtight container or wrap it well with plastic wrap to prevent it from drying out. If you plan on keeping it for longer, freezing is an excellent option. You can freeze the cake whole or in slices. Wrap it very tightly in plastic wrap, then in foil, and it should keep its quality for up to 2-3 months. To thaw, unwrap it and let it come to room temperature for several hours. If you’ve glazed it with something that hardens, like a simple sugar glaze, it might get a little sticky when stored at room temperature, but it’s usually fine. For whipped cream, always add it just before serving, especially if you’ve stored the cake in the fridge or freezer.
Frequently Asked Questions
Final Thoughts
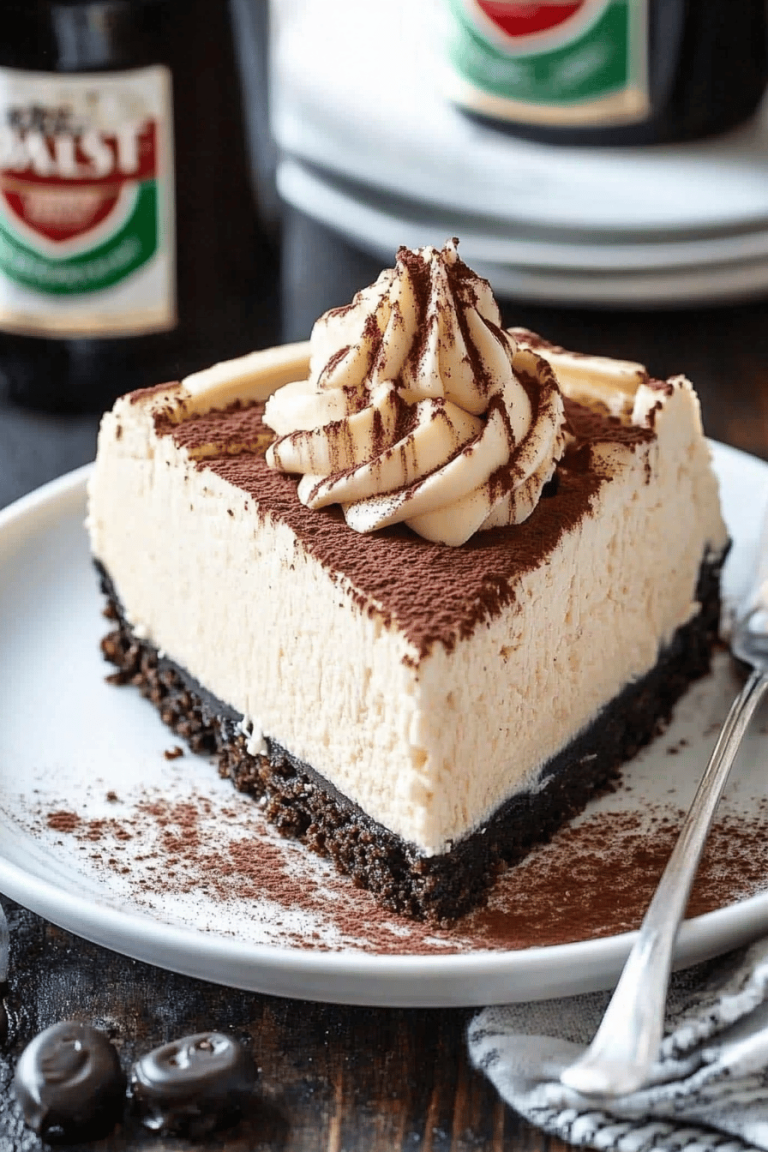
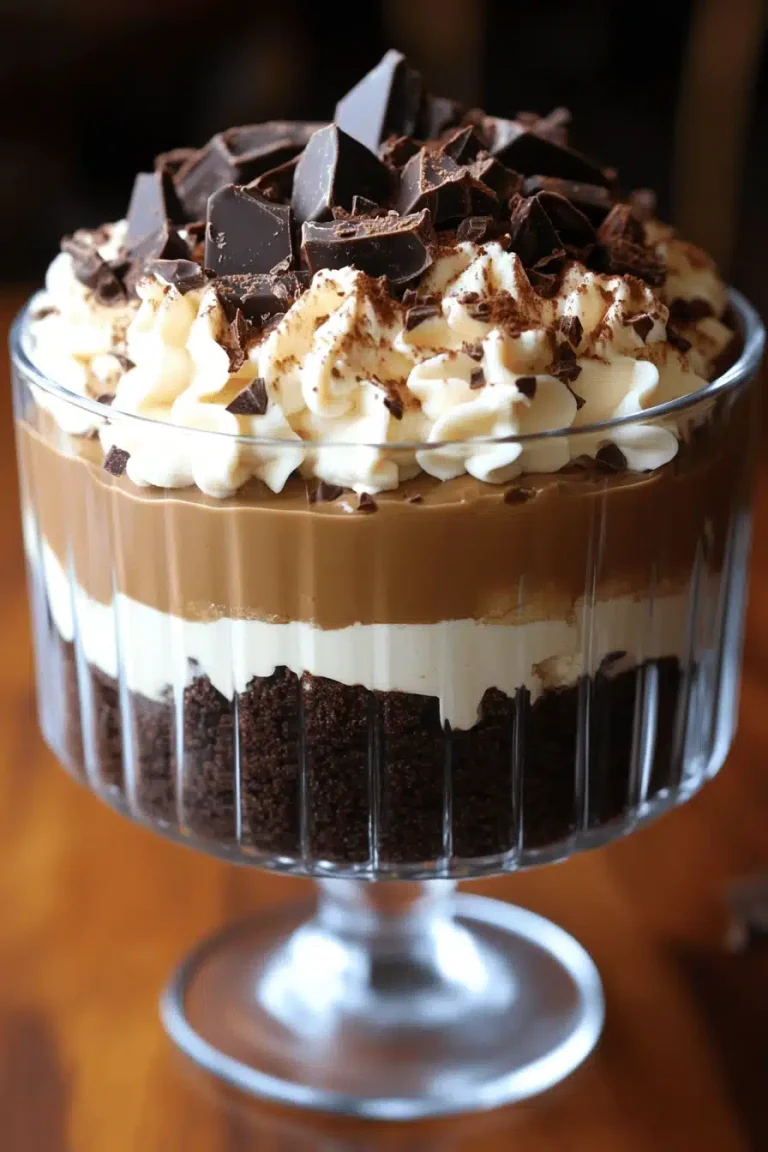
Honestly, this angel food cake recipe is a labor of love, but in the best possible way. It’s a reminder that sometimes, the simplest ingredients, treated with a little care and attention, can create something truly magical. It’s that ethereal texture and delicate sweetness that just makes you feel good. It’s perfect for celebrations, but also for those quiet moments when you just need a little something special. If you’re a fan of lighter, fluffier desserts, or if you’re looking to impress without a ton of stress, you’ve got to give this a try. It’s a recipe that feels like a hug from Grandma all over again. If you love this, you might also enjoy my recipe for a classic vanilla pound cake or my no-bake cheesecake, which offer different but equally delicious dessert experiences. I can’t wait to hear how your angel food cake turns out! Let me know in the comments if you try it and what your favorite toppings are!
Angel Food Cake
Ingredients
Main Ingredients
- 1.5 cup Egg Whites
- 1.5 cup Granulated Sugar
- 1 cup Cake Flour Sifted
- 0.25 teaspoon Salt
- 1 teaspoon Cream of Tartar
- 1 teaspoon Vanilla Extract
Instructions
Preparation Steps
- Preheat oven to 350°F (175°C). Do not grease a 10-inch angel food cake pan.
- In a large bowl, beat egg whites with cream of tartar and salt until soft peaks form.
- Gradually add sugar, beating until stiff and glossy.
- Gently fold in sifted cake flour and vanilla extract.
- Pour batter into the ungreased angel food cake pan.
- Bake for 35-40 minutes, or until the top is golden brown and a wooden skewer inserted into the center comes out clean.
- Invert the pan immediately after removing from the oven and let cool completely, about 1-2 hours.
- Once cooled, run a thin knife or spatula around the edges to release the cake.