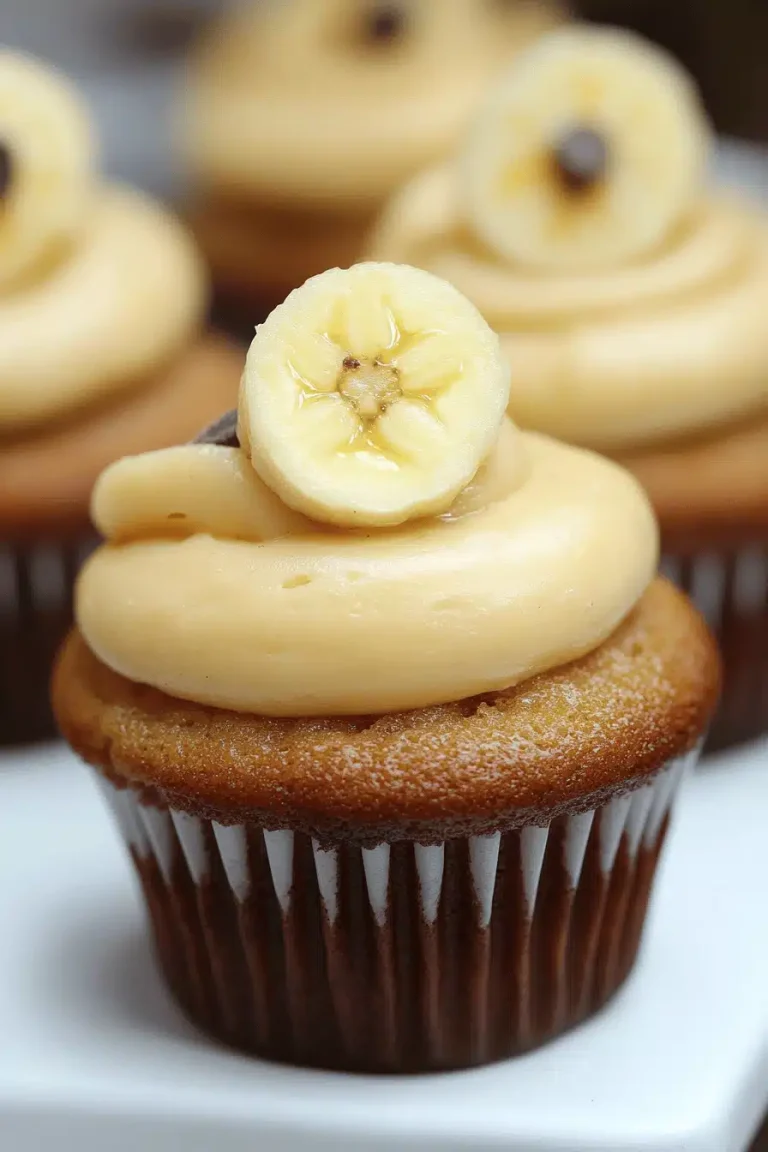
Oh my goodness, you guys. I have been dying to share this recipe with you! It’s more than just a dessert; it’s a warm hug, a blast from the past, and honestly, pure happiness on a plate. Remember those classic ice cream parlor banana splits? The ones with the boat-shaped dish, the perfect trio of ice cream, the symphony of toppings? Well, I’ve managed to capture all that magic, all that nostalgia, but in a way that’s unbelievably easy to whip up right in your own kitchen. No special equipment, no complicated steps, just pure, unadulterated joy. It’s like my grandma’s Chocolate Chip Cookies met a retro ice cream shop, and the result is this incredible Banana Split Dessert. It’s the kind of thing that makes everyone’s eyes light up, no matter their age, and let me tell you, it disappears faster than you can say “extra hot fudge!”

What is banana split dessert?
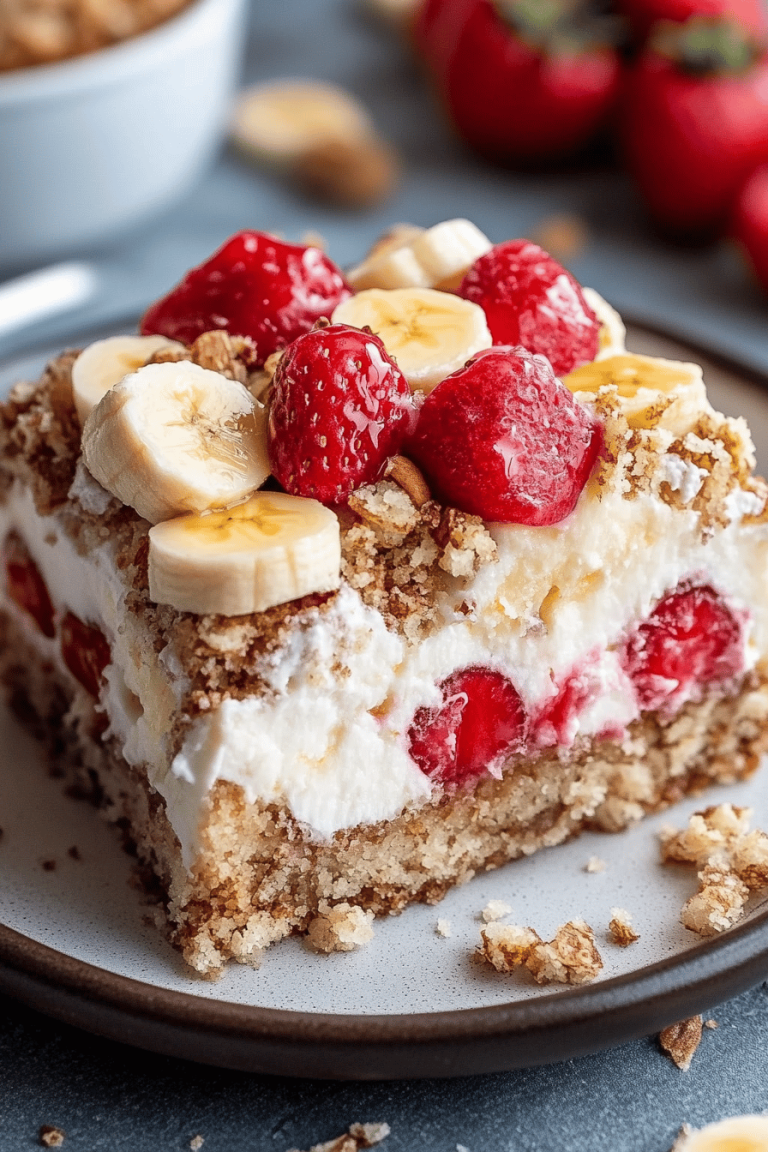
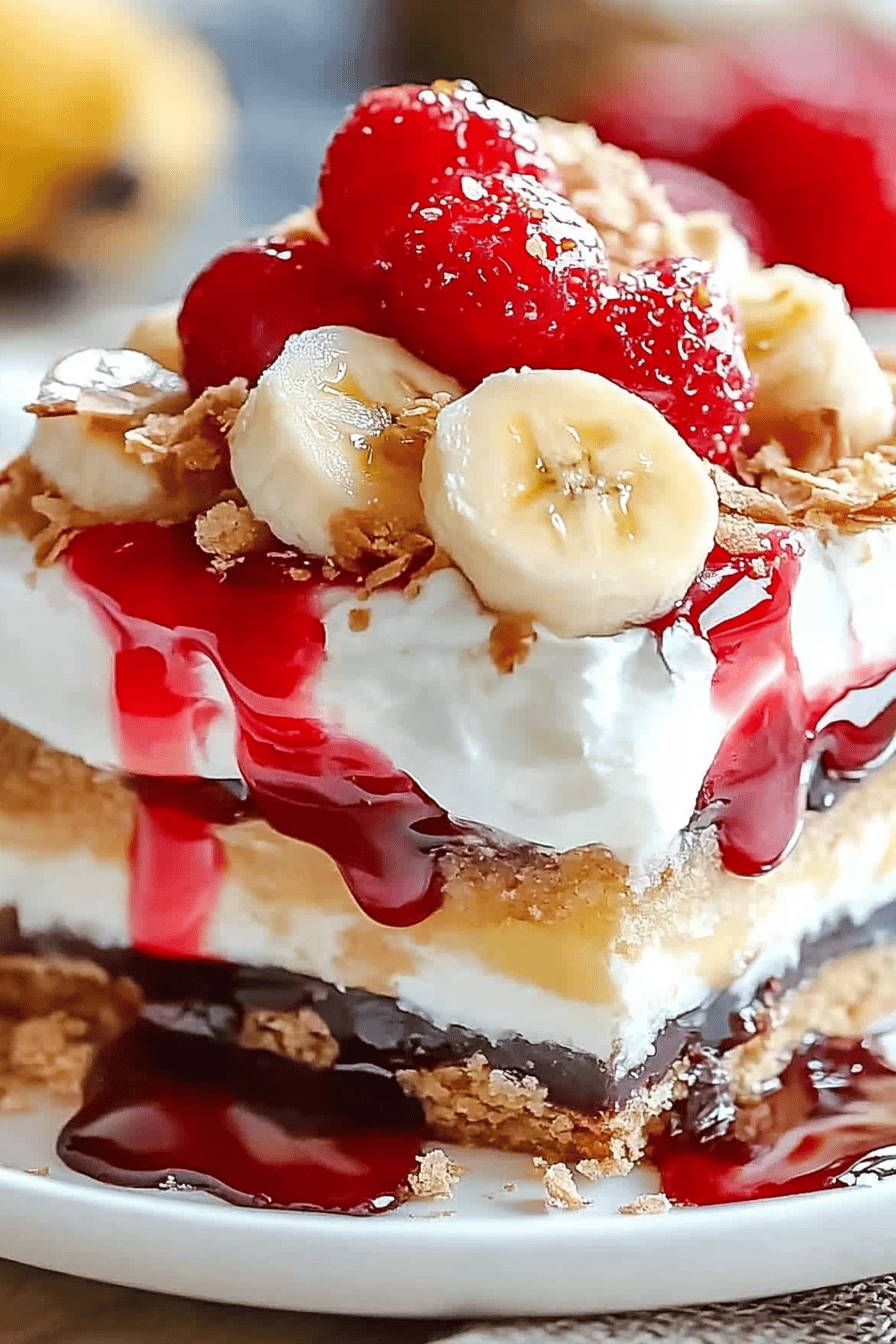
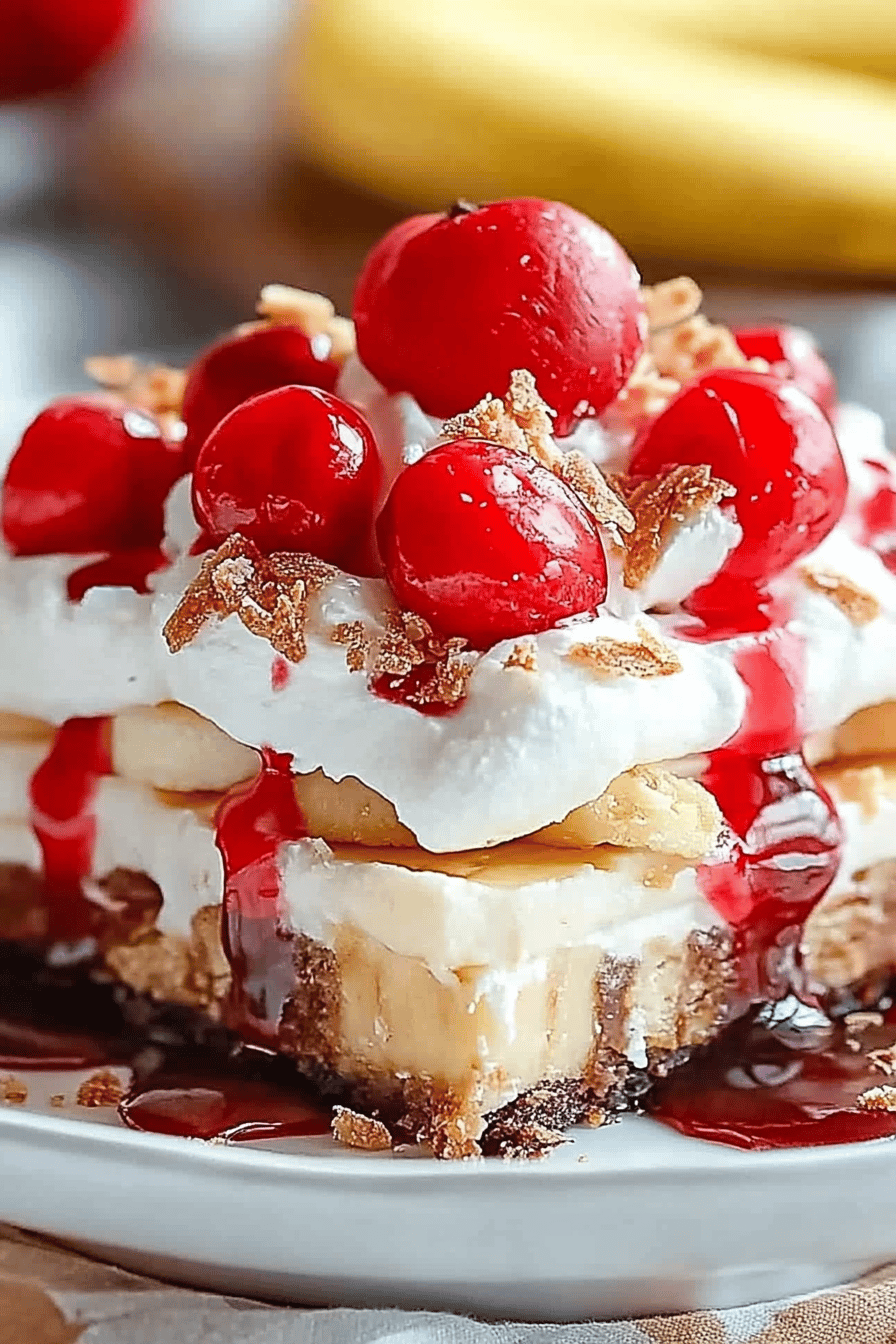
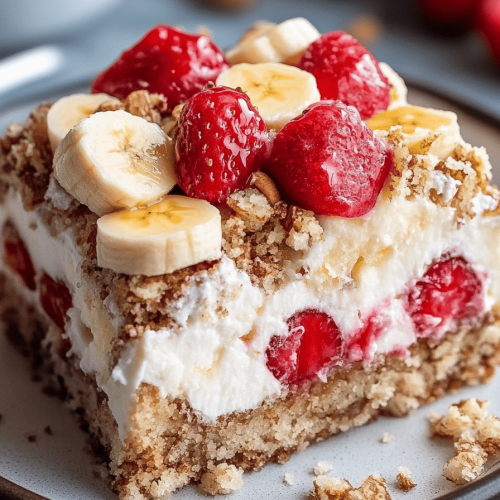
So, what exactly IS this Banana Split Dessert? Think of it as the ultimate ode to that beloved Ice Cream sundae, but transformed into a baked wonder. It’s essentially a moist, tender cake-like base infused with all the comforting flavors you’d expect – hints of banana, of course, but with a delightful warmth that comes from baking. It’s not dense or heavy; it’s more of a delightful, melt-in-your-mouth experience. The “split” part comes from how we layer and swirl in those classic banana split toppings – think swirls of creamy goodness, a touch of fruity sweetness, and a decadent chocolatey ribbon throughout. It’s like taking all the best parts of a banana split and making them even better by baking them into a cohesive, show-stopping dessert that’s perfect for any occasion. It’s familiar, yet excitingly new, a comforting classic with a delightful twist.
Why you’ll love this recipe?
Honestly, where do I even begin with why this Banana Split Dessert is an absolute winner? First off, the flavor is just out of this world. It’s got that comforting, almost caramelized sweetness from the bananas, balanced by the richness of the chocolate and the subtle tang from whatever creamy element you swirl in. It’s complex without being complicated. Then there’s the sheer simplicity of it. You dump, you mix, you swirl, you bake. That’s it! It’s one of those recipes that looks incredibly impressive when it comes out of the oven, but it’s actually super forgiving. And let’s talk about the cost-efficiency! You’re using common pantry staples, and the star of the show, bananas, are usually pretty budget-friendly. Plus, the versatility is amazing. Serve it warm with a scoop of vanilla Ice Cream (just like the original!), or let it cool and enjoy it on its own. It’s perfect for a family gathering, a weeknight treat when you need something sweet but don’t want to spend hours in the kitchen, or even for a potluck because it travels so well. It’s that reliable recipe you’ll reach for again and again, especially when you’re craving that perfect balance of sweet, creamy, and chocolatey goodness. I’ve tried so many dessert recipes over the years, but this one has earned a permanent spot in my recipe box for its sheer deliciousness and ease.
How do you make a banana split dessert?
Quick Overview
Making this Banana Split Dessert is surprisingly straightforward. We’ll start by creating a simple cake batter, then gently fold in those classic banana split flavors and textures, swirl it all together, and bake until golden and delicious. It’s a one-bowl wonder for most of the process, making cleanup a breeze, and the most “difficult” part is simply swirling in your toppings. Honestly, it’s a lifesaver when I need a crowd-pleasing dessert with minimal fuss. The aroma that fills your kitchen as it bakes is just incredible, promising pure indulgence.
Ingredients
What are some of the ingredients that will bring this deliciousness to life?
For the Main Batter:
1 and 1/2 cups all-purpose flour (I always use unbleached for a slightly better texture)
1 teaspoon baking soda
1/2 teaspoon salt
1 teaspoon ground cinnamon (this is my secret for warmth!)
1/2 cup unsalted butter, softened (don’t skimp here, it makes a difference!)
3/4 cup granulated sugar
2 large eggs, at room temperature
1 teaspoon vanilla extract
3 ripe bananas, mashed very well (the riper, the sweeter and more flavorful!)
1/2 cup buttermilk (or 1/2 cup milk with 1/2 tablespoon lemon juice or vinegar, let it sit for 5 minutes)
For the Filling:
1/2 cup chocolate chips (I love a mix of milk and semi-sweet for complexity)
1/4 cup chopped nuts (walnuts or pecans are fantastic here, but totally optional!)
1/4 cup strawberry or raspberry jam/preserves (seedless is best for a smoother swirl)
For the Glaze:
1 cup powdered sugar
2-3 tablespoons milk (or half-and-half for extra richness)
1/2 teaspoon vanilla extract
Step-by-Step Instructions
Step 1: Preheat & Prep Pan
First things first, let’s get that oven ready. Preheat it to 350 degrees Fahrenheit (175 degrees Celsius). While the oven is warming up, lightly grease and flour a 9×13 inch baking pan. I like to line mine with parchment paper too, leaving a little overhang on the sides. This makes lifting the finished dessert out so much easier, trust me on this one. A little extra prep goes a long way!
Step 2: Mix Dry Ingredients
Grab a medium-sized bowl and whisk together the flour, baking soda, salt, and cinnamon. Give it a good whisk until everything is evenly distributed. This ensures your leavening agents are spread out, which is key for a nice, even rise. Don’t skip the cinnamon; it adds such a cozy depth that really elevates the banana flavor!
Step 3: Mix Wet Ingredients
In a larger bowl, cream together the softened butter and granulated sugar until light and fluffy. This is where you build that wonderful texture. Beat in the eggs one at a time, making sure each one is fully incorporated before adding the next. Then, stir in the vanilla extract. In a separate small bowl, whisk together your mashed bananas and buttermilk until smooth.
Step 4: Combine
Now, it’s time to bring everything together. Add about half of the dry ingredients to the wet ingredients and mix on low speed (or with a spatula) until just combined. Then, add the banana-buttermilk mixture and mix until just incorporated. Finally, add the remaining dry ingredients and mix until *just* combined. This is super important: do NOT overmix! Overmixing develops the gluten too much, which can result in a tough dessert. A few little streaks of flour are perfectly fine.
Step 5: Prepare Filling
While your batter is resting for a moment, get your “filling” ready. In a small bowl, gently stir together your chocolate chips and chopped nuts (if you’re using them). You want to keep them relatively separate so they swirl nicely. Also, have your jam ready to go.
Step 6: Layer & Swirl
Pour about half of the batter into your prepared baking pan and spread it out evenly. Dollop spoonfuls of the jam over this layer of batter. Now, sprinkle about half of the Chocolate Chip and nut mixture over the jam. Carefully pour the remaining batter over the top, trying to cover as much of the jam and chocolate as you can. Sprinkle the rest of the chocolate chips and nuts over this final layer. Now for the fun part! You can use a knife or a skewer to gently swirl the jam and chocolate chips through the batter. Don’t overdo it; you want distinct ribbons, not a muddy mess. Think about creating beautiful patterns!
Step 7: Bake
Pop that pan into your preheated oven. Bake for 30-35 minutes, or until a wooden skewer or toothpick inserted into the center comes out clean or with just a few moist crumbs attached. The top should be golden brown and slightly firm to the touch. Ovens can vary, so keep an eye on it towards the end of the baking time.
Step 8: Cool & Glaze
Once it’s baked to perfection, let the Banana Split Dessert cool in the pan on a wire rack for at least 15-20 minutes. This allows it to set up properly. While it’s cooling, whip up the glaze. Whisk together the powdered sugar, 2 tablespoons of milk, and vanilla extract until smooth. Add more milk, a teaspoon at a time, if you want a thinner glaze. Drizzle the glaze over the still-warm dessert. The warmth will help the glaze spread beautifully and create a lovely sheen.
Step 9: Slice & Serve
Once the glaze has set a bit (or if you can’t wait any longer!), slice the Banana Split Dessert into squares. It’s absolutely divine served warm, perhaps with a dollop of whipped cream or a small scoop of vanilla ice cream to truly channel that classic banana split vibe. Enjoy every single bite!
What to Serve It With
This Banana Split Dessert is so wonderfully versatile, it’s perfect for any time of day or occasion! For a cozy breakfast, I love serving it warm with a strong cup of coffee. The cinnamon and banana flavors are just heavenly on a chilly morning. If you’re hosting a brunch, consider cutting it into smaller, elegant squares and arranging them on a pretty platter. A few fresh berries on the side can add a lovely pop of color and freshness. As a show-stopping dessert after dinner, it’s a guaranteed hit. I often serve it with a scoop of good quality vanilla bean ice cream – the contrast of hot and cold is just divine! And for those moments when you just need a comforting, sweet snack, cutting a small square and enjoying it with a glass of milk is pure bliss. My kids absolutely adore it as an after-school treat, and I’ve found that a tiny drizzle of chocolate syrup on top of a slice makes it feel extra special for them. It truly shines on its own, but a few carefully chosen accompaniments can elevate it even further.
Top Tips for Perfecting Your Banana Split Dessert
You know, I’ve made this Banana Split Dessert countless times, and along the way, I’ve picked up a few little tricks that really make a difference. For the bananas, make sure they are really ripe – the spottier they are, the sweeter and more intensely banana-flavored your dessert will be. Mashing them really well is key, too; you don’t want big chunks. When it comes to mixing the batter, I cannot stress this enough: do NOT overmix! Just combine until the ingredients are *barely* incorporated. A few tiny lumps are better than a tough dessert. It’s one of those things I learned the hard way after a few overly dense bakes early on! For the swirl, less is more. You want distinct ribbons of jam and chocolate, not a muddy, blended mess. Gently swirl the knife or skewer just a couple of times. If you want to swap out the jam, a good quality caramel sauce also works wonderfully, though it will be richer. And for the nuts, if you’re not a fan or have allergies, just skip them! They add a nice texture, but the dessert is still amazing without them. When it comes to baking, every oven is a bit different. I usually check mine around the 30-minute mark. A toothpick should come out with just a few moist crumbs, not wet batter. If the top is browning too quickly, you can always loosely tent it with foil. And for the glaze, if it seems too thick, add milk a tiny bit at a time. If it’s too thin, add a bit more powdered sugar. The consistency is key to that lovely finished look!
Storing and Reheating Tips
This Banana Split Dessert is so good, you’ll probably want to enjoy it over a few days! If you have any leftovers (which is rare in my house!), storing it is super simple. If it’s cooled completely and has the glaze on it, you can cover it tightly with plastic wrap or transfer it to an airtight container and leave it at room temperature for up to 2 days. It stays wonderfully moist. If you plan to keep it longer, the refrigerator is your best bet. Wrap it well or store it in an airtight container in the fridge for up to 4-5 days. The texture might firm up slightly, but it’s still delicious cold or warmed. To reheat, I usually pop a square into the microwave for about 15-20 seconds, just until it’s warmed through. It brings back that lovely soft texture. If you’re reheating a larger portion, you can warm it in a low oven (around 300°F or 150°C) for about 10-15 minutes. For the glaze, it’s best applied *after* baking and when the dessert is still warm, so it sets nicely. If you’re storing it unfrosted and plan to glaze later, you can do so just before serving, or even after warming a slice.
Frequently Asked Questions
Final Thoughts
So there you have it – my absolute favorite Banana Split Dessert! It’s more than just a recipe; it’s a little slice of happiness that brings back the best kind of memories. It’s proof that you don’t need to be a pastry chef to create something truly special and delicious. I really hope you give this a try. It’s perfect for those times when you want something a little decadent but also incredibly easy and satisfying. If you loved this, you might also enjoy my “No-Bake Chocolate Peanut Butter Bars” for another quick and decadent treat, or perhaps my “Lemon Blueberry Scones” for a delightful breakfast option. I can’t wait to hear what you think! Please leave a comment below and let me know how yours turned out, or if you tried any fun variations. Happy baking, and enjoy every sweet, banana-y bite!
Banana Split Dessert
Ingredients
Main Ingredients
- 2 large Bananas
- 4 scoops Vanilla Ice Cream
- 0.5 cup Strawberry Syrup
- 0.5 cup Chocolate Syrup
- 0.25 cup Whipped Cream
- 0.25 cup Chopped Nuts
- 4 pieces Maraschino Cherries
Instructions
Preparation Steps
- Slice the bananas lengthwise.
- Place two banana halves side-by-side in a serving dish.
- Add two scoops of vanilla ice cream between the bananas.
- Drizzle with strawberry and chocolate syrup.
- Top with whipped cream, chopped nuts, and a maraschino cherry.