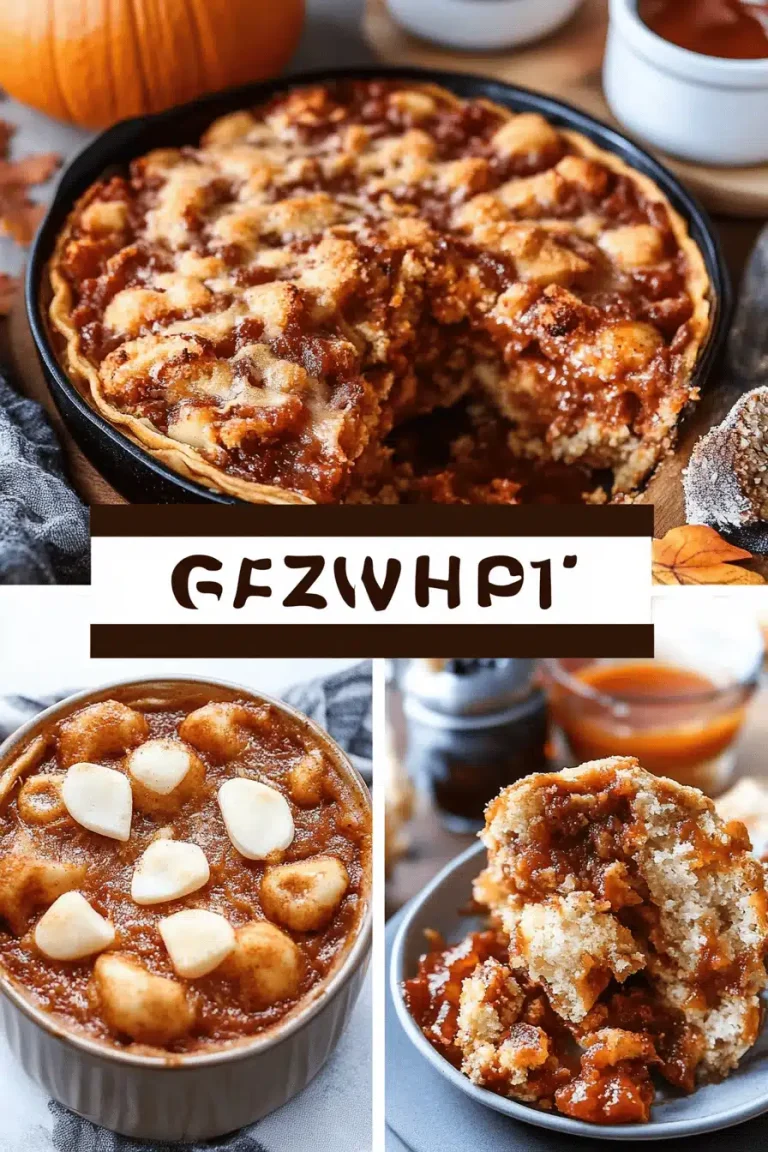
You know those days? The ones where the world feels a little too heavy, and all you really need is a little bit of sweet comfort? That’s exactly when I reach for my recipe for chocolate butterscotch cookies. It’s not just a recipe; it’s like a warm hug, a childhood memory, and a little bit of pure joy all rolled into one perfect bite. I’ve tried so many cookie recipes over the years, but this one? This one is my absolute go-to. It hits all the right notes – the deep, rich chocolate paired with the sweet, caramelly butterscotch is just heavenly. Honestly, it’s like a mini dessert party happening right there in your mouth, and everyone’s invited! If you’ve ever fallen in love with a classic Chocolate Chip Cookie, prepare yourself, because these chocolate butterscotch cookies are about to steal your heart.
What is chocolate butterscotch cookies?
So, what exactly are these magical chocolate butterscotch cookies? Think of them as the cool, sophisticated older sibling to the classic Chocolate Chip Cookie. Instead of just chocolate chips, we’re adding those wonderfully chewy, golden butterscotch chips into the mix. It’s essentially a delicious chocolate cookie dough that gets studded with two kinds of glorious chips. The butterscotch adds this incredible depth of flavor, a slightly salty-sweet, caramel-like nuance that just plays *so* beautifully with the chocolate. It’s not overly complicated, which is why I love it. It’s a simple concept, really – taking two beloved flavors and making them sing together in cookie form. It’s the kind of cookie that makes you pause for a moment of pure bliss with every bite. They’re not too cakey, not too thin – just perfectly chewy and decadent.
Why you’ll love this recipe?
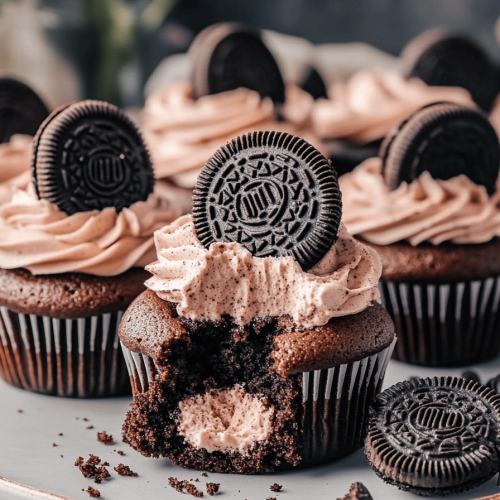
There are so many reasons why I keep coming back to this chocolate butterscotch cookie recipe, and I just know you’re going to fall in love with it too. First and foremost, the flavor is out of this world. You get that familiar, comforting chocolate cookie base, but then BAM! those butterscotch chips melt and create these pockets of sweet, chewy caramel goodness. It’s a flavor combination that’s both nostalgic and excitingly new with every bite. And let’s talk about simplicity. Seriously, this recipe is a lifesaver. I can whip up a batch on a busy weeknight when that sweet craving hits, and they’re ready before I even finish my cup of tea. The ingredients are all pretty standard pantry staples, too, so you likely won’t even need a special trip to the store. Plus, they are incredibly forgiving! I’ve experimented with this recipe countless times, and it always turns out wonderfully. My kids, who are pretty discerning critics, devour these like there’s no tomorrow, and honestly, I can’t blame them. They’re just the perfect balance of chewy, chocolatey, and caramelly. They’re also wonderfully versatile – fantastic on their own, of course, but imagine them crumbling over Ice Cream or used as the base for a no-bake cookie sandwich. If you’re looking for a crowd-pleaser that feels special without being fussy, these are it.
How do I make chocolate butterscotch cookies?
Quick Overview
Making these chocolate Butterscotch Cookies is honestly a breeze. You’ll basically cream some butter and sugars together, then add in your eggs and vanilla, followed by your dry ingredients. The magic happens when you fold in the chocolate and butterscotch chips. Then, it’s just a matter of scooping and baking until they’re perfectly golden around the edges and still a little soft in the center. The result is a batch of cookies that smells absolutely divine and tastes even better. It’s really that straightforward, making it perfect for beginners and seasoned bakers alike.
Ingredients
For the Main Batter:
We start with good quality butter – I always use unsalted, and it’s best if it’s softened to room temperature. About 1 cup (2 sticks) is perfect. Then, for the sugar, I like a mix of granulated and brown sugar. About 3/4 cup of granulated sugar for structure and sweetness, and a generous 1 cup of packed light brown sugar for that lovely chewy texture and caramel notes. Make sure your brown sugar isn’t too dry; if it is, a quick zap in the microwave or a few minutes with a damp paper towel should bring it back to life. Next, we need eggs. Two large eggs, room temperature is best, as they incorporate more smoothly. And of course, vanilla extract! Don’t skimp on this; a good teaspoon or two really amps up the flavor. For the dry ingredients, it’s your standard all-purpose flour, about 2 and 1/2 cups. I always sift mine, just to make sure there are no lumps and the cookies are extra tender. Then we need a bit of baking soda, about 1 teaspoon, to give them a good lift, and a half teaspoon of salt to balance out all that sweetness. And the stars of the show: a cup and a half of good quality semi-sweet chocolate chips and a cup and a half of butterscotch chips. I love a mix of different Chocolate Chip brands for a more complex flavor, but any good quality ones will do. For the butterscotch, I find the classic ones work best for that signature flavor.
Step-by-Step Instructions
Step 1: Preheat & Prep Pan
First things first, get your oven preheating to 375 degrees Fahrenheit (190 degrees Celsius). This is the magic temperature for perfectly baked cookies. While the oven is doing its thing, grab a couple of baking sheets and line them with parchment paper. This is a game-changer, trust me. It prevents sticking, makes for super easy cleanup, and helps the cookies bake evenly without scorching on the bottom. If you don’t have parchment paper, a lightly greased baking sheet will do in a pinch, but parchment is truly the way to go.
Step 2: Mix Dry Ingredients
In a medium-sized bowl, whisk together your flour, baking soda, and salt. Give it a good whisk for about 30 seconds. This step might seem small, but it’s important for distributing the leavening agents evenly so your cookies rise just right. You want to make sure there are no pockets of baking soda or salt. This also helps to break up any little clumps in your flour.
Step 3: Mix Wet Ingredients
Now, in a large bowl, or the bowl of your stand mixer if you’re using one (which makes life so much easier!), cream together your softened butter, granulated sugar, and brown sugar. Beat on medium speed until it’s light and fluffy, like a beautiful pale yellow cloud. This usually takes about 3-5 minutes. Then, beat in your eggs one at a time, making sure each is fully incorporated before adding the next. Finally, stir in the vanilla extract. You should have a wonderfully smooth, creamy mixture here.
Step 4: Combine
Gradually add your dry ingredients to the wet ingredients, mixing on low speed until just combined. And I mean *just* combined! It’s super important not to overmix here. Overmixing can develop the gluten in the flour too much, leading to tough cookies. Stop mixing as soon as you don’t see any streaks of dry flour. It’s okay if there are a few little bits; they’ll disappear when you add the chips.
Step 5: Prepare Filling
This step is for the chips! Gently fold in the chocolate chips and butterscotch chips using a spatula or wooden spoon. I like to reserve a handful of each to sprinkle on top of the cookies before baking, just for extra visual appeal, but that’s totally optional. Just fold them in until they’re evenly distributed throughout the dough. You want to see those beautiful chips peeking out!
Step 6: Layer & Swirl
Okay, this step is actually about portioning the dough. I use a medium cookie scoop (about 1.5 tablespoons) to portion out my dough. This ensures all your cookies are roughly the same size, which means they’ll bake evenly. Roll each scoop into a ball and place them about 2 inches apart on your prepared baking sheets. If you’re feeling fancy, now’s the time to press a few extra chocolate and butterscotch chips onto the tops of the dough balls. This really makes them look extra special once they’re baked.
Step 7: Bake
Pop those baking sheets into your preheated oven. Bake for about 9-12 minutes. The exact time will depend on your oven and how big you make your cookies, so keep an eye on them. You’re looking for the edges to be golden brown, and the centers to still look slightly underbaked and soft. They’ll continue to set up as they cool, so it’s better to err on the side of underbaking a little than overbaking. I usually pull mine out when the centers look just a touch doughy.
Step 8: Cool & Glaze
Once they’re out of the oven, let the cookies cool on the baking sheet for about 5 minutes. This is crucial for them to firm up. Then, carefully transfer them to a wire rack to cool completely. While they’re cooling, I sometimes whip up a simple glaze. For this recipe, a basic powdered sugar glaze is perfect. Just whisk together about 1 cup of powdered sugar with 1-2 tablespoons of milk or water and a tiny splash of vanilla extract until it’s smooth and drizzly. You want it thick enough to hold its shape but thin enough to pour. Drizzle this over the cooled cookies. It adds a lovely extra touch of sweetness and visual appeal!
Step 9: Slice & Serve
Once the glaze is set (or if you skip the glaze!), your chocolate butterscotch cookies are ready to be devoured. I love serving them slightly warm, but they’re also fantastic at room temperature. They make a wonderful treat any time of day. Just arrange them on a pretty platter, and watch them disappear!
What to Serve It With
These chocolate butterscotch cookies are so versatile, they can honestly stand on their own, but here are some of my favorite ways to serve them up for different occasions. For a simple breakfast treat, I love pairing them with a steaming mug of coffee or a glass of cold milk. The sweetness of the cookie cuts through the bitterness of coffee beautifully, and it’s just pure comfort. For a more elegant brunch spread, I’ll arrange them on a tiered stand with some fresh fruit and maybe a small cheese board. They add a delightful sweet counterpoint. As a dessert, they’re incredible served warm with a scoop of vanilla bean ice cream – the contrast of warm cookie and cold ice cream is pure magic. You can also crumble them over a fruit crisp or crumble for an extra layer of texture and flavor. And for those cozy snack times? They are perfect with a cup of hot chocolate, especially on a chilly evening. My family loves having them as an after-school snack; the kids always come running when they smell these baking! Sometimes, I’ll even crumble them into a homemade milkshake for an extra special treat. It’s all about enjoying these little moments of sweetness.
Top Tips for Perfecting Your Chocolate Butterscotch Cookies
Over the years, I’ve picked up a few tricks that make these chocolate butterscotch cookies absolutely perfect every single time. When it comes to the chips, don’t be afraid to mix it up! I sometimes use a combination of milk chocolate and semi-sweet chocolate chips, and that adds another layer of deliciousness. For the butterscotch chips, I find that using good quality ones makes a noticeable difference in flavor. If your cookie dough ever seems a little too soft to handle, don’t hesitate to pop it in the fridge for about 30 minutes before scooping. This really helps the cookies keep their shape and prevents them from spreading too much in the oven. Speaking of spreading, make sure you give your cookies enough space on the baking sheet. They do spread, and you don’t want them to meld into one giant cookie (unless that’s what you’re going for!). My absolute biggest tip, though, is about baking time. Ovens can be so finicky, and cookie baking is an art as much as a science. I always look for the edges to be golden brown, but the center should still look a little soft and underbaked. They will continue to cook on the hot baking sheet for a few minutes after you pull them out of the oven, so don’t overbake them! You want that lovely chewy texture, not a dry, crumbly cookie. I’ve definitely learned this lesson the hard way! If you find your cookies are spreading too much, try chilling your dough for an hour or even overnight. It makes a world of difference. And for that beautiful swirl effect if you’re making a swirl cookie, don’t overwork the dough when you’re folding in the chips. Just a few gentle folds to distribute them is all you need. For the glaze, consistency is key. You want it thick enough so it doesn’t just run off the cookie, but thin enough to drizzle easily. Add your liquid a teaspoon at a time until you get it just right. And remember, it’s okay if they’re not all perfectly shaped! The rustic charm is part of their appeal.
Storing and Reheating Tips
Proper storage is key to keeping these chocolate butterscotch cookies tasting as fresh and delicious as possible. Once they’ve completely cooled (and any glaze has set!), you can store them at room temperature in an airtight container. They’ll stay wonderfully soft and chewy for about 3-4 days this way. If you have a lot of cookies (which I usually do!), an airtight container is your best friend. Just make sure the cookies are fully cooled before you pack them away, otherwise, they can steam up the container and get soggy. For longer storage, the refrigerator is your friend. You can keep them in an airtight container in the fridge for up to a week, though they might lose a tiny bit of their chewiness. I usually let them come back to room temperature for about 15-20 minutes before eating them if they’ve been refrigerated. If you want to keep these gems for even longer, they freeze beautifully! Wrap individual cookies or stacks of cookies tightly in plastic wrap, then place them in a freezer-safe bag or airtight container. They’ll last in the freezer for up to 3 months. To thaw, simply unwrap them and let them come to room temperature. If you want to reheat them and get that fresh-from-the-oven warmth, you can pop them in a 300°F (150°C) oven for about 5-8 minutes. This brings back that lovely soft texture and even melts the chips a little. If you’ve added glaze, it’s best to store the glazed cookies at room temperature or freeze them. Reheating glazed cookies might make the glaze slightly sticky, but they’ll still be delicious. For freezing, it’s often best to glaze them *after* they’ve been thawed and reheated, if possible.
Frequently Asked Questions
Final Thoughts
There you have it – my absolute favorite chocolate butterscotch cookies! I truly hope you give these a try. They are more than just a treat; they’re a little piece of happiness that I love sharing. The way the chocolate and butterscotch chips meld together is just pure bliss, and the chewy texture is incredibly satisfying. They’re the kind of cookies that make your kitchen smell amazing and bring smiles to everyone who takes a bite. If you love a good chocolate cookie but want something with an extra layer of flavor complexity, you’ve found your winner. And honestly, the ease with which they come together makes them a perfect choice for any occasion, from a spontaneous craving to a planned bake-a-thon. I can’t wait to hear what you think! If you try these, please leave a comment below and let me know how they turned out, or share your own favorite chip combinations. Happy baking, my friends!
Chocolate Butterscotch Cookies
Ingredients
Main Ingredients
- 0.25 cup all-purpose flour
- 0.25 teaspoon baking powder
- 3 tablespoons butter
- 1 cup semi-sweet chocolate chips
- 2 eggs
- 0.5 cup sugar
- 2 teaspoons vanilla extract
- 1 cup butterscotch chips
Instructions
Preparation Steps
- Preheat oven to 350.
- In a medium-sized bowl sift together the flour and baking powder; set aside.
- Place the butter and the chocolate chips in a small saucepan and heat over medium heat until melted and smooth. Set aside.
- Crack the eggs in a large mixing bowl, add in the sugar and vanilla.
- With the electric mixer on medium speed, beat the mixture for 10 minutes, or until pale and creamy.
- Stir the flour mixture into the egg mixture.
- Fold in the melted chocolate followed by the butterscotch chips. Let stand for 10 minutes.
- Line two baking sheets with parchment paper.
- Drop dough by rounded tablespoonfuls, about 2 inches apart.
- Bake for 9 to 11 minutes, or until dry and cracked.
- Cool on trays.