Oh, these cookie truffles! They’re honestly one of those recipes that make me feel like a kitchen wizard, even on the busiest weeknights. I remember the first time I whipped these up, mostly out of sheer desperation for something sweet that didn’t involve a two-hour baking marathon. My youngest, who can usually sniff out any new dessert from a mile away, took one bite and declared them “better than store-bought cookies!” High praise, indeed! They’re so ridiculously easy, almost fool-proof, and the payoff is just immense. Think of the most comforting, gooey Chocolate Chip Cookie you’ve ever had, then imagine it condensed into a perfect, bite-sized sphere of pure joy. That’s what we’re talking about here. They’re like a hug for your taste buds, and honestly, a lifesaver when that 10 PM craving hits and you just can’t face turning on the oven for a whole cake. If you love a good chocolate chip cookie but are looking for something a little more elegant, or just a fun twist, then this cookie truffle recipe is about to become your new best friend.
What is a cookie truffle?
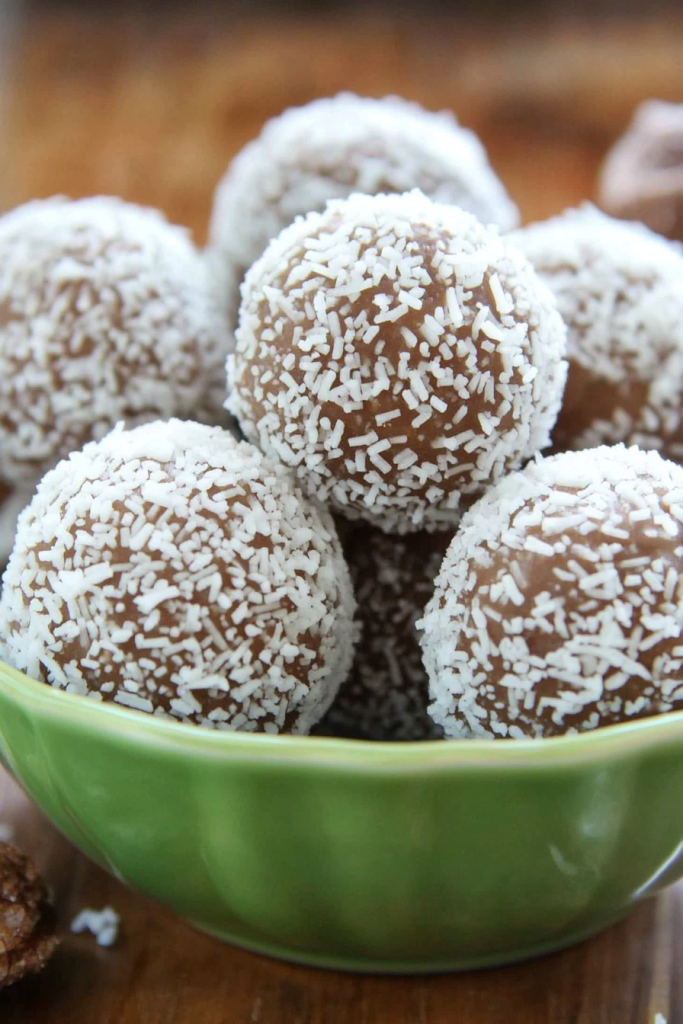
So, what exactly *is* a cookie truffle, you ask? In essence, it’s the magical marriage of a perfectly baked cookie and the rich, decadent simplicity of a chocolate truffle. We take a classic chocolate chip cookie dough, bake it just right so it’s wonderfully soft and chewy, and then crumble it up. This cookie crumble is then mixed with a binder – usually cream cheese or frosting – to create a dough that’s perfectly moldable. Then, we roll these little beauties into balls, chill them to firm up, and give them a glorious dip in melted chocolate. It’s not quite a cookie, not quite a brownie, but something entirely its own wonderful thing. The name itself just evokes this sense of luxury and indulgence, doesn’t it? It’s like taking all the best parts of a beloved treat and transforming them into something truly special and surprisingly easy to make. It’s the perfect way to elevate a simple cookie into something a bit more sophisticated, without all the fuss.
Why you’ll love this recipe?
Honestly, there are so many reasons why this cookie truffle recipe has earned a permanent spot in my recipe binder. First off, the flavor! It’s pure, unadulterated chocolate chip cookie bliss, intensified and concentrated. You get that familiar comforting taste of brown sugar, butter, and melty chocolate chips, but in a richer, more concentrated form. The texture is just divine – a tender, slightly chewy interior coated in a crisp chocolate shell. It’s incredibly satisfying. Then there’s the sheer simplicity of it all. Seriously, if you can stir things together and roll them into balls, you can make these. There’s no fancy equipment needed, and it comes together so much faster than baking a full batch of cookies. Plus, these are surprisingly budget-friendly! Most of the ingredients are pantry staples, and you can often use up leftover cookie dough or even slightly stale cookies if you find yourself with them. And the versatility? Oh, it’s endless! You can dip them in milk chocolate, dark chocolate, white chocolate, or even a mix. You can add sprinkles, chopped nuts, or a drizzle of contrasting chocolate for extra flair. What I love most about this recipe is that it feels special enough for a party or a thoughtful gift, but it’s also perfectly acceptable to make a batch just for yourself when you need a little pick-me-up. It’s the ultimate comfort food, elevated.
How do I make cookie truffles?
Quick Overview
The process is wonderfully straightforward: bake a batch of soft, chewy Chocolate Chip Cookies, crumble them up, mix with a creamy binder, roll into balls, chill, and then dip them in melted chocolate. It’s a no-fail method that guarantees delicious results every single time. The key is not overbaking the cookies initially, as you want that soft, slightly underdone texture that will make the truffles melt-in-your-mouth perfect. This method is perfect for when you have a craving, need a quick dessert for unexpected guests, or just want to make something truly special without a lot of fuss. Trust me, the aroma alone will have everyone flocking to the kitchen!
Ingredients
For the Main Batter:
2 ¼ cups all-purpose flour (I always use unbleached for better texture)
1 teaspoon baking soda
1 teaspoon salt
1 cup (2 sticks) unsalted butter, softened (crucial for creaming!)
¾ cup granulated sugar
¾ cup packed light Brown Sugar (adds that lovely caramel note)
2 large eggs, at room temperature (helps them emulsify better)
1 teaspoon vanilla extract (pure vanilla makes all the difference!)
2 cups semi-sweet chocolate chips (or your favorite kind!)
For the Filling/Binder:
4 oz cream cheese, softened (full-fat is best for richness)
OR
½ cup good quality buttercream frosting (store-bought or homemade)
For the Glaze:
2 cups semi-sweet chocolate chips (or milk, dark, white – your choice!)
1 tablespoon coconut oil or vegetable shortening (helps create a smooth, glossy finish)
Step-by-Step Instructions
Step 1: Preheat & Prep Pan
First things first, let’s get your oven ready for action. Preheat your oven to 375°F (190°C). Line a couple of baking sheets with parchment paper or silicone baking mats. This is super important because it prevents sticking and makes cleanup a breeze. I always do this when baking anything, it’s a small step that saves so much hassle later on!
Step 2: Mix Dry Ingredients
In a medium bowl, whisk together the flour, baking soda, and salt. Give it a good whisk to make sure everything is evenly distributed. This ensures your cookies bake up consistently. Set this bowl aside for now.
Step 3: Mix Wet Ingredients
In a large bowl, cream together the softened butter, granulated sugar, and packed brown sugar using an electric mixer until light and fluffy. This might take a few minutes, but it’s worth it for that lovely texture. Beat in the eggs, one at a time, then stir in the vanilla extract. Make sure you scrape down the sides of the bowl to get everything incorporated.
Step 4: Combine
Gradually add the dry ingredients to the wet ingredients, mixing on low speed (or by hand) until just combined. Be careful not to overmix here! Overmixing develops the gluten too much, which can lead to tough cookies. Stir in the chocolate chips. Again, just until they’re distributed throughout the dough. At this point, I usually sneak a tiny taste of the dough – don’t judge!
Step 5: Bake Cookies & Prepare Filling**
Drop rounded tablespoons of dough onto your prepared baking sheets, leaving about 2 inches between them. Bake for 9-11 minutes, or until the edges are golden brown but the centers still look slightly soft and underbaked. This is key for chewy cookies that will make perfect truffles! Let them cool on the baking sheets for a few minutes before transferring them to a wire rack to cool completely. Once the cookies are completely cool, crumble them into a large bowl. This is where the magic starts! Now, add your softened cream cheese or buttercream frosting to the crumbled cookies. Mix everything together with a spatula or your hands until it forms a cohesive dough that you can roll. It should hold together when you pinch it.
Step 6: Roll & Chill
Roll the cookie dough mixture into 1-inch balls. I like to use a small cookie scoop or a tablespoon to get uniform sizes, but it’s not essential. Place the rolled balls onto a parchment-lined baking sheet and pop them into the refrigerator for at least 30 minutes (or the freezer for 15 minutes) to firm up. This step is crucial; it makes them much easier to dip in chocolate without falling apart.
Step 7: Melt Chocolate for Dipping
While the cookie balls are chilling, prepare your chocolate coating. Place your chosen chocolate chips and the coconut oil or shortening in a microwave-safe bowl. Microwave in 30-second intervals, stirring well after each interval, until the chocolate is smooth and completely melted. Alternatively, you can use a double boiler. Be patient with this – melted chocolate can be finicky!
Step 8: Dip & Set
Once the cookie balls are firm, dip each one into the melted chocolate, using a fork or a toothpick to help coat them completely. Let any excess chocolate drip back into the bowl. Place the dipped truffles back onto the parchment-lined baking sheet. If you’re adding any toppings like sprinkles or chopped nuts, do it now while the chocolate is still wet. Let the truffles set completely at room temperature, or speed it up by placing them back in the refrigerator for about 10-15 minutes.
Step 9: Slice & Serve (Optional for Truffles, but good to know!)
These are best enjoyed as is, once the chocolate has set! If, for some reason, you have any leftover (highly unlikely!), store them according to the instructions below. They don’t typically need slicing unless you’re making a larger batch and want to break them up for a cookie platter.
What to Serve It With
These cookie truffles are so versatile, they fit into almost any occasion! For breakfast? I know it sounds indulgent, but they are surprisingly good with a strong cup of coffee in the morning, especially if you’re rushing out the door. Just pop one in your mouth with your coffee for a little burst of energy. For brunch, I love to arrange them on a pretty platter alongside fresh berries and maybe some mini muffins. They add a touch of elegance without requiring any extra effort. As a dessert, they are absolutely show-stopping. Serve them on a small plate with a dusting of powdered sugar or a drizzle of raspberry coulis. They pair wonderfully with a glass of milk (for the kids, of course!) or a dessert wine for the adults. And for those cozy snack moments, they are simply perfect. I often just grab one (or two!) from the fridge when I’m curled up with a good book and a cup of tea. My family has a tradition of having one special treat on Sunday evenings, and these cookie truffles are frequently requested. They’re always a hit!
Top Tips for Perfecting Your Cookie Truffles
I’ve made this cookie truffle recipe more times than I can count, and along the way, I’ve picked up a few tricks that I swear by. For the cookies themselves, the biggest tip is definitely about the baking. You want them soft and slightly underbaked in the center. They’ll continue to cook a bit on the hot baking sheet after you take them out of the oven. This ensures your crumbled cookie base isn’t dry and crumbly but nice and moist, which is crucial for the truffle texture. When you’re mixing the crumbled cookies with the cream cheese or frosting, don’t be afraid to get your hands in there. Sometimes, the best way to ensure everything is perfectly combined is to really work it with your hands until it’s a uniform, moldable dough. If it feels too sticky, a little chill time does wonders. On the subject of chilling, make sure those cookie balls are thoroughly chilled before dipping. This is probably the most important step for a clean, smooth chocolate coating. If they’re warm or soft, the chocolate won’t adhere properly and they can end up looking a bit messy. When it comes to melting the chocolate, patience is your friend! Don’t rush it in the microwave. Melt it slowly, stirring frequently. If it seizes up (gets thick and grainy), a tiny bit more coconut oil or shortening can often bring it back to its smooth, glossy self. I learned that the hard way after ruining a whole bowl of expensive chocolate once! For dipping, a fork is my favorite tool. I can use it to pick up the ball, let the excess drip off, and then slide it onto the parchment paper. For variations, don’t be shy! You can add a pinch of sea salt on top of the wet chocolate for a salty-sweet contrast, or mix a little espresso powder into the melted chocolate for a mocha kick. The possibilities are truly endless with this base recipe, which is why I keep coming back to it.
Storing and Reheating Tips
Keeping these little gems fresh is pretty straightforward. If you’ve got a few that somehow didn’t vanish into thin air, you can store them at room temperature in an airtight container for up to 2 days, provided your kitchen isn’t too warm. The chocolate coating will help them maintain their integrity. For longer storage, the refrigerator is your best friend. Place them in an airtight container, and they’ll stay delicious for about a week. I like to put a piece of parchment paper between layers if I’m stacking them to prevent them from sticking together. They are fantastic straight from the fridge, as the chocolate shell gets nice and firm. If you find you have a *lot* of truffles (a rare but delightful problem!), you can absolutely freeze them. Wrap them well in plastic wrap, then place them in a freezer-safe bag or container. They’ll keep for up to 3 months. To thaw, just transfer them from the freezer to the refrigerator and let them come to room temperature slowly. This prevents condensation from affecting the chocolate. The glaze timing advice is simple: glaze them *after* they’ve been rolled and chilled, and make sure they are completely set before storing or freezing.
Frequently Asked Questions
Final Thoughts
There you have it – my absolute favorite cookie truffle recipe! I truly hope you give these a try. They’re just such a delightful little treat that manages to be both incredibly easy and wonderfully impressive. They’re the perfect solution when you want something a little decadent without the fuss of traditional baking. The joy they bring, whether it’s a quiet moment of indulgence for yourself or shared with loved ones, is just immense. If you end up making them, please, please let me know how they turn out! I love seeing your creations and hearing your own personal twists. Drop a comment below, or tag me on social media. And if you’re a fan of easy, delicious desserts, you might also want to check out my No-Bake Peanut Butter Cookies or my Ultimate Fudgy Brownies. Happy baking, everyone!
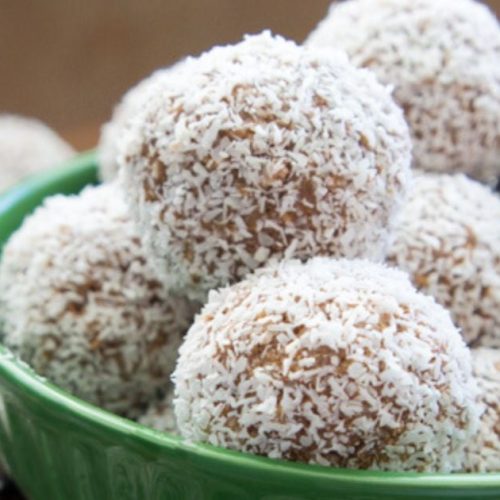
Cookie Truffle Recipe
Ingredients
Main Ingredients
- 3 cup Chocolate Sandwich Cookies crushed
- 8 ounce Cream Cheese softened
- 16 ounce Chocolate melting, for coating
Instructions
Preparation Steps
- Crush the cookies into fine crumbs.
- In a large bowl, mix the cookie crumbs and softened cream cheese until combined.
- Roll the mixture into 1-inch balls.
- Melt the chocolate and dip the cookie balls in the melted chocolate, coating them completely.
- Place the dipped truffles on a parchment-lined baking sheet and let them set.


