
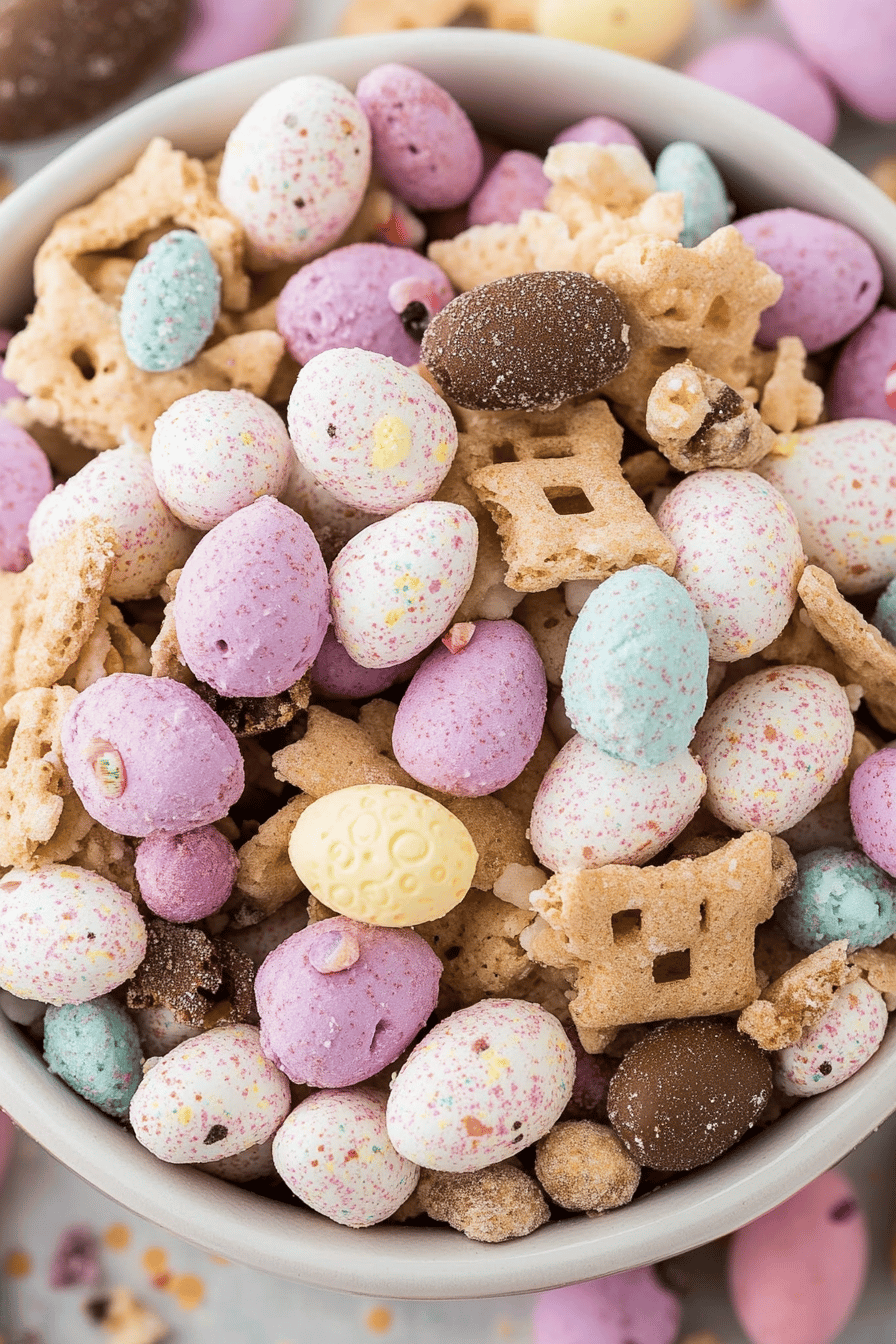
Okay, friends, get ready for something truly special! What is Easter Swirl Treat? Imagine the most moist, tender cake you’ve ever had, swirled with a sweet, creamy filling, and decorated with your favorite colors. topped with a delicate glaze. Is it really Easter bread? My Grandma used to make a similar treat every Easter, and this is my take on her classic. What’s the best part? It’s surprisingly easy to make, and it’ll always be a showstopper! Get ready for the perfect fit.Easter Treat!
What is Easter Swirl Treat?
Think of this as a cross between a Coffee Cake and quick bread, but with a festive Easter twist. It’s essentially a moist, tender loaf cake that’s infused with vanilla and Easter colors in the filling. The name comes from the beautiful swirl pattern you create by layering the cake batter and filling, which, when baked, creates this stunning visual effect. The origin of this recipe is definitely rooted in my childhood. Growing up, Easter wasn’t complete without some sort of cake like this, and I’ve adapted this recipe over the years to make it my own. It’s perfect for sharing with family and friends, and it’s guaranteed to be a hit!
Why you’ll love this recipe?
This Easter Treat is seriously addictive, and I’m not just saying that because I’m sharing it! First off, the flavor is absolutely incredible. You have the subtle sweetness of the cake itself, complemented by the creamy, rich vanilla filling, and that final touch of the glaze. It’s a symphony of textures and tastes. Secondly, it’s surprisingly simple to make. Seriously, don’t let the swirl pattern intimidate you; it’s way easier than it looks! And the ingredients are all pretty standard pantry staples, so it’s also cost-effective. What I love most about this is its versatility. You can serve it for breakfast, brunch, dessert, or even just a cozy snack with a cup of coffee. Plus, it’s always a crowd-pleaser. Compared to something like Carrot Cake, which can be a bit polarizing, this Easter Swirl Treat is universally loved! I’ve made this countless times and it never fails to impress. It’s perfect for Easter morning, an afternoon tea party, or simply when you want a comforting treat. And believe me, the aroma that fills your kitchen while it’s baking is simply heavenly. You absolutely have to try this! It’s a family tradition for a reason!
How do you make a delicious Easter Swirl Treat?
Quick Overview
What are some easy Easter Swirl Treats to make? How do I make a simple cake batter, then layering it with sweet, creamy frosting? How do you fill a loaf pan? What is the best part about the oven? Is it all pretty straightforward, and the results are just amazing? Don’t be intimidated by the swirl. Is it just a matter of layering and using skewers?
Ingredients
For the Main Batter:
* 2 1/2 cups all-purpose flour: I usually use unbleached but either works fine.
* 1 1/2 cups granulated sugar: You can reduce this slightly if you prefer a less sweet cake.
* 3 1/2 teaspoons baking powder: This is what gives the cake its rise, so don’t skip it!
* 1 teaspoon salt: Enhances the other flavors.
* 1 cup milk: I’ve tested this with almond milk, and it actually made it even creamier!
* 1/2 cup vegetable oil: Adds moisture.
* 2 large eggs: Room temperature is best for incorporating them evenly.
* 2 teaspoons vanilla extract: Use good quality vanilla; it makes a difference!
* Pinch of Easter food coloring (optional, for a festive touch). I love using gel food coloring for vibrant results.
For the Filling:
* 8 ounces Cream Cheese, softened: Make sure it’s truly softening; If you have lumps, you’ll end up with them.
* 1/2 cup granulated sugar: Adds sweetness to the filling.
* 1 large egg: Helps bind the filling together.
* 1 teaspoon vanilla extract: Adds a lovely aroma and flavor.
For the Glaze:
* 1 cup powdered sugar: Sift it to avoid any lumps.
* 2-3 tablespoons milk: Add gradually until you reach your desired consistency.
* 1/2 teaspoon vanilla extract: Optional, but I love the extra touch of flavor.

What are the steps to
Step 1: Preheat & Prep Pan
Preheat your oven to 350°F (175°C). Grease and flour a 9×5 inch loaf pan. I always line the bottom with parchment paper, too, for easy removal. Trust me, it’s a lifesaver!
Step 2: Mix Dry Ingredients
In a large bowl, whisk together the flour, sugar, baking powder, and salt. Make sure everything is well combined; this ensures even baking. I always give it a good whisk for at least 30 seconds.
Step 3: Mix Wet Ingredients
In a separate bowl, whisk together the milk, oil, eggs, and vanilla extract. Again, make sure everything is nicely combined. I like to use a fork for this; it’s quick and easy.
Step 4: Combine
How do you mix wet and dry ingredients? If you overmix a few pieces of flour, be careful not to over mix it. This will result in hard cake. I always err on the side of undermixing rather than overmix.
Step 5: Prepare Filling
In a medium bowl, beat together the Cream Cheese, sugar, egg, vanilla extract, and salt until smooth. Set aside. Is it smooth and creamy? Where does the softened cream cheese come in? I usually use an electric mixer for this, but you can also do it by hand.
Step 6: Layer & Swirl
If you have a loaf pan, pour half of the batter into it. Bake for 10-12 minutes. Dollop the Cream Cheese Filling over the batter. Pour the remaining cake batter over the filling. What is the best way to swirl the filling into the batter? If you want to create a marbled effect, don’t completely mix everything together. I like to make a few figure-eight motions across the top.
Step 7: Bake
Bake for 50-60 minutes, or until a wooden skewer inserted into the center comes out clean. If the top starts to brown too quickly, tent it with foil. Every oven is different, so keep an eye on it! I always start checking for doneness around the 50-minute mark.
Step 8: Cool & Glaze
Let the cake cool in the pan for 10 minutes before transferring it to a wire rack to cool. Once cooled, whisk together the powdered sugar, milk, and vanilla extract for the glaze. I like to let the glaze set for a few minutes before slicing the cake.
Step 9: Slice & Serve
Slice and serve! What is a good Easter Swirl Treat? I sometimes add a dollop of Whipped Cream for an extra touch of indulgence.
What should I serve it with?
What is a perfect Easter Swirl Treat? What are some ideas for a bigger spread?
For Breakfast:A warm slice alongside a strong cup of coffee is like sucking up on Ice Cream. The sweetness of the cake complements the bitterness of coffee perfectly. What’s a good way to start the day off right on Easter morning?
For Brunch:Serve with fresh berries, yogurt, and a side of mimosas. Is it elegant and festive, perfect for a special occasion brunch?
As Dessert:What are some great after-dinner treats? What’s a good dessert to serve with vanilla Ice Cream?
For Cozy Snacks: Honestly, sometimes I just grab a slice for an afternoon snack with a cup of tea. It’s comforting and satisfying, perfect for a chilly day.
In my family, we always have this with a side of fresh Fruit Salad. It’s a tradition! I’ve also found that it pairs well with citrusy flavors, so a lemon or orange zest garnish is always a good idea.
Top Tips for Perfecting Your Easter Swirl Treat
Okay, here are my tried-and-true tips for making this Easter Swirl Treat the absolute best it can be:
Cream Cheese Prep: Make sure your cream cheese is truly softened. I usually leave it out at room temperature for at least an hour. If it’s still cold, it won’t incorporate smoothly, and you’ll end up with lumps.
Mixing Advice: Don’t overmix the cake batter! Overmixing develops the gluten in the flour, which will result in a tough cake. Mix until just combined; a few streaks of flour are okay.
Swirl Customization: Get creative with your swirl! You can use a knife, skewer, or even a chopstick. Experiment with different patterns to see what you like best. Just don’t overdo it; you want to create a marbled effect, not completely mix everything together.
Ingredient Swaps: If you don’t have milk, you can use buttermilk or yogurt. It will add a slight tang to the cake, which is delicious! You can also substitute the vegetable oil with melted butter for a richer flavor.
Baking Tips: Keep an eye on the cake while it’s baking. If the top starts to brown too quickly, tent it with foil. Also, remember that every oven is different, so baking times may vary.
Glaze Variations: Feel free to get creative with the glaze! You can add a splash of lemon juice for a citrusy twist, or a pinch of cinnamon for a warm, spicy flavor. You can also tint the glaze with food coloring for a festive touch.
I’ve learned that a little patience goes a long way with this recipe. Taking the time to properly soften the cream cheese and avoid overmixing the batter will result in a truly exceptional cake. And don’t be afraid to experiment with different flavors and swirls to make it your own!
Storing and Reheating Tips
Here’s how to keep your Easter Swirl Treat fresh and delicious:
Room Temperature: You can store this cake at room temperature for up to 2 days. Just make sure to cover it tightly to prevent it from drying out. I usually use a cake dome or wrap it in plastic wrap.
Refrigerator Storage: For longer storage, you can keep it in the refrigerator for up to 5 days. Again, make sure to wrap it tightly to prevent it from drying out. The cold can dry out the cake.
Freezer Instructions: If you want to freeze the cake, wrap it tightly in plastic wrap and then in foil. It can be stored in the freezer for up to 2 months. Thaw it overnight in the refrigerator before serving.
Glaze Timing Advice: If you’re planning to freeze the cake, I recommend waiting to glaze it until after it’s thawed. This will prevent the glaze from becoming sticky or runny.
I always find that this cake tastes best when it’s served at room temperature. If you’ve stored it in the refrigerator, let it sit out for about 30 minutes before serving.
Frequently Asked Questions
Final Thoughts
So, there you have it – my family’s beloved Easter Swirl Treat! It’s more than just a recipe; it’s a way to bring a little bit of joy and sweetness to your Easter celebration. From the beautiful swirl pattern to the incredible flavor, this cake is sure to impress. And the best part? It’s surprisingly easy to make, so even beginner bakers can whip this up with confidence. If you enjoyed this recipe, you might also like my lemon poppyseed bread or my chocolate chip banana bread. They’re both equally delicious and easy to make! I truly hope you give this Easter Treat a try. It’s a recipe that’s been passed down through generations, and I’m so excited to share it with you. Happy baking! And please, leave a comment below and let me know how yours turns out. I can’t wait to hear about your own Easter Swirl Treat creations!
Easter Treat
Ingredients
Main Ingredients
- 1 cup Chocolate Chips
- 0.5 cup Peanut Butter
- 2 cups Marshmallows
Instructions
Preparation Steps
- In a medium bowl, combine chocolate chips and peanut butter.
- Add marshmallows and mix well.
- Form into small balls and place on wax paper.


