There’s really nothing like the smell and taste of homemade ice cream on a warm afternoon. I can’t tell you how many times I’ve stood in my kitchen, buzzing with anticipation while the churner does its magic, just waiting for that first creamy spoonful. Homemade ice cream feels like a small celebration—a bit of indulgence that my whole family looks forward to, especially when the store-bought stuff just won’t cut it. And trust me, once you experience how rich and smooth homemade ice cream is, it’s hard to go back. It’s so much more than just a frozen dessert: it’s a moment of pure comfort, the kind that reminds me of childhood summers and late-night family chats. This classic homemade ice cream recipe is straightforward but packs a big flavor punch, perfect when you want to whip up something sweet without fussing over complicated equipment or exotic ingredients.
What is home made ice cream?
Think of homemade ice cream as your favorite ice cream, only made fresh in your kitchen with real, simple ingredients—no weird additives or preservatives. It’s essentially a creamy frozen dessert made from cream, milk, sugar, and flavors like vanilla or chocolate. The name itself is pretty straightforward, right? But the real magic happens in the method: slowly churning the mixture while it freezes to keep the texture smooth and scoopable. Unlike store-bought varieties, homemade ice cream lets you control the sweetness, the creaminess, and the flavors. Plus, it’s incredibly satisfying to make something so classic and delicious with your own hands. If you’re used to those pre-packaged tubs or ice cream truck favorites, homemade ice cream will feel like a little slice of heaven — fresh, rich, and utterly homemade.
Why you’ll love this recipe?
What I absolutely adore about this homemade ice cream recipe is how it hits all the right notes without needing any fancy gadgets or hard-to-find ingredients. First off, the flavor: it’s decadently creamy with a pure vanilla richness that makes every bite melt in your mouth, but you can also easily swap in your favorite flavors. Next, the simplicity. Honestly, if you can whisk, stir, and chill, you’re halfway there. No ice cream machine? No problem. I’ve done plenty of batches without one by stirring every half hour and still got perfect results. Also, it’s surprisingly budget-friendly: no pricey ice cream pints here, just pantry staples like cream, sugar, and eggs you probably already have. That versatility is a game-changer too—this recipe is a blank canvas. Add berries, chocolate chips, swirls of caramel, or nuts, and you’ve got a personalized frozen dessert everyone will fight over. Plus, I love that it doubles as a stress-buster on those busy nights when you crave something sweet but don’t want to bake a cake or donuts. This recipe has become a little tradition in my house, and honestly, my kids ask for it more than birthday cake now!
How do I make homemade ice cream?
Quick Overview
Making homemade ice cream sounds like a big deal, but it’s pretty simple once you get into the rhythm. The key is to turn high-quality ingredients—cream, milk, and sugar—into a silky, flavorful base, cook it gently if you’re making a custard-style, then chill it thoroughly before churning to get that perfect creamy scoop. Whether you use an ice cream maker or the “stir-in-the-freezer” method, the process isn’t intimidating at all. The best part? You can get creative with mix-ins or skip them for a classic vanilla feel. Stick with me and I’ll walk you through step by step how to turn your kitchen into your own little ice cream parlor.
Ingredients
For the Ice Cream Base: For the base: For the base: For the base: For the base: For the base: For the base: For
- 2 cups heavy cream – the richer and fresher, the better for that dreamy creaminess
- 1 cup whole milk – adds balance, so it’s not too heavy
- 3/4 cup granulated sugar – you can adjust this, but this amount keeps it sweet enough without overpowering
- 1 tablespoon pure vanilla extract – look for the real stuff, it makes a world of difference
- 4 large egg yolks – optional, if you want a custard base for extra richness and silky texture
For Mix-Ins or Flavors:
- Fresh berries or fruit compote – toss in during the last few minutes of churning
- Chocolate chips or chopped nuts – classic and crunchy additions
- Swirls of caramel or fudge – add right at the end before freezing
- Espresso powder or matcha powder – to take it up a notch
Optional Glaze or Toppings:
- Chocolate ganache – warm chocolate melted with a touch of cream for decadent drizzle
- Crushed cookies or sprinkles – for a fun crunch and texture
- Whipped cream and fresh fruit – simple, fresh contrast
Step-by-Step Instructions
Step 1: Preheat & Prep Pan
First, if you’re making the custard style (with eggs), you’ll be gently cooking your base, so get your saucepan ready over medium-low heat. No scorching here—slow and steady is key. You don’t need to preheat for the freezer method, but be sure your mixing bowl and utensils are clean and dry for the next steps.
Step 2: Mix Dry Ingredients
Combine your sugar with any dry flavorings (like espresso or matcha powder) in a small bowl. This step helps break up any lumps and lets the flavors distribute evenly in your base. It’s a small detail but trust me, it improves the smoothness of the final product.
Step 3: Mix Wet Ingredients
If you’re making the custard, whisk the egg yolks lightly in a bowl until smooth and pale. Warm the milk and cream in your pan until it’s steaming but not boiling, then slowly add some into the yolks while whisking constantly—this tempers the eggs and prevents curdling. If you’re skipping eggs, just gently mix your cream, milk, sugar, and vanilla until the sugar dissolves.
Step 4: Combine
Return everything to the pan (if using custard) and stir constantly over low-medium heat until the mixture thickens enough to coat the back of a spoon—don’t rush or you’ll scramble those eggs! If you’re going no-cook, combine everything in a bowl and stir until smooth. This is your ice cream base and it should feel luxuriously creamy and well-blended.
Step 5: Prepare Filling
If you want mix-ins or swirls, prepare them now: chop nuts, make berry compote or melt chocolate. Keep in mind, lots of frozen add-ins can make your ice cream icy, so a little goes a long way here.
Step 6: Layer & Swirl
Once your base is chilled (a few hours or overnight works best), pour it into your ice cream maker and churn according to your machine’s instructions. When it reaches a soft-serve texture, fold in your fillings gently to keep that creamy texture untouched. For a no-machine approach, transfer the base to a freezer-safe dish and stir vigorously every 30 minutes to break up ice crystals and swirl in flavors. This is a little work but so worth it.
Step 7: Freeze
Move the churned ice cream into an airtight container, smoothing the top with a spatula. Freeze for at least 4 hours to set fully. If you added swirls or chunks, this helps them meld into the ice cream perfectly.
Step 8: Glaze & Garnish
Before serving, consider drizzling a warm glaze like chocolate ganache over the top or sprinkling crushed cookies for crunch. I find that adding glaze just before serving keeps it fresh and glossy—adding it too early can make things sticky or soggy. Your call, but it’s a small trick I picked up from trial and error.
Step 9: Slice & Serve
Serve your homemade ice cream with a warm spoon, perhaps scooping into bowls or cones. Let it sit out for a few minutes if it’s too firm; a little patience makes scooping so much easier. Fresh berries, a sprinkle of sea salt, or a little whipped cream turn this simple treat into a showstopper. Your friends and family won’t believe you made it yourself—especially when it disappears in minutes at your house!
What to Serve It With
For Breakfast: A scoop of homemade ice cream might sound a little decadent for breakfast, but paired with freshly brewed coffee and toasted brioche, it’s a wonderful morning treat. Try it alongside some warm, buttered pancakes or waffles for a brunch feel that feels luxurious but relaxed.
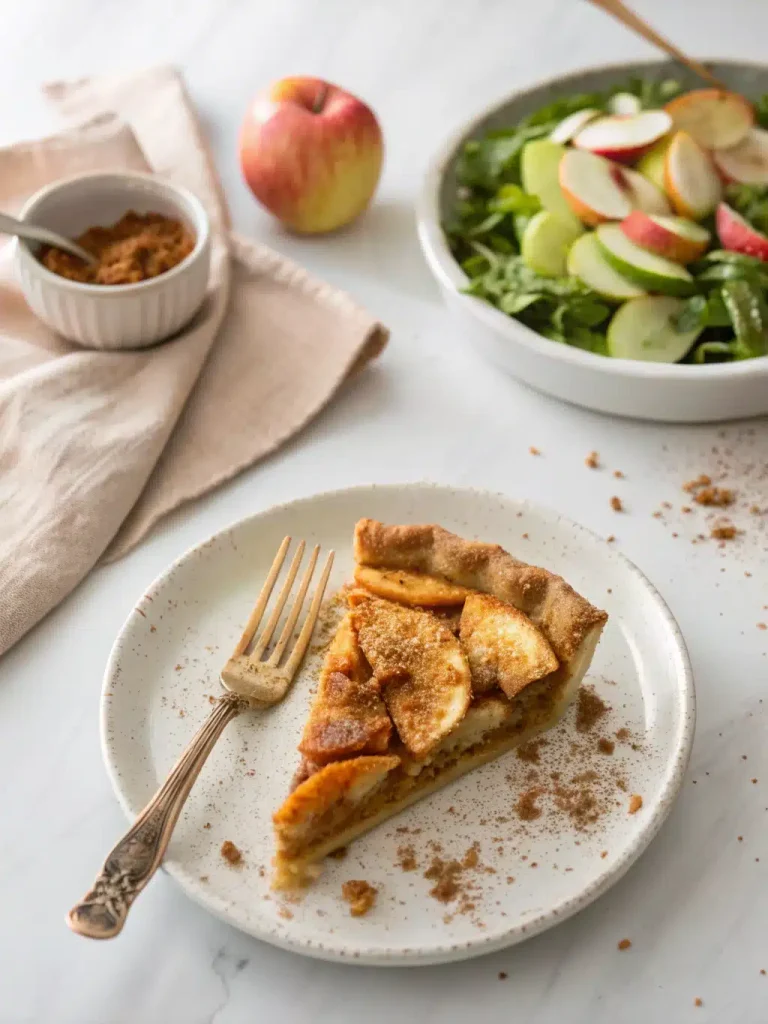
For Brunch: Serve scoops of vanilla ice cream on top of fresh fruit tarts or crumbles. It adds that perfect creamy contrast to tangy, juicy berries or apples. A mimosa or a lightly sparkling elderflower drink is a lovely companion, making the whole table feel festive yet laid-back.
As Dessert: Nothing beats homemade ice cream drizzled with caramel or chocolate sauce after a good meal. I like to offer a variety of toppings so guests can customize—think crushed nuts, browned butter sauce, or a spoonful of homemade jam. If you want to get fancy, serve alongside a warm brownie or apple crisp for that hot-meets-cold magic.
For Cozy Snacks: Sometimes, it’s just about comfort. I love scooping a bowl of ice cream while curling up with a good book or binge-watching a favorite show. For ultimate indulgence, add a handful of toasted marshmallows or a sprinkle of cinnamon. My family and I often make this a Sunday night ritual—it’s like a tiny celebration of the weekend winding down.
Top Tips for Perfecting Your Homemade Ice Cream
Quality Dairy Is Key: Use fresh, high-fat cream and whole milk. It makes a difference—you can taste it in every spoonful! I tried using half-and-half once, and while it worked, it wasn’t quite as rich or silky.
Don’t Skip the Chill: Let your base cool completely and ideally chill overnight. It helps flavors develop and churns up creamier ice cream.
Tempering Eggs Matters: If you’re making a custard base, slowly add warm milk to your yolks while whisking constantly. I learned this the hard way after ending up with scrambled eggs once!
Mix-ins Timing: Add your mix-ins towards the end of churning or mix them in gently before freezing. Adding too early can cause them to settle unevenly or get icy.
Swirl Technique: For pretty swirls, add your sauce or berry compote after half the churning. Then pulse the machine a few times to create lovely ribbons that peek through.
Keep it Cold: Freeze your ice cream maker’s bowl thoroughly and store your ice cream in an airtight container to avoid ice crystals.
Glaze Consistency: A glaze should be pourable but not too runny. Warm chocolate with a splash of cream works wonders, but you can add a pinch of salt or espresso for depth.
After many batches, I’ve realized patience is one of the biggest secrets. Rushing any step can affect texture and flavor. Also, don’t be afraid to tweak sugar or salt—it makes a surprising difference. Homemade ice cream is forgiving and fun to experiment with!
Storing and Reheating Tips
Room Temperature: Keep your ice cream in the freezer always, but when serving, leave it out just 5-10 minutes beforehand for easier scooping. Don’t keep it at room temperature longer than that or it’ll get melty fast.
Refrigerator Storage: Ice cream doesn’t do as well in the fridge (it melts quickly), so avoid storing it there. If you have leftovers of your glaze or toppings, those can be kept in an airtight container for up to 5 days.
Freezer Instructions: Store your homemade ice cream in an airtight container, pressing a piece of parchment or plastic wrap against the surface before sealing it inside the lid. This helps prevent ice crystals forming. For best quality, eat within 2 weeks. When ready to enjoy, thaw in the fridge for about 10-15 minutes or at room temperature just a few minutes to soften for scooping.
Glaze Timing Advice: Add your glaze freshly warmed just before serving if you want that shiny, luscious finish. If glazing before freezing, know the texture will firm up and might lose some sheen, but the flavor still shines through on reheating in small doses.
Frequently Asked Questions
Final Thoughts
Making homemade ice cream is one of those little acts of love that transforms a moment. Whether it’s a quiet night craving something sweet or a weekend treat with the whole family, this recipe always brings smiles and that cozy feeling of comfort you just can’t get from a store-bought tub. I love that it’s so flexible—you can keep it simple and classic or get creative with flavors and mix-ins. It’s become a beloved ritual at our house, a delicious tradition I hope you’ll enjoy as much as we do. Don’t hesitate to share how you customize yours—I’m always excited to hear new twists! Happy churning, and here’s to many creamy, dreamy scoops ahead!
homemade ice cream
Ingredients
Main Ingredients
- 1.75 cups heavy cream
- 1.25 cups whole milk
- 0.75 cups sugar
- 0.125 teaspoons fine sea salt
- 1 tablespoon vanilla extract or 1 vanilla bean split in half lengthwise
Instructions
Preparation Steps
- Pour 1 cup of the heavy cream into a saucepan and add the sugar and sea salt. If using a vanilla bean, scrape the seeds into the mixture and add the pod to the saucepan.
- Warm the mixture over medium heat until the sugar dissolves. Remove from heat and add the remaining cream, milk, and vanilla extract if used. Whisk to combine and chill in the refrigerator.
- When ready to churn, remove the vanilla pod, whisk the mixture again, and pour it into the ice cream maker. Churn according to the manufacturer’s instructions.
- Serve immediately or transfer the finished ice cream to an airtight container. Freeze until ready to serve.