
There are some recipes that just feel like a warm hug, and this fluffy French bread is absolutely one of them for me. I remember my grandma making something similar on Sunday mornings, the aroma filling our entire house and making it impossible to stay in bed. It wasn’t just bread; it was an event. This recipe, though, has a few twists that make it unbelievably simple and, dare I say, even better than the one I grew up with (shhh, don’t tell Grandma!). If you’ve ever been intimidated by homemade bread, thinking it’s too fussy or time-consuming, you are going to be so pleasantly surprised. It’s the kind of thing that makes a regular Tuesday feel a bit special, and it’s become my go-to whenever I want to impress without a lot of fuss. It’s like the love child of a tender cake and a classic sweet bread, and it’s a real crowd-pleaser. Honestly, it’s the best fluffy French bread I’ve ever had, and I’ve made A LOT of it!
What is a fluffy French bread?
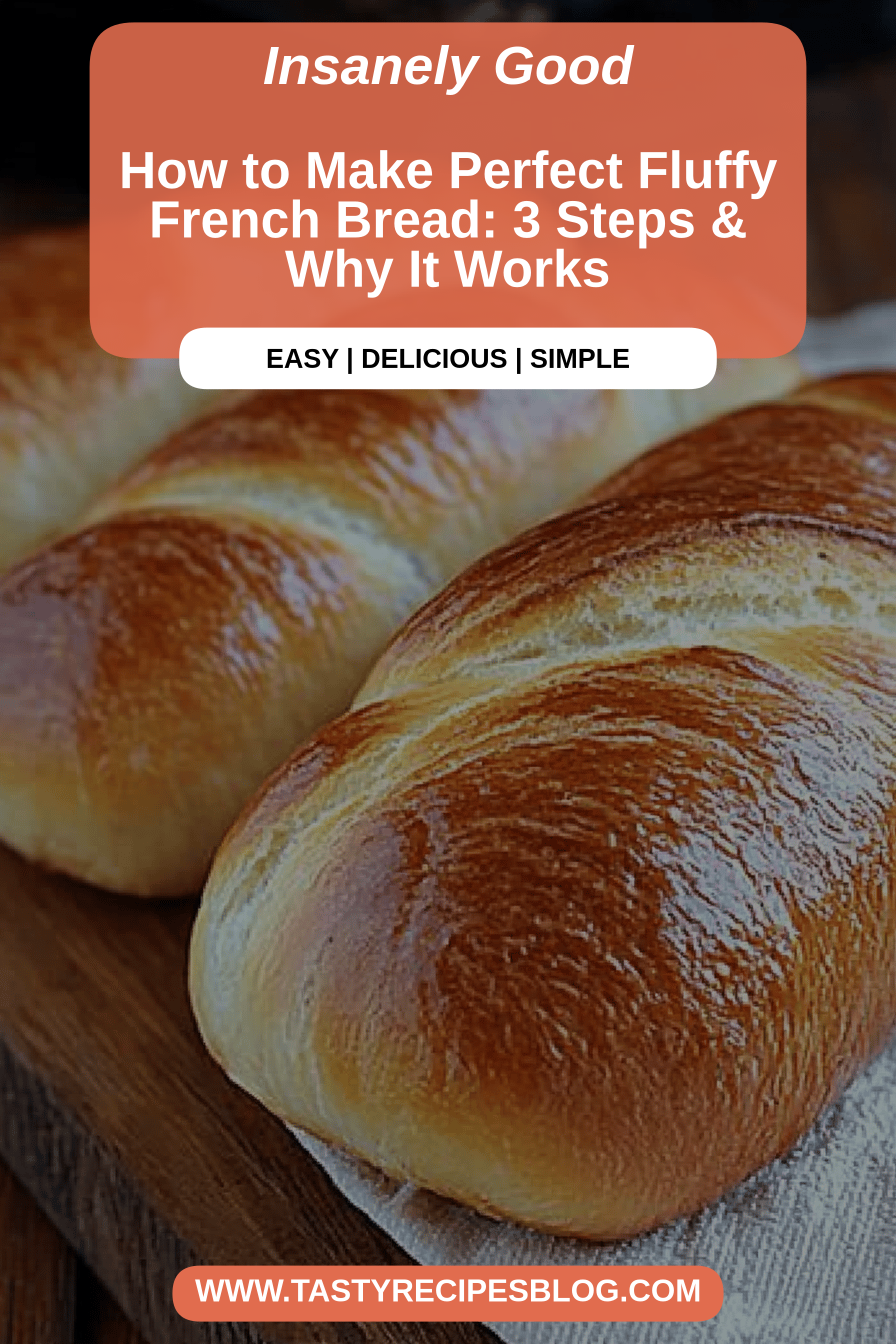
So, what exactly is this magical fluffy French bread I keep raving about? Well, the name itself gives you a clue, doesn’t it? It’s a delightfully tender, subtly sweet bread that has a light, almost airy crumb. Unlike a crusty baguette that you might associate with the term “French bread,” this version is soft all the way through, with a beautiful golden-brown top that’s often kissed with a sweet glaze. Think of it as the perfect balance between a quick bread and a yeast bread, but without any of the fuss of traditional yeasted doughs. It’s incredibly forgiving, which is a huge win in my book. It’s the kind of bread that’s perfect for slicing and enjoying on its own, but it also plays exceptionally well with other flavors. It’s essentially a versatile canvas for deliciousness!
Why you’ll love this recipe?
There are so many reasons I keep coming back to this fluffy French bread, and I just know you’re going to fall in love with it too. First off, let’s talk about that **flavor**. It’s not overly sweet, which I appreciate. It has a delicate, comforting sweetness that just melts in your mouth. There’s a hint of warmth from the cinnamon and a lovely subtle richness that makes it utterly irresistible. Then there’s the **simplicity**. Seriously, this is where this recipe truly shines. You don’t need any fancy equipment, no overnight proofing, and you can have this delicious bread baking in your oven in under 20 minutes. It’s a lifesaver on busy mornings or when you have unexpected guests. And if you’re looking for something that’s **cost-efficient**, this is it. The ingredients are all pantry staples that you probably already have on hand, making it a budget-friendly way to enjoy a decadent treat. What I love most about this is its incredible **versatility**. It’s not just for breakfast; it’s fantastic for brunch, a delightful dessert, or even a comforting afternoon snack. It’s very similar in spirit to a good quick bread or even a Coffee Cake, but it’s so much more elegant and satisfying. I’ve also found that it pairs beautifully with a simple vanilla glaze, which I’ll tell you more about later. This recipe truly stands out because it delivers big on flavor and texture without demanding too much of your time or effort. It’s pure baking joy, bottled up and ready to be shared!
How do I make fluffy French bread?
Quick Overview
This recipe is all about bringing together simple ingredients to create something truly special. You’ll start by whisking your dry ingredients, then combining them with your wet ingredients. A quick mix, a beautiful swirl of filling, and then into the oven it goes. The result is a golden, tender loaf that’s perfect for sharing – or not! It’s a straightforward process that even beginner bakers can master, and it’s so rewarding to pull a homemade loaf like this out of your oven.
Ingredients
For the Main Batter:
1 ½ cups all-purpose flour: I always opt for a good quality all-purpose flour. You can also experiment with a blend of half all-purpose and half whole wheat for a slightly nuttier flavor, but this recipe is truly fantastic with just AP flour.
1 cup granulated sugar: This gives our bread that lovely sweetness. I’ve tried reducing it slightly, but I found it best to stick to the full cup for that perfect balance.
1 teaspoon baking powder: This is our leavening agent, helping to make the bread light and fluffy.
½ teaspoon salt: Essential for balancing out the sweetness and enhancing the overall flavor.
½ cup (1 stick) unsalted butter, melted: Make sure it’s fully melted and slightly cooled so it doesn’t cook the other ingredients.
2 large eggs: Room temperature eggs incorporate better, so give them a quick soak in warm water if you forget to take them out of the fridge.
½ cup milk: Whole milk gives the best richness, but I’ve tested this with 2% and even almond milk, and it still turned out wonderfully creamy!
1 teaspoon vanilla extract: The backbone of most sweet baked goods, don’t skip this!
For the Filling:
½ cup packed light Brown Sugar: This gives our swirl a beautiful caramel-like depth.
1 tablespoon ground cinnamon: The classic pairing with brown sugar, it’s warm and comforting.
¼ cup chopped nuts (optional): Pecans or walnuts are my favorites here, but you can omit them if you prefer.
For the Glaze:
1 cup powdered sugar: Sifted for the smoothest consistency.
2-3 tablespoons milk: You can also use a bit of cream for an extra decadent glaze. Start with 2 tablespoons and add more until you reach your desired drizzling consistency.
½ teaspoon vanilla extract (optional): Just a little boost of flavor!
Step-by-Step Instructions
Step 1: Preheat & Prep Pan
First things first, let’s get our oven ready. Preheat it to 350°F (175°C). While it’s heating up, grease and flour a standard 9×5 inch loaf pan. This step is super important to ensure your beautiful bread slides right out once it’s baked. No one wants a bread stuck to the pan!
Step 2: Mix Dry Ingredients
In a large bowl, whisk together the all-purpose flour, granulated sugar, baking powder, and salt. Give it a good whisk until everything is well combined. This ensures your leavening and seasoning are evenly distributed throughout the batter, leading to a consistent rise and flavor.
Step 3: Mix Wet Ingredients
In a separate medium bowl, whisk together the melted butter, large eggs, milk, and vanilla extract. Whisk until everything is smooth and well emulsified. It should look like a beautiful, creamy liquid.
Step 4: Combine
Now, pour the wet ingredients into the bowl with the dry ingredients. Using a spatula or a wooden spoon, mix until just combined. Be careful not to overmix! A few small lumps are perfectly fine. Overmixing can develop the gluten too much, leading to a tougher bread. We’re aiming for tender, remember?
Step 5: Prepare Filling
In a small bowl, combine the packed light brown sugar, ground cinnamon, and chopped nuts (if you’re using them). Stir until it’s all mixed together. This is our lovely swirl filling that will add so much wonderful flavor and texture to the bread.
Step 6: Layer & Swirl
Pour about half of the batter into your prepared loaf pan. Sprinkle about half of the brown sugar mixture evenly over the batter. Then, carefully pour the remaining batter over the top. Sprinkle the rest of the brown sugar mixture over the second layer of batter. Now, here’s the fun part: take a knife or a skewer and gently swirl the filling through the batter. You don’t need to go crazy; just a few gentle passes to create those beautiful ribbons of Cinnamon Sugar. This is what gives it that signature look and taste!
Step 7: Bake
Place the loaf pan in your preheated oven. Bake for 50-60 minutes, or until a wooden skewer or toothpick inserted into the center comes out clean. Ovens can be a bit finicky, so start checking around the 50-minute mark. If the top starts browning too quickly, you can loosely tent it with aluminum foil.
Step 8: Cool & Glaze
Once baked, let the bread cool in the pan on a wire rack for about 10-15 minutes. This allows it to set up a bit. Then, carefully invert it onto the wire rack to cool completely. While it’s cooling, whisk together the powdered sugar, 2 tablespoons of milk, and vanilla extract (if using) for the glaze. Add more milk, a teaspoon at a time, until you get a pourable but not too thin consistency. Once the bread is completely cool, drizzle the glaze over the top. It’s worth the wait for that perfect glaze!
Step 9: Slice & Serve
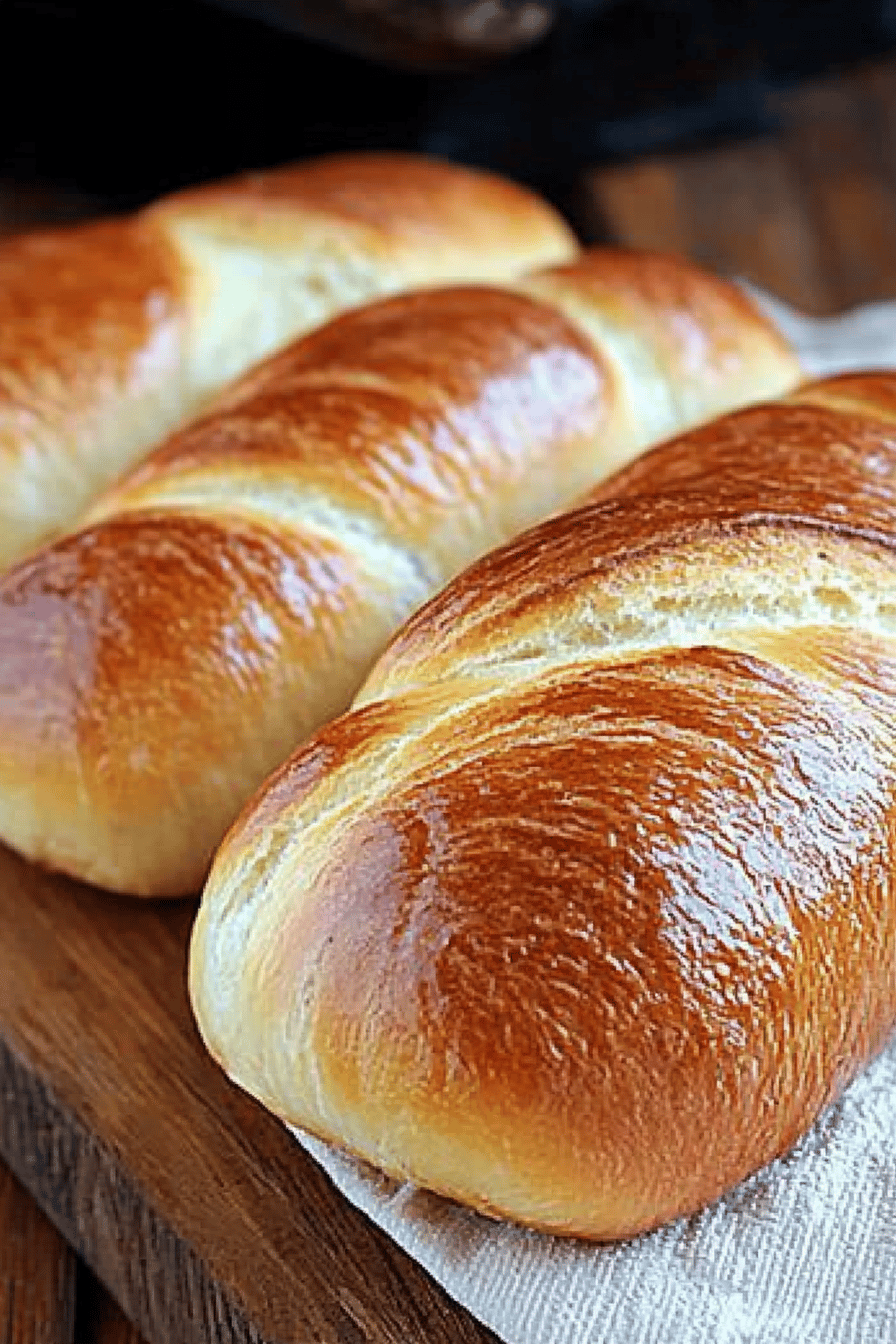
Once the glaze has set a little, slice your gorgeous fluffy French bread and enjoy! I find it’s best served at room temperature, but warm slices are pretty irresistible too. The texture is just perfect – tender, moist, and utterly delicious.
What to Serve It With
This fluffy French bread is truly a chameleon in the kitchen. It’s fantastic on its own, of course, but it also plays wonderfully with a variety of pairings. For **breakfast**, I love serving it with a strong cup of coffee. A simple dusting of powdered sugar or a dollop of whipped cream makes it feel extra special without adding a lot of fuss. It’s also lovely alongside a bowl of fresh berries or a side of scrambled eggs for a more substantial meal. When it comes to **brunch**, this bread really shines. Imagine it as part of a beautiful spread with quiches, fresh fruit salads, and maybe even some crispy bacon. A mimosa or a bellini would be the perfect beverage to complement it. For **dessert**, it’s surprisingly decadent. A drizzle of warm caramel sauce over a slice, or serving it with a scoop of vanilla bean Ice Cream, is pure bliss. It’s a delightful alternative to cake or pie, and it’s so much easier to whip up! And for those **cozy snacks** we all need, a warm slice with a smear of butter or cream cheese is just heavenly. It’s that perfect something to curb a sweet craving when you don’t want to bake a whole pie. My family absolutely devours this bread, and it always disappears in minutes, no matter how we serve it!
Top Tips for Perfecting Your Fluffy French Bread
I’ve made this fluffy French bread more times than I can count, and over the years, I’ve picked up a few tricks that really help elevate it. Let’s talk about **mixing advice**. The biggest culprit of a dense bread is overmixing. Remember, we’re just combining the ingredients until they’re *barely* incorporated. A few streaks of flour or small lumps in the batter are totally fine and actually desirable for that tender crumb. Trust me on this one; it makes a world of difference. For the **swirl customization**, don’t be afraid to get a little creative! While a simple back-and-forth motion works beautifully, you can also try making figure-eights or even just random patterns. The goal is to distribute the cinnamon sugar throughout the batter, not to perfectly marble it like a cake. The beauty is in its rustic charm! When it comes to **ingredient swaps**, I’ve experimented a bit. If you’re out of milk, buttermilk or even yogurt thinned with a splash of water can work in a pinch, though they might slightly alter the texture and tang. For the **glaze variations**, if you don’t have powdered sugar, you can make a simple syrup with equal parts sugar and water, boil it for a minute, and then brush it onto the warm bread for a different kind of sheen. Also, adding a touch of lemon zest to the glaze can give it a bright, fresh counterpoint to the sweetness. Regarding **baking tips**, always know your oven. If you tend to bake hot, keep an eye on the bread earlier and consider a lower temperature or that foil tent. If your oven runs cool, you might need to add a few extra minutes. The toothpick test is your best friend here. Finally, for **zucchini prep** (if you decide to add some in, which is a fantastic variation!), make sure to squeeze out as much moisture as possible. Grating it fresh right before adding it to the batter is also a good idea to prevent it from getting too watery. I tested this recipe with a little grated zucchini mixed into the batter and it was surprisingly moist and delicious – I’ll share that variation soon!
Storing and Reheating Tips
One of the best things about this fluffy French bread is how well it keeps, making it perfect for making ahead. For **room temperature storage**, once the bread is completely cool, wrap it tightly in plastic wrap or store it in an airtight container. It should stay fresh and delicious for about 2-3 days. The glaze can sometimes make it a bit sticky, so I often find that wrapping it in parchment paper first, then plastic wrap, works wonders. If you live in a warm, humid climate, you might want to consider **refrigerator storage** sooner, especially if you see any signs of condensation. Stored in the fridge, it will last for up to 5 days, though the texture might become a little firmer. To bring it back to its former glory, simply warm a slice in the toaster oven or microwave for a few seconds. For longer storage, **freezer instructions** are your best friend. Wrap the completely cooled loaf (un-glazed is best for freezing) tightly in a double layer of plastic wrap, then in aluminum foil or a freezer bag. It will keep well for up to 3 months. To thaw, unwrap it and let it come to room temperature on the counter. You can also reheat slices in a toaster oven or a low oven (around 300°F/150°C) for about 10-15 minutes until warmed through. If you plan to glaze it after thawing, make sure it’s completely dry before applying the glaze. I usually wait to glaze until I’m ready to serve.
Frequently Asked Questions
Final Thoughts
So there you have it – my absolute favorite fluffy French bread recipe! I truly hope you give this one a try. It’s the kind of recipe that brings so much joy to my kitchen, and I’m positive it will do the same for yours. It’s proof that you don’t need to be a master baker to create something truly spectacular. The combination of that tender crumb, the warm cinnamon swirl, and the sweet glaze is just pure comfort. If you love this recipe, you might also enjoy my incredibly moist banana bread or my easy no-knead artisan bread for more home-baked goodness. I can’t wait to hear what you think! Please leave a comment below and let me know how yours turned out, and if you tried any fun variations. Happy baking!
Fluffy French Bread
Ingredients
Main Ingredients
- 3.5 cups All-purpose flour
- 2.25 teaspoons Active dry yeast
- 1.5 teaspoons Salt
- 1.5 cups Warm water (105-115°F)
Instructions
Preparation Steps
- In a large bowl, whisk together flour, yeast, and salt.
- Add warm water and mix until a shaggy dough forms.
- Knead the dough on a lightly floured surface for 5-7 minutes, or until smooth and elastic.
- Place the dough in a lightly oiled bowl, turning to coat. Cover and let rise in a warm place for 1 hour, or until doubled in size.
- Preheat oven to 400°F (200°C).
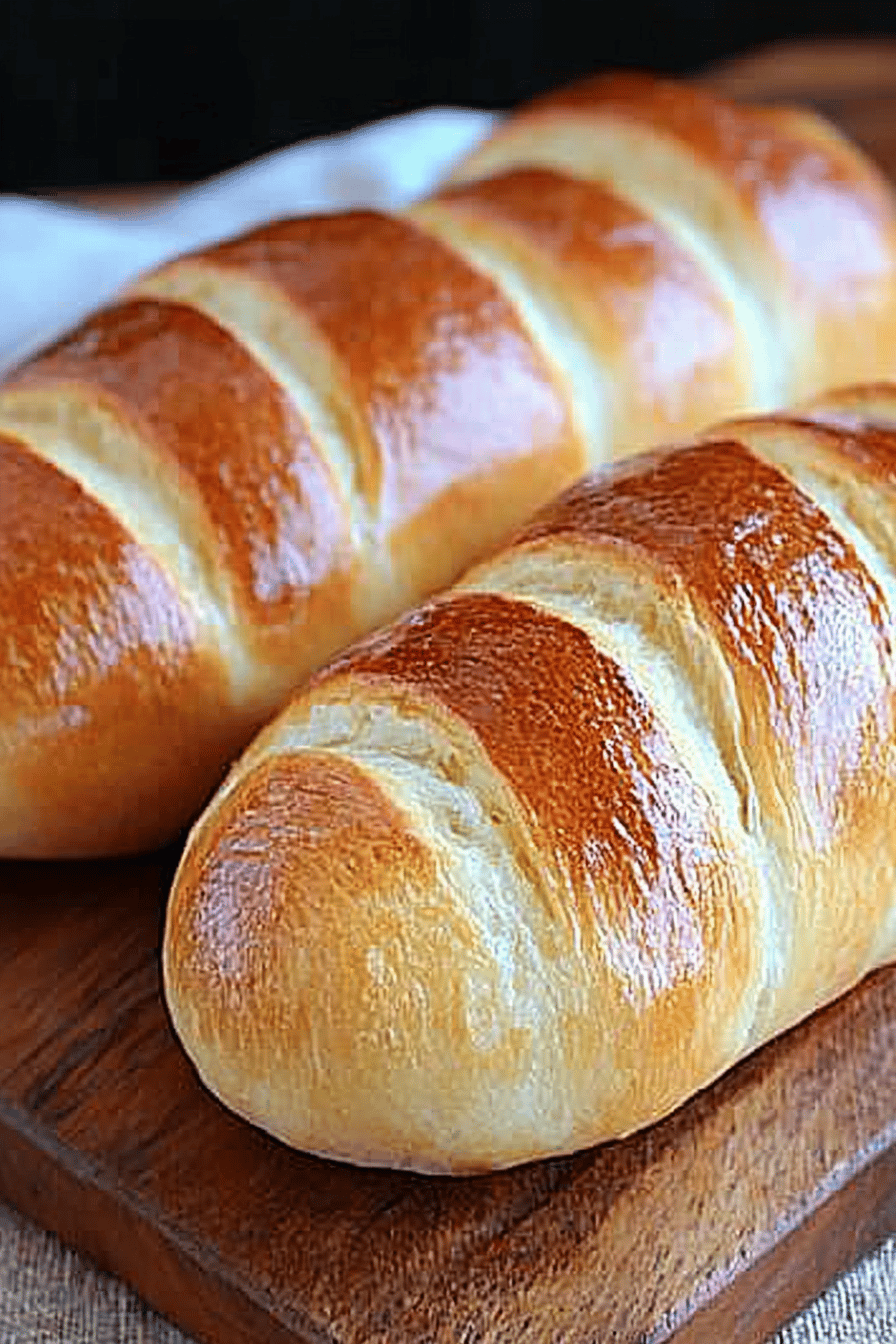
- Shape the dough into a loaf and place on a baking sheet. Slash the top of the loaf with a sharp knife.
- Bake for 30 minutes, or until golden brown.
- Let cool on a wire rack before slicing and serving.


