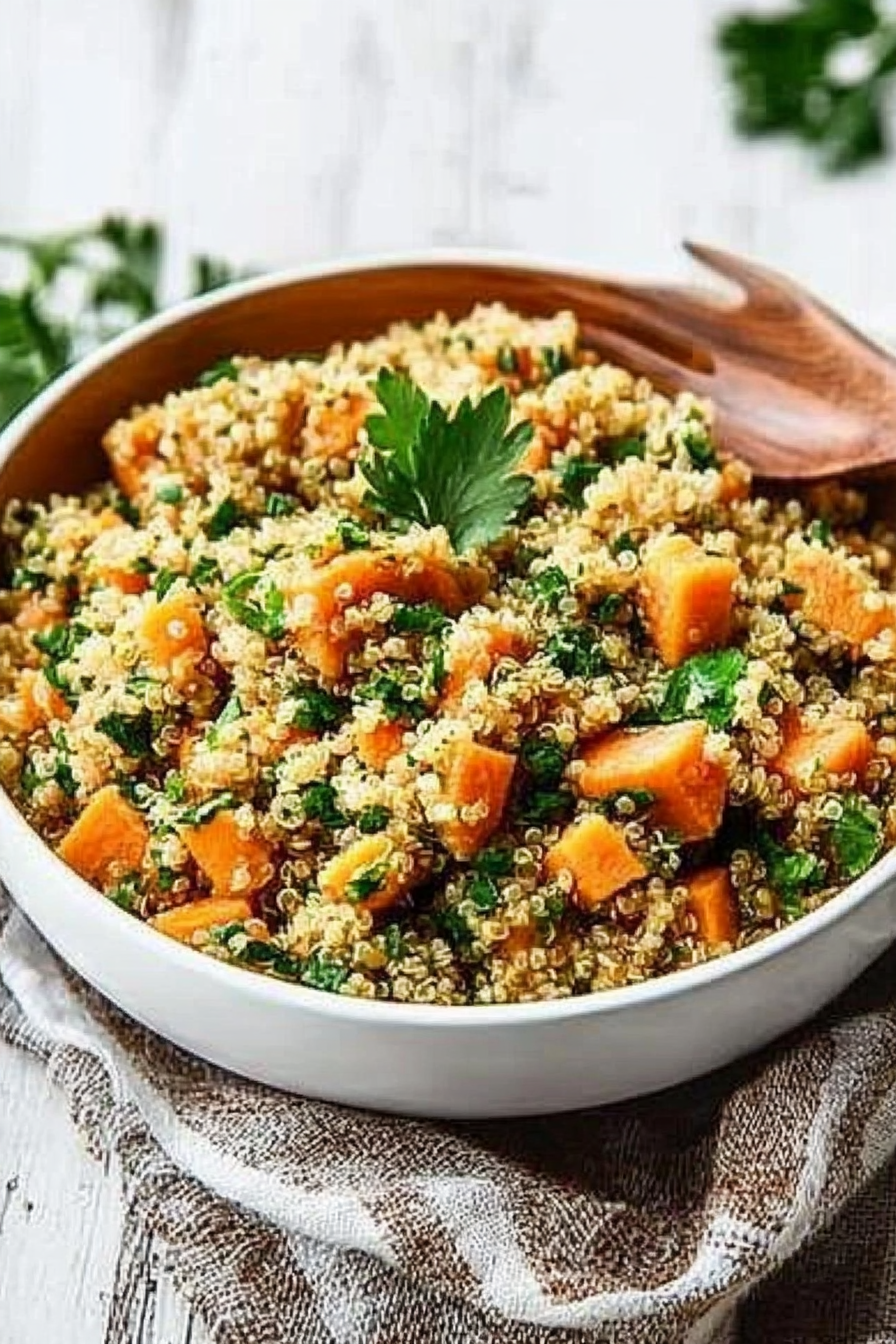
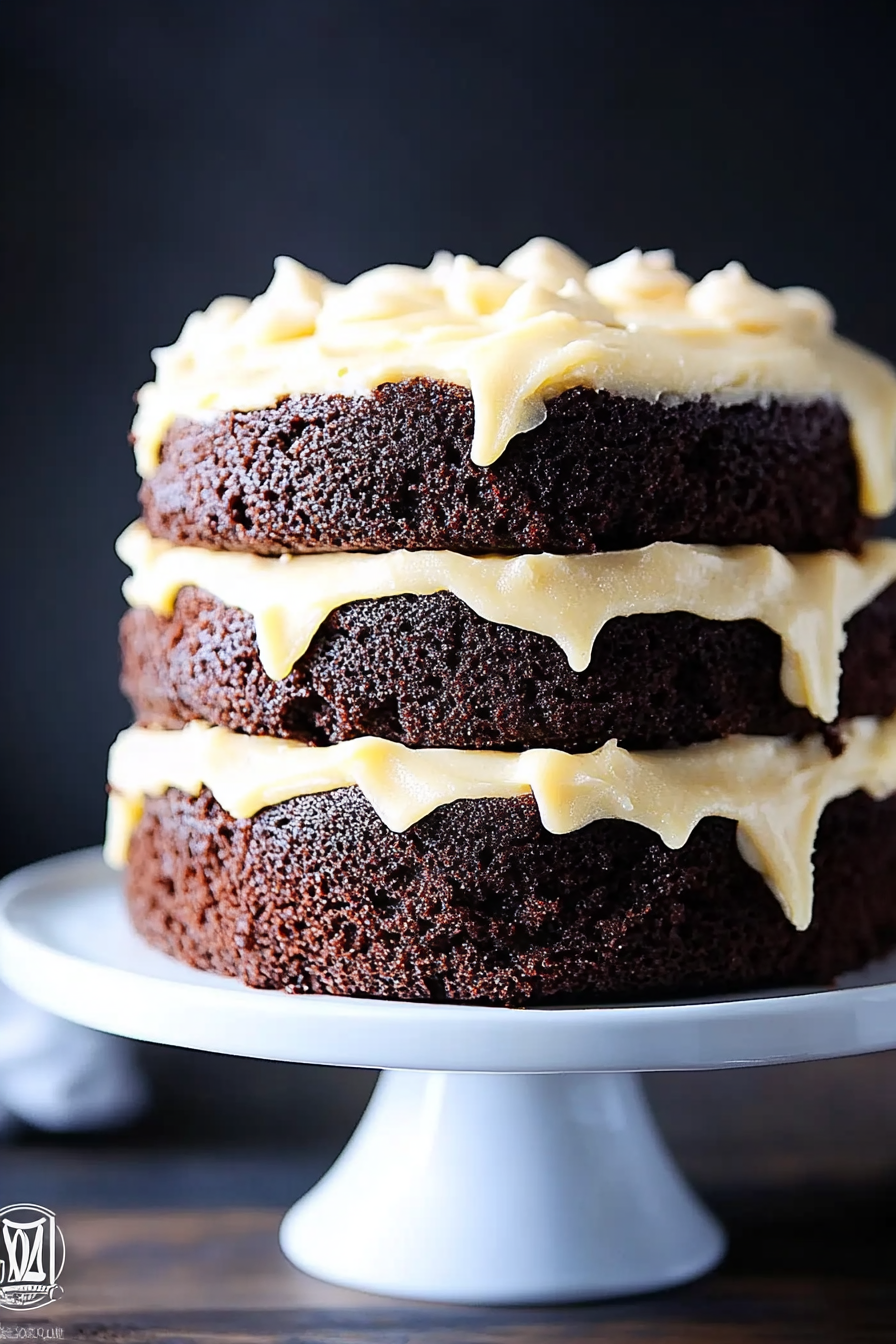
I’ve been meaning to share this with you for ages, and honestly, I almost feel a little bit guilty keeping it to myself for so long! You know how sometimes you stumble upon a recipe that just *clicks*? It’s like finding a hidden gem that you immediately want to tell everyone you know about. Well, this Irish Kerry Pie is exactly that for me. It’s not just a dessert; it’s a feeling. The first time I ever made it, I swear the whole house filled with this incredible, warm, sweet aroma that just melted away all my stress. It’s got this comforting, rustic charm that reminds me of cozy Sunday afternoons and my mum’s kitchen, even though she never actually made this exact pie. It’s got a bit of the wholesome goodness of a classic apple crumble but with a delightful, unexpected twist that makes it truly special. If you’ve ever loved a good cobbler or a fruity baked good, get ready, because this Irish Kerry Pie is about to become your new obsession.
What is Irish Kerry Pie?
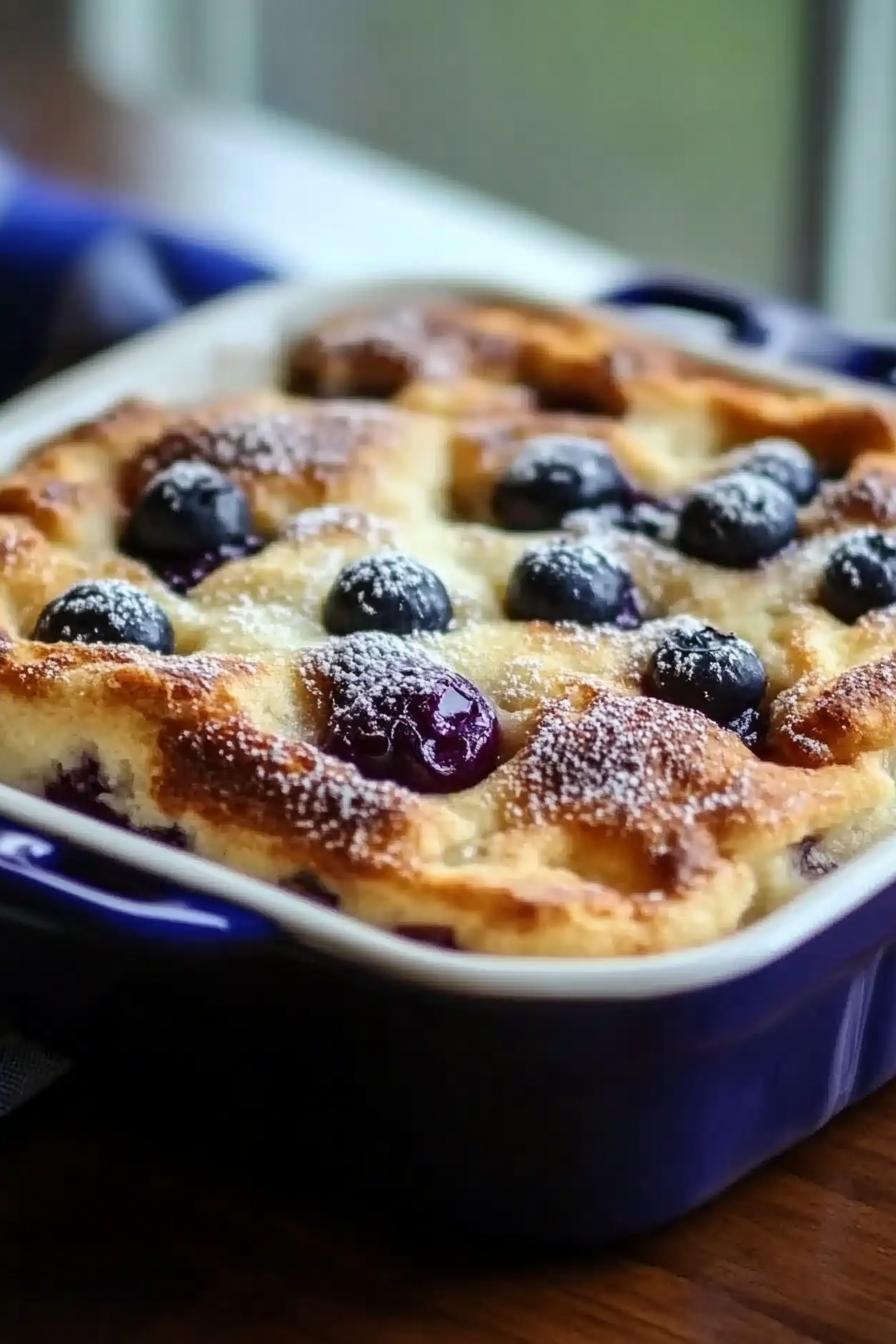
So, what exactly *is* an Irish Kerry Pie? Well, picture this: a wonderfully moist, slightly spiced cake-like base, studded with tender pieces of fruit, and then topped with a delicate, crumbly topping that has just the right amount of sweetness and crunch. The name itself evokes images of rolling green hills and windswept coasts, and while its exact origins are a bit hazy (much like a good Irish mist!), it’s a beloved treat that embodies simple, honest baking. It’s essentially a delicious union of a cake, a fruit bake, and a crumble, all rolled into one glorious dish. Think of it as the ultimate comfort bake – easy enough for a weeknight treat but elegant enough to serve to company. It’s not overly fussy, which is exactly why I adore it. It’s the kind of dessert that doesn’t need any pretense; it’s just genuinely delicious.
Why you’ll love this recipe?
There are so many reasons why this Irish Kerry Pie has earned a permanent spot in my recipe rotation. First off, the flavor. Oh, the flavor! It’s a beautiful dance of sweet and slightly tart fruit, complemented by warm spices like cinnamon and nutmeg that just sing together. The texture is a dream, too – a tender, yielding cake base that’s never dry, contrasted with that delightful, slightly crisp crumble topping. It’s like a warm hug in every bite. And the best part? It’s shockingly simple to make. Seriously, you can whip this up with ingredients you probably already have in your pantry. No complicated techniques, no fussy steps, just pure, unadulterated deliciousness. This makes it incredibly cost-efficient too; you’re not relying on exotic or expensive ingredients. Plus, it’s so versatile! You can easily swap out the fruit depending on what’s in season or what you have on hand. I’ve made it with apples, pears, berries, and even a mix! It’s perfect for a lazy Sunday brunch, a cozy evening dessert, or even a potluck where you want to bring something everyone will rave about. What I love most about this Irish Kerry Pie is that it feels homemade and heartfelt, without requiring hours in the kitchen. It’s the kind of recipe that makes you feel like a baking superstar, even if you’re just starting out.
How do you make Irish Kerry Pie?
Quick Overview
This Irish Kerry Pie is all about simple, wholesome goodness. We’ll start by mixing up a quick batter, fold in our lovely fruit, then top it with a buttery crumble. It bakes up into a golden, fragrant masterpiece that’s ready in under an hour. The magic lies in its simplicity – no creaming butter and sugar for ages, no complicated folding techniques. It’s truly straightforward, designed to be a stress-free baking experience that yields maximum flavor and comfort.
Ingredients
For the Main Batter:
I always find that using good quality, fresh ingredients really makes a difference. For the flour, all-purpose is perfectly fine, but if you have cake flour on hand, it can make the base even more tender. Make sure your butter is softened, not melted, for the best texture in the crumble. And for the sugar, regular granulated sugar works beautifully, but a touch of Brown Sugar in the batter can add a lovely depth of flavor and moisture.
- 2 cups all-purpose flour
- 1 ½ teaspoons baking powder
- ½ teaspoon ground cinnamon
- ¼ teaspoon ground nutmeg
- ½ teaspoon salt
- 1 cup granulated sugar
- ½ cup unsalted butter, softened
- 2 large eggs
- 1 teaspoon vanilla extract
- ½ cup milk (whole milk or even buttermilk works wonderfully for extra tenderness)
For the Filling:
This is where you can really get creative! My go-to is always a mix of apples and berries. The apples provide a nice structure and gentle tartness, while berries burst with juiciness. Make sure your fruit is cut into bite-sized pieces so it bakes evenly. If you’re using frozen berries, don’t thaw them first; just toss them in frozen to prevent them from becoming too mushy during baking. A little lemon zest can also brighten up the flavors beautifully!
- 4 cups chopped fresh fruit (a mix of apples and berries is divine, or use pears, peaches, or even plums)
- ¼ cup granulated sugar (adjust based on the sweetness of your fruit)
- 1 tablespoon lemon juice
- 1 tablespoon cornstarch (or flour)
- ½ teaspoon lemon zest (optional, but highly recommended for brightness)
For the Glaze:
This glaze is optional, but it adds that extra touch of elegance and sweetness. It’s super simple – just powdered sugar, a splash of milk or lemon juice, and a touch of vanilla. You want it to be pourable, not too thick. If it’s too thick, add a tiny bit more liquid; if it’s too thin, add a little more powdered sugar. I love drizzling this on while the pie is still slightly warm, so it cascades down the sides a bit.
- 1 cup powdered sugar
- 2-3 tablespoons milk or lemon juice
- ½ teaspoon vanilla extract
Step-by-Step Instructions
Step 1: Preheat & Prep Pan
First things first, let’s get our oven preheated to 375°F (190°C). While it’s heating up, grab an 8×8 inch baking pan or a similar-sized pie dish. You don’t need to grease it heavily, just a light coating of butter or cooking spray will do the trick. This ensures our gorgeous Irish Kerry Pie won’t stick and will come out perfectly intact. Setting the oven temperature nice and hot is key for getting that lovely golden-brown crust.
Step 2: Mix Dry Ingredients
In a medium bowl, whisk together the flour, baking powder, cinnamon, nutmeg, and salt. This might seem like a small step, but it’s super important for ensuring your leavening agents and spices are evenly distributed throughout the batter. Nobody wants a bite of pure baking powder! Give it a good whisk until everything looks well combined and there are no clumps.
Step 3: Mix Wet Ingredients
In a larger bowl, cream together the softened butter and granulated sugar until the mixture is light and fluffy. This is where you build the foundation of your cakey base. Then, beat in the eggs, one at a time, making sure each one is fully incorporated before adding the next. Stir in the vanilla extract. Once that’s all combined, gradually add the milk, alternating with the dry ingredients you mixed earlier, beginning and ending with the dry ingredients. Mix just until everything is combined – don’t overmix!
Step 4: Combine
Now, gently fold the dry ingredients into the wet ingredients. I like to do this in about three additions, alternating with the milk. Mix just until the flour streaks disappear. Overmixing at this stage can develop the gluten too much, leading to a tougher cake. A few tiny lumps are perfectly fine, honestly! The batter should be thick but pourable.
Step 5: Prepare Filling
While you’re mixing the batter, get your fruit ready. In a separate bowl, toss your chopped fruit with the granulated sugar, lemon juice, cornstarch, and lemon zest (if using). The cornstarch is essential here; it helps to thicken up the fruit juices as it bakes, preventing your pie from becoming too watery. Give it a good toss to make sure all the fruit pieces are coated. This is the point where the delicious fruity aromas start to fill your kitchen!
Step 6: Layer & Swirl
Pour about half of the batter into your prepared baking dish and spread it evenly. Then, spoon the fruit filling evenly over the batter. Don’t worry if some batter peeks through; that’s normal. Finally, spoon the remaining batter over the fruit. You don’t need to spread it perfectly; dolloping it around works just fine. You can even use a fork or a knife to gently swirl the batter and fruit together a little bit if you like, creating beautiful pockets of fruit and cake. It doesn’t have to be fancy, just rustic and inviting.
Step 7: Bake
Pop that pan into your preheated oven and bake for about 40-50 minutes. You’ll know it’s ready when the top is golden brown and a toothpick inserted into the center (avoiding a fruit piece!) comes out clean. The smell wafting from your oven will be absolutely divine – a sure sign that something wonderful is happening! If the top starts to brown too quickly before the center is cooked, you can always loosely tent it with foil.
Step 8: Cool & Glaze
Once it’s baked to perfection, carefully remove the Irish Kerry Pie from the oven. Let it cool in the pan on a wire rack for at least 15-20 minutes. This allows it to set up properly. While it’s cooling, whisk together the ingredients for your glaze. Once the pie has cooled slightly, drizzle the glaze over the top. It’s so satisfying to watch it drip down the sides!
Step 9: Slice & Serve
After the glaze has set a little (or if you skipped the glaze!), you can slice into your Irish Kerry Pie. I love serving it warm, especially with a dollop of whipped cream or a scoop of vanilla Ice Cream. It’s pure comfort food. The contrast between the warm, tender pie and the cold creaminess is just heavenly.
What to Serve It With
This Irish Kerry Pie is so wonderfully versatile, it fits in at almost any meal or occasion. For breakfast, it’s a delightful change from the usual. A thin slice, still a little warm, with a good cup of coffee is pure bliss. I love how the fruit makes it feel a bit healthier than a typical pastry. For a more elaborate brunch spread, it’s absolutely stunning. Serve it alongside some fluffy scrambled eggs, crispy bacon, and a fresh fruit salad. It adds a touch of homemade elegance that guests will adore. As a dessert, well, that’s where it truly shines. It’s fantastic on its own, but I often find myself reaching for a generous dollop of clotted cream or my favorite vanilla bean Ice Cream. A little drizzle of extra caramel sauce never hurt anyone, either! And for those cozy, unplanned snack attacks, this pie is a lifesaver. I’ll often just cut a small square, maybe warm it up slightly in the microwave, and enjoy it with a cup of tea while curled up with a good book. It’s the ultimate comfort food for a rainy afternoon.
Top Tips for Perfecting Your Irish Kerry Pie
I’ve made this Irish Kerry Pie more times than I can count, and over the years, I’ve picked up a few tricks that I think really elevate it. For the fruit, especially if you’re using apples or pears, don’t cut them too small. You want to be able to really taste the fruit, and larger chunks hold their texture better during baking. Also, if your fruit is particularly juicy (like berries), don’t skip that cornstarch! It’s the secret to a perfectly set filling. When mixing the batter, remember the rule of thumb: mix just until combined. Overmixing is the enemy of tender baked goods. It’s better to have a few tiny streaks of flour than to end up with a tough cake. For the crumble topping (which isn’t in this version but is often in similar recipes), I’ve found that using cold, cubed butter and working it in with my fingertips until it resembles coarse crumbs is the best method. Now, for *this* pie, when you’re layering the batter and filling, don’t strive for perfection. Rustic charm is what we’re going for! Spooning it in and letting it swirl naturally creates those beautiful pockets of fruit and cake that are so appealing. If you’re curious about ingredient swaps, I’ve had success using almond milk instead of regular milk; it actually made the batter even creamier! For a gluten-free version, I’ve experimented with a 1:1 gluten-free flour blend, and it works quite well, though the texture might be slightly different. Just ensure your baking powder is also gluten-free. When it comes to baking, ovens can be so different! My oven tends to run a little hot, so I sometimes reduce the temperature by about 10-15 degrees Fahrenheit. Always trust your senses – look for that golden-brown color and do the toothpick test. Don’t be afraid to adjust based on how your oven behaves. Finally, for the glaze, if you want a thinner drizzle, use more milk or lemon juice. If you want a thicker, more opaque glaze, add more powdered sugar, a tablespoon at a time. Sometimes I’ll even add a tiny drop of food coloring for fun, especially if the kids are helping!
Storing and Reheating Tips
One of the best things about this Irish Kerry Pie is how well it keeps. If you happen to have any leftovers (which is rare in my house!), you can store it at room temperature for up to two days. Just make sure it’s covered with plastic wrap or foil to keep it fresh and prevent it from drying out. If you think you’ll need longer, your refrigerator is your best friend. Pop it into an airtight container or wrap it tightly, and it should stay delicious for about 4-5 days. Honestly, I find the flavor often improves slightly on the second day! For longer storage, freezing is a fantastic option. Let the pie cool completely, then wrap it very well in plastic wrap, followed by a layer of aluminum foil or place it in a freezer-safe container. It will keep in the freezer for up to 2-3 months. To thaw, transfer it to the refrigerator overnight. If you’ve glazed your pie, I find it’s best to add the glaze *after* you’ve reheated it if you’re storing it for more than a day or two, as the glaze can sometimes become a bit sticky when stored. When reheating, you can pop a slice into the microwave for about 20-30 seconds for a quick warm-up, or for a more even heat and slightly crisper texture, place it in a warm oven (around 300°F or 150°C) for about 10-15 minutes. It’s always a good idea to let it come to room temperature for a few minutes before reheating if it’s been refrigerated.
Frequently Asked Questions
Final Thoughts
Honestly, making this Irish Kerry Pie feels like a warm hug, and I truly hope it brings you as much joy and comfort as it does me. It’s the perfect example of how simple, honest ingredients can come together to create something truly magical. It’s that delightful balance of tender cake, juicy fruit, and comforting spice that just makes you want to curl up with a good book and a cup of tea. If you enjoy this kind of rustic, fruit-forward baking, you might also fall in love with my {link to another recipe, e.g., Classic Apple Crumble} or perhaps my {link to another recipe, e.g., Berry Cobbler with Biscuit Topping}. They all share that same spirit of comforting, homemade goodness. Please, if you do give this Irish Kerry Pie a try, let me know how it turns out! I’d absolutely love to hear your thoughts in the comments below, and especially if you’ve tried any fun fruit combinations or variations. Happy baking, and enjoy every delicious bite!
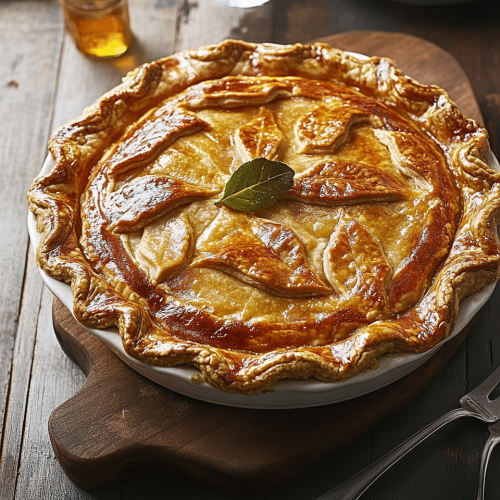
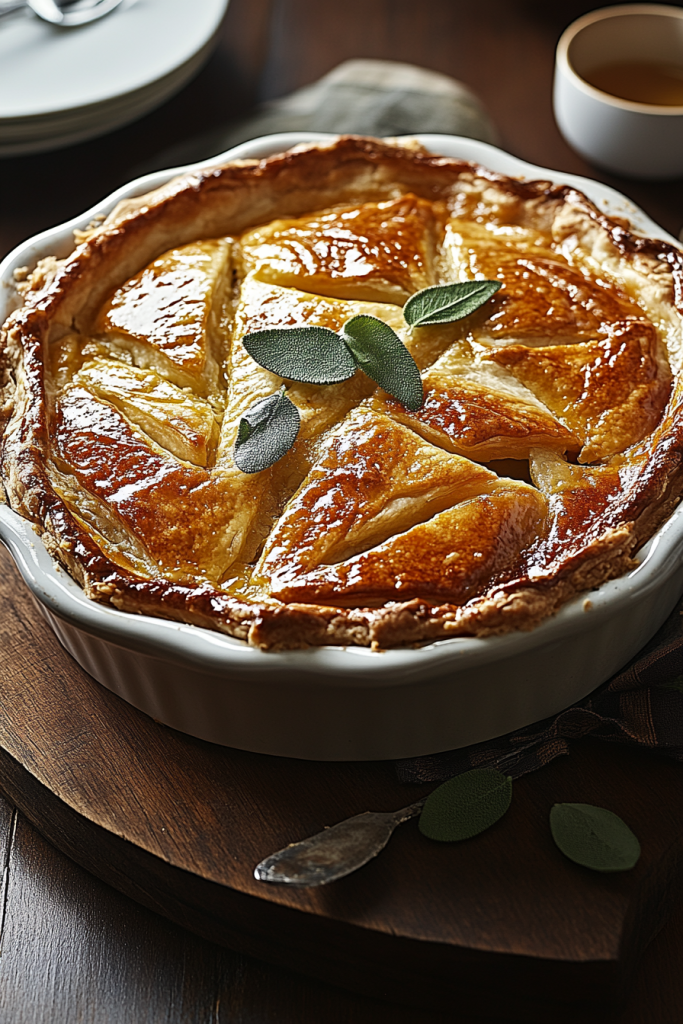
Irish Kerry Pie
Ingredients
Main Ingredients
- 1.5 lbs Beef chuck
- 1 lb Potatoes peeled and cubed
- 1 cup Carrots chopped
- 1 cup Onion chopped
- 2 cloves Garlic minced
- 0.5 tsp Dried thyme
- 0.5 tsp Dried rosemary
- 0.25 cup Beef broth
- 1 sheet Frozen puff pastry thawed
- 1 egg Egg beaten for egg wash
Instructions
Preparation Steps
- Preheat oven to 375°F (190°C).
- In a large pot or Dutch oven, brown the beef chuck over medium-high heat. Remove beef and set aside.
- Add onion and garlic to the pot and cook until softened, about 5 minutes.
- Return the beef to the pot. Add potatoes, carrots, thyme, rosemary, and beef broth. Bring to a simmer, then reduce heat and cook, covered, for 1.5-2 hours, or until beef is tender.
- Season with salt and pepper to taste.
- Spoon the beef mixture into a baking dish.
- Top with the puff pastry, crimping the edges to seal.
- Brush the top with the beaten egg.
- Bake for 25-30 minutes, or until the pastry is golden brown.


