
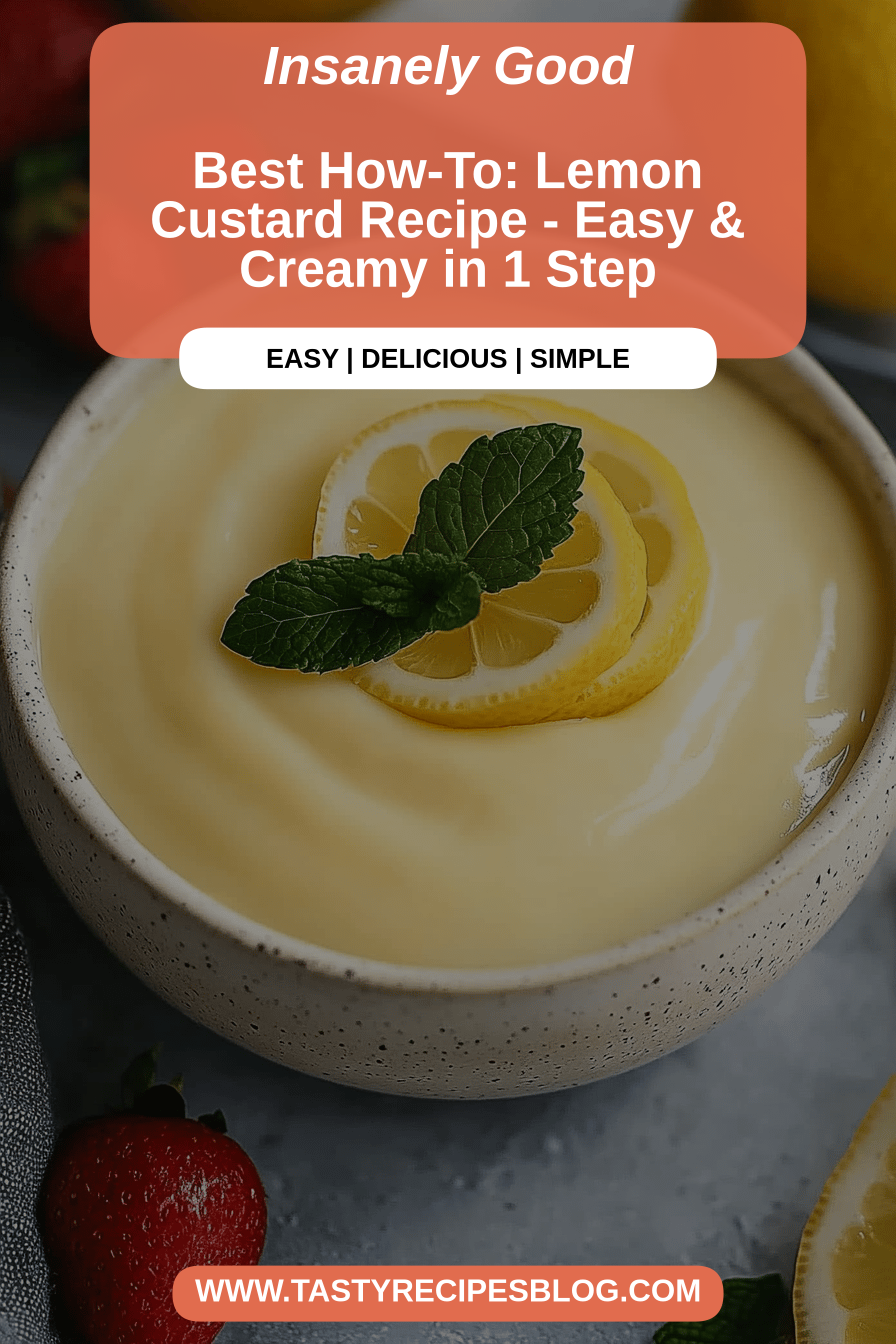
There are some recipes that just feel like a warm hug, aren’t there? This lemon custard recipe is absolutely one of those for me. It’s the kind of dessert that can brighten up even the dreariest of days. I remember my grandmother making something similar when I was a little girl, a wobbly, sunshine-yellow delight that I’d gobble up with pure joy. This version, though, is my own little twist, perfected over years of eager taste-testing (mostly by my family, who are never shy with their opinions!). It’s incredibly smooth, bursting with bright, zesty lemon flavor, and surprisingly simple to whip up. If you’ve ever had a store-bought custard and thought, “Okay, this is nice, but it could be *more*,” then you are in for a treat. This isn’t just a dessert; it’s an experience, a little slice of pure, unadulterated happiness. And the best part? It’s much easier than you might think. Seriously, it’s a lifesaver when you need something special without a ton of fuss. It’s got that perfect balance of sweet and tart that I just adore, and it’s worlds away from a heavy cake or a complex tart. Think of it as the happy medium of the dessert world – elegant enough for guests, but comforting enough for a solo indulgence on the couch.
What is lemon custard?
So, what exactly is this delightful concoction we call lemon custard? At its heart, it’s a rich, creamy dessert made primarily from eggs, sugar, milk (or cream!), and of course, the star ingredient – lemon. It’s cooked gently until it thickens to that lusciously smooth, spoonable texture that just melts in your mouth. You might know it as a cousin to crème brûlée (minus the torched sugar top) or a more dressed-up version of simple pudding. The “custard” part comes from the eggs, which act as a binder and give it that signature velvety feel. My recipe takes that classic base and infuses it with a generous amount of fresh lemon zest and juice, giving it an undeniable tang that cuts through the sweetness beautifully. It’s not just sweet; it’s bright, it’s fragrant, and it has a lovely, subtle wobble that tells you it’s perfectly set. It’s essentially sunshine solidified into a dessert, a truly comforting classic that’s been around for ages for good reason.
Why you’ll love this recipe?
Why is this particular lemon custard recipe in my recipe binder?flavor is just out of this world. That vibrant lemon is so refreshing; it’s not cloying or overly sweet, just perfectly balanced with a delightful tang. It truly tastes like pure, unadulterated sunshine! Then there’s the simplicity. Honestly, you’d think something this delicious and elegant would require a culinary degree, but it really doesn’t. The steps are straightforward, and the ingredients are pretty common pantry staples. It’s the kind of dessert that impresses without stressing you out. And let’s talk about Cost-efficiency: What is the best way to measure cost-efficiency?. Compared to many fancy desserts, this lemon custard is incredibly budget-friendly. You likely have most of the ingredients already, making it an accessible treat for any occasion. Finally, its versatility is a huge plus. I love serving this custard on its own, but it’s also fantastic with a scattering of fresh berries, a dollop of whipped cream, or even a little shortbread cookie on the side. It’s perfect for a light dessert after a rich meal, a sweet afternoon pick-me-up, or even a special breakfast treat if you’re feeling indulgent. What I love most about this is how it always feels a little bit special, no matter how simple the occasion. It’s like a mini vacation for your taste buds! It’s also a fantastic alternative if you’re craving something sweet at 10 pm but don’t want to bake a whole cake. It comes together so quickly, and the result is pure bliss. For those of you who enjoyed my creamy vanilla panna cotta or my light lemon blueberry muffins, I think you’ll find this lemon custard hits all the right notes with its bright, fresh flavors and satisfying texture.
How to Make Lemon Custard
Quick Overview
This recipe is all about gentle heat and patient stirring! We’ll start by warming our dairy base, then temper in our egg mixture, cook it until it’s just thickened, and finally add that lovely lemon punch. It’s a straightforward process that yields incredibly luxurious results. The key is to keep things moving and avoid high heat, which can scramble those precious eggs. You’ll be amazed at how a few simple ingredients transform into something so smooth and divine. It’s truly a testament to the magic of basic cooking techniques.
Ingredients
For the Main Custard Base:
Here’s what you’ll need to get started. Using good quality ingredients really does make a difference, especially with something as pure as this. I always opt for whole milk for the richest texture, but you can certainly use 2% if that’s what you have. If you’re feeling extra decadent, a mix of milk and heavy cream is absolutely divine! And for the eggs, I find large eggs work best for that perfect balance of richness and setting power. Don’t worry if your eggs aren’t perfectly room temperature; we’ll temper them gently.
- 4 cups whole milk
- 1 cup granulated sugar, divided
- 1/2 teaspoon salt
- 6 large egg yolks
- 2 tablespoons cornstarch (optional, for extra insurance against scrambling and a slightly firmer set)
For the Lemon Flavor:
This is where the sunshine really comes in! Fresh lemon is non-negotiable here. Bottled juice just doesn’t have the same vibrant, zesty kick. I like to use the zest from about two medium lemons, making sure to get only the yellow part and avoid the bitter white pith. The juice from those lemons will give us that beautiful tang.
- Zest of 2 large lemons
- 1/3 cup fresh lemon juice (from the zested lemons)
For the Optional Glaze (Highly Recommended!):
This is my little secret weapon for taking this custard from delicious to absolutely unforgettable. It adds a beautiful shine and a little extra burst of lemon flavor that complements the custard perfectly. It’s super simple to whip up while the custard is cooling.
- 1 cup powdered sugar
- 1-2 tablespoons fresh lemon juice
Step-by-Step Instructions
Step 1: Preheat & Prep Pan
While we’re not baking this in a water bath, it’s always a good idea to have your serving dishes ready to go. I like to spoon my custard into individual ramekins or small glass bowls. Make sure they are clean and dry. I usually have about 6-8 of these ready, depending on their size. It’s just a little prep work that makes the final stages so much smoother.
Step 2: Mix Dry Ingredients
In a medium-sized, heavy-bottomed saucepan (this is important to prevent scorching!), whisk together 1/2 cup of the granulated sugar and the salt. If you’re using cornstarch, whisk it in here too. This helps to break up any lumps and distribute it evenly through the sugar. It’s a tiny step, but it ensures a smoother, lump-free custard later on.
Step 3: Mix Wet Ingredients
In a separate medium bowl, whisk the egg yolks with the remaining 1/2 cup of granulated sugar until they are pale yellow and slightly thickened. This is where you start building that beautiful custard base. Don’t worry if it looks a little streaky at first; keep whisking until it’s uniform. This initial whisking helps the yolks incorporate more smoothly when we temper them.
Step 4: Combine
Now comes the tempering. Gradually whisk about 1 cup of the warm milk into the egg yolk mixture. This is crucial: you’re slowly raising the temperature of the egg yolks without cooking them. Keep whisking as you add the milk. Once combined, slowly pour the tempered egg mixture back into the saucepan with the remaining milk. Whisk everything together thoroughly.
Step 5: Prepare Filling
Stir in the lemon zest and lemon juice into the saucepan with the milk and egg mixture. The aroma at this stage is already incredible! Now, place the saucepan over medium-low heat. This is where patience is your best friend. You want to cook the custard gently, stirring constantly with a wooden spoon or heatproof spatula. Scrape the bottom and sides of the pan to prevent any sticking or scorching. We’re looking for the custard to thicken enough to coat the back of your spoon. If you run your finger through the coated spoon, the line should hold. This usually takes about 10-15 minutes. Don’t let it boil, as this can cause the eggs to scramble!
Step 6: Layer & Swirl
Once thickened, immediately strain the custard through a fine-mesh sieve into a clean bowl or a pitcher. This step catches any potential bits of cooked egg and ensures an ultra-smooth texture. Press a piece of plastic wrap directly onto the surface of the custard. This prevents a skin from forming as it cools. Let it cool at room temperature for about 30 minutes, then refrigerate for at least 2-3 hours, or until thoroughly chilled and set.
Step 7: Bake
This recipe doesn’t require baking in the traditional sense. The stovetop cooking and chilling process is what sets it. If you were making a baked custard, this would be where you’d place it in a water bath and bake it until just set.
Step 8: Cool & Glaze
While the custard is chilling, you can make the optional glaze. In a small bowl, whisk together the powdered sugar and 1 tablespoon of lemon juice. Add more lemon juice, a teaspoon at a time, until you reach your desired drizzling consistency. It should be thick enough to coat the back of a spoon but still pourable. Once the custard is well-chilled, drizzle the glaze over the top. You can be artistic with it, creating patterns or just a simple an even coat. Some people like to add the glaze just before serving, which is also a great option!
Step 9: Slice & Serve
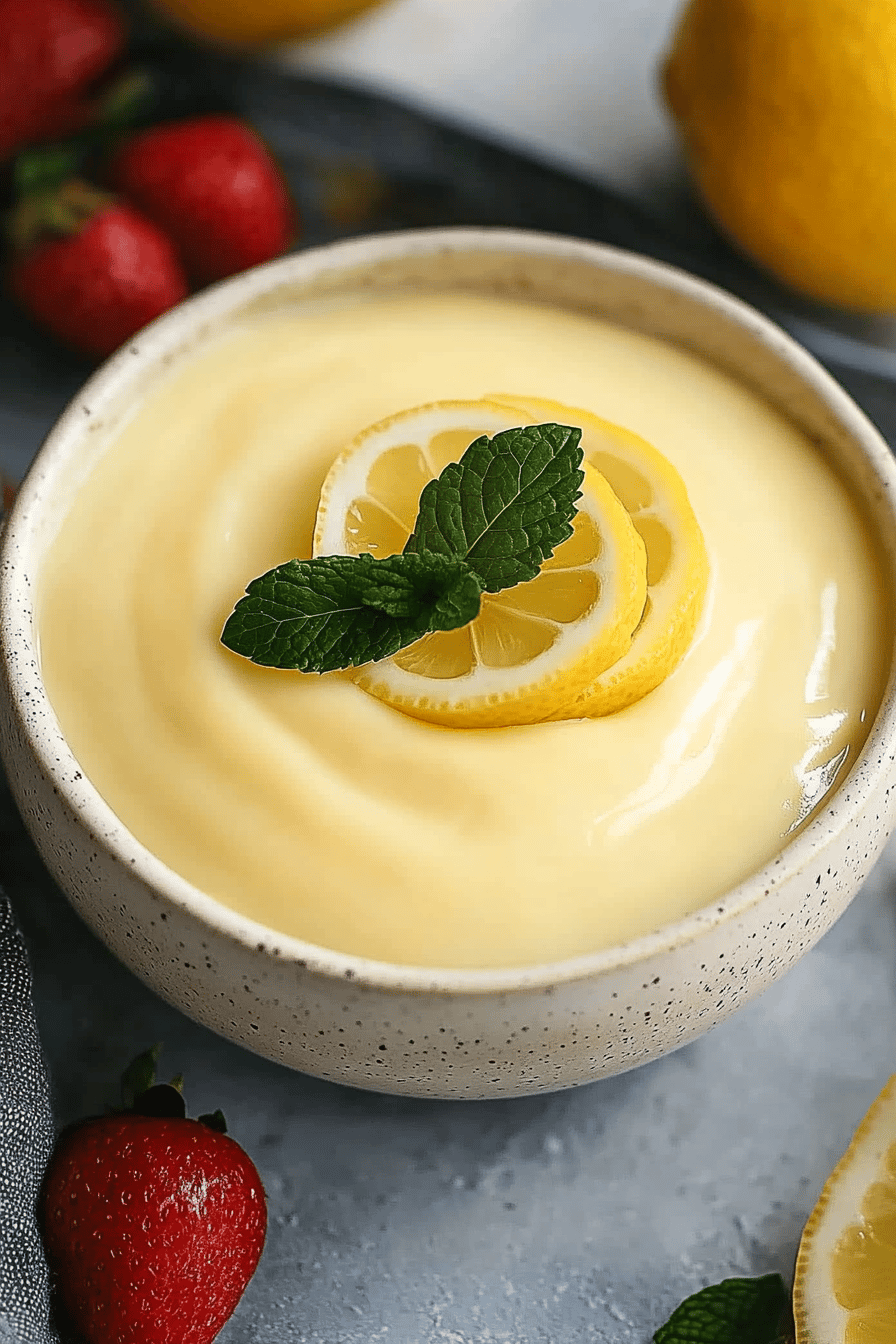
Serve your beautiful lemon custard chilled. It’s delightful on its own, but a few fresh berries or a sprig of mint can elevate it even further. I often like to serve it with a small, crisp cookie for a bit of texture contrast. Enjoy that burst of sunshine!
What to Serve It With
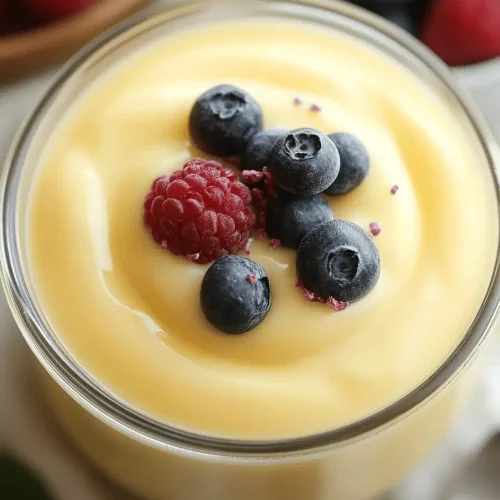
This lemon custard is wonderfully adaptable, making it perfect for so many occasions. For Breakfast, I love serving a smaller portion with a strong cup of coffee. It’s a decadent way to start the day, especially on a weekend. You could even add a few raspberries on top for a pop of color and flavor. For Brunch, it’s a showstopper! Serve it in pretty glasses with a sprig of mint and perhaps a tiny edible flower. It pairs beautifully with lighter fare like fresh fruit salads or delicate pastries. As a Dessert, it truly shines. It’s the perfect light and refreshing end to a hearty meal. I often serve it after grilled fish or roasted chicken. And for Cozy Snacks, especially on a chilly afternoon, a bowl of this creamy custard is pure comfort. Sometimes, I’ll crumble a little bit of toasted almond biscotti over the top for a delightful crunch. My family especially loves it when I pair it with my simple shortbread cookies – the buttery crunch is the perfect contrast to the smooth custard. It’s also fantastic alongside a slice of my classic apple crumble for a double dose of comfort! The bright lemon flavor is also surprisingly good with richer desserts, acting as a palate cleanser.
Top Tips for Perfecting Your Lemon Custard
I’ve made this lemon custard more times than I can count, and over the years, I’ve picked up a few tricks that I think really help elevate it from good to truly exceptional. For Zucchini Prep, while this isn’t a zucchini recipe, the principle of moisture control is key in many desserts. For this custard, ensuring your ingredients are fresh and measured accurately is paramount. For Mixing Advice, the absolute golden rule here is gentle heat and constant stirring. If you’re tempted to crank up the heat to speed things along, resist! You’ll end up with Scrambled Eggs, and nobody wants that. A low, steady simmer is your friend. I learned this the hard way years ago, trying to rush it for a dinner party! For Swirl Customization, that’s more for visually decorated desserts, but for this custard, smoothness is key. Straining is your best friend for achieving that silky texture. If you find your custard isn’t thickening, it might be because the heat was too low, or you didn’t cook it quite long enough. Just give it a bit more time, stirring constantly. For Ingredient Swaps, I’ve experimented with different milks. While whole milk is my preference for richness, 2% works fine, but you might find it a little less creamy. Using a combination of milk and heavy cream (say, 2 cups of each) makes it incredibly luxurious, almost like a frozen dessert. For Baking Tips, since this is a stovetop custard, think of the stovetop as your “oven.” Consistent, medium-low heat is your target. If your stove runs hot, don’t be afraid to lift the pan off the heat for a minute or two if it seems to be getting too hot too quickly. For Glaze Variations, if you don’t like a very sweet glaze, you can add a tiny pinch of salt to it, which balances the sweetness. You can also use a bit of lemon extract if you want an even more intense lemon flavor, but fresh lemon juice is always my go-to. Sometimes, instead of a glaze, I’ll just dust the top with a little bit of powdered sugar or even some finely grated lemon zest right before serving for a fresh, bright finish.
Storing and Reheating Tips
One of the best things about this lemon custard is how well it stores, making it perfect for making ahead. For Room Temperature storage, it’s generally best to serve this custard chilled, so I wouldn’t leave it out for more than an hour or two, especially if your kitchen is warm. Once it’s chilled, it’s pretty stable. For Refrigerator Storage, this is where it truly shines. Once cooled and covered with plastic wrap directly on the surface, it will keep beautifully in the fridge for up to 3-4 days. Make sure to use an airtight container or individual dishes covered tightly. The flavor actually deepens slightly over the first day, which is lovely! For Freezer Instructions, custard can be a bit tricky to freeze because of the egg and dairy content; the texture can sometimes become a little grainy or watery upon thawing. If you absolutely must freeze it, make sure it’s thoroughly chilled, then transfer it to an airtight container, leaving a little headspace for expansion. It should be good for about 2-3 weeks. Thaw it slowly in the refrigerator overnight. You might need to whisk it gently to help smooth out the texture. For Glaze Timing Advice, I recommend adding the glaze just before serving if you plan on storing the custard for more than a day, as the glaze can sometimes soften or become a little sticky over time. If you’re serving it within 24 hours, glazing it right after chilling is perfectly fine.
Frequently Asked Questions
Final Thoughts

There you have it – my absolute favorite lemon custard recipe! I truly hope you give this one a try. It’s the kind of recipe that reminds me why I love to cook: simple ingredients coming together to create something truly special and delicious. It’s that perfect balance of bright, zesty lemon and rich, creamy custard that makes it so irresistible. It’s elegant enough for a dinner party, yet comforting enough for a quiet evening at home. If you enjoyed this recipe, you might also want to check out my creamy chocolate pots de crème for another rich and decadent treat, or perhaps my no-bake lemon cheesecake bars for a different take on that beloved citrus flavor. I can’t wait to hear how your lemon custard turns out! Please leave a comment below and let me know what you think, or share any of your own favorite serving suggestions. Happy baking (or, in this case, chilling)!
Lemon Custard Recipe
Ingredients
Main Ingredients
- 1.5 cups Granulated Sugar
- 0.25 cup Cornstarch
- 0.25 teaspoon Salt
- 2 cups Whole Milk
- 1 cup Heavy Cream
- 6 large Egg Yolks
- 0.25 cup Fresh Lemon Juice
- 1 tablespoon Lemon Zest
- 1 teaspoon Vanilla Extract
Instructions
Preparation Steps
- In a medium saucepan, whisk together the sugar, cornstarch, and salt.
- Gradually whisk in the milk and heavy cream until smooth.
- Cook over medium heat, stirring constantly with a whisk, until the mixture thickens and comes to a simmer (about 5-7 minutes).
- Remove from heat.
- In a separate bowl, whisk the egg yolks.
- Temper the egg yolks by slowly whisking in about 1/2 cup of the hot milk mixture. Whisk constantly.
- Pour the egg yolk mixture back into the saucepan and whisk to combine.
- Cook over low heat, stirring constantly, until the custard thickens enough to coat the back of a spoon (about 1-2 minutes). Do not boil.
- Remove from heat and stir in the lemon juice, lemon zest, and vanilla extract.
- Pour the custard into a bowl and press plastic wrap directly onto the surface to prevent a skin from forming.
- Refrigerate for at least 2 hours, or until completely chilled.


