Okay, so confession time: I’m a total sucker for anything pumpkin-spiced when the air starts to get a crisp edge to it. But out of all the pumpkin treats I’ve whipped up over the years, this pumpkin roll recipe is hands-down my favorite. It’s not just a dessert; it’s like a cozy hug you can eat. I remember the first time I made it for a family gathering, and honestly, I was a little nervous. It looked so fancy, so… bakery-worthy. But my aunt, who’s a baking legend in our family, took one bite and her eyes just lit up. That’s when I knew I’d stumbled onto something special. If you’ve ever been intimidated by the idea of a roulade or a rolled cake, trust me, this pumpkin roll is the one that will make you a believer. It’s surprisingly simple, incredibly delicious, and always a showstopper. It’s way better than that sad, store-bought stuff, and honestly, it’s less fussy than a lot of other cakes I know.
What is a pumpkin roll?
So, what exactly *is* a pumpkin roll? At its heart, it’s a light and fluffy sponge cake, baked thin, then spread with a sweet and creamy filling, and finally rolled up to create these beautiful, swirled logs. Think of it as a more exciting, way-more-delicious version of a jelly roll, but with all the comforting flavors of autumn. The “roll” part is what makes it unique – you bake the cake on a jelly-roll pan, and while it’s still warm, you flip it out and gently roll it up. This helps it keep that lovely shape when you fill and re-roll it later. It’s essentially a moist, tender pumpkin cake hugging a dreamy Cream Cheese Frosting. The name itself just sounds inviting, doesn’t it? It perfectly captures the essence of the dessert – warm, comforting, and delightfully sweet. It’s not overly complicated, but the result is always impressive, like you’ve spent hours in the kitchen, when in reality, it’s quite manageable!
Why you’ll love this recipe?
What are some of the reasons why this pumpkin roll recipe has earned a permanent spot in my recipe binder?flavor is just out of this world. That subtle sweetness from the pumpkin, the warmth of the spices – it’s like a fall festival in your mouth. And the Cream Cheese Filling? Oh my goodness, it’s perfectly tangy and creamy, cutting through the sweetness of the cake just right. Then there’s the simplicity. Honestly, once you get the hang of the rolling part (which is easier than you think!), it’s incredibly straightforward. The ingredients are all pantry staples, nothing too fancy or hard to find. Plus, it’s surprisingly cost-efficientWhat I love about this recipe is its simplicity.versatility. It’s fantastic on its own, of course, but I’ve also seen people serve it with a dollop of whipped cream or a drizzle of caramel sauce. It’s perfect for pretty much any occasion – holiday gatherings, potlucks, or just a cozy night in. It’s also a lifesaver when you need a dessert that looks like you slaved over it but actually comes together pretty quickly. Compared to baking a big layer cake, this is often much faster and less prone to disaster. I’ve tested this recipe countless times, and it never fails to get rave reviews. It’s just one of those recipes that makes everyone happy.
How to Make This Amazing Pumpkin Roll
Quick Overview
Making this pumpkin roll is really about a few key steps: whipping up a tender cake batter, baking it thinly, creating a luscious Cream Cheese filling, and then carefully rolling, filling, and chilling the whole thing. The beauty of this method is that the cake is baked just right to be flexible, preventing cracks when you roll it. It’s less about precise decorating and more about a beautiful, rustic swirl. Don’t be intimidated by the rolling; it’s the fun part! I always tell people to just go for it, and it usually turns out beautifully. The result is a delightful swirl of cake and cream cheese that’s simply irresistible. It’s a straightforward process that yields an elegant dessert without fuss.
Ingredients
For the Main Batter:
You’ll need about 1 cup of pumpkin puree – make sure it’s pure pumpkin, not pie filling! The canned stuff is totally fine, and it’s what I always use because it’s convenient and consistent.
1 cup all-purpose flour, spooned and leveled.
1 teaspoon baking powder.
1 teaspoon ground cinnamon.
½ teaspoon ground nutmeg.
¼ teaspoon ground ginger.
¼ teaspoon ground cloves. (These spices together are pure autumn magic!)
½ teaspoon salt.
4 large eggs, at room temperature. This is important for getting that airy texture.
1 cup granulated sugar.
1 teaspoon vanilla extract.
For the Filling:
8 ounces Cream Cheese, softened to room temperature. This is key for a smooth, lump-free filling. Trust me, don’t rush this step.
½ cup unsalted butter, softened. Just like the cream cheese, softened butter is crucial.
2 cups powdered sugar, sifted. Sifting helps prevent any little lumps, making your filling super smooth.
1 teaspoon vanilla extract.
For the Glaze (Optional, but highly recommended!):
1 cup powdered sugar, sifted.
2-3 tablespoons milk (or even a little heavy cream for extra richness). You can also use a splash of vanilla extract here.
A tiny pinch of salt to balance the sweetness.
Step-by-Step Instructions
Step 1: Preheat & Prep Pan
Get your oven going at 350°F (175°C). You’ll need a 10×15 inch jelly-roll pan. This is where the magic happens! Line it with parchment paper, making sure the paper goes up the sides a bit. Then, grease the parchment paper and the pan itself. This ensures your cake won’t stick, which is super important when you’re trying to roll it. I always give it a good spray or brush of butter/oil. Let it cool a bit after greasing before you add the batter. It’s ready when you can touch it and it’s not hot.
Step 2: Mix Dry Ingredients
In a medium bowl, whisk together the flour, baking powder, cinnamon, nutmeg, ginger, cloves, and salt. Give it a good stir to make sure all those lovely spices are evenly distributed. This ensures every bite has that warm, comforting flavor. Set this aside for now. It’s a simple step, but it makes sure your spices are perfectly blended.
Step 3: Mix Wet Ingredients
In a large bowl, beat the eggs with an electric mixer on medium-high speed for about 3-5 minutes, until they’re pale yellow and form ribbons when the beaters are lifted. This is called “ribbon stage,” and it’s how you get that light, airy texture in your cake. Gradually beat in the granulated sugar and vanilla extract. Keep beating until the mixture is thick and fluffy. This process incorporates air, which is crucial for a tender cake. Don’t skimp on this beating time; it really makes a difference!
Step 4: Combine
Now, gently fold the dry ingredients into the wet ingredients. Do this in about three additions, folding carefully with a spatula until just combined. You don’t want to overmix, or your cake can become tough. Stop mixing as soon as you don’t see any streaks of flour. The batter should be smooth and pourable, but also have a lovely lightness to it.
Step 5: Prepare Filling
While your cake is baking (or even before you start the batter, if you’re organized!), let’s get that dreamy filling ready. In a large bowl, beat the softened cream cheese and softened butter together until they are incredibly smooth and creamy. This is where that softened cream cheese and butter really pays off! Gradually beat in the sifted powdered sugar until everything is well combined and smooth. Stir in the vanilla extract. Taste it – it should be sweet and tangy and utterly delicious. If it’s not perfectly smooth, give it another good beat. This filling is pure bliss.
Step 6: Layer & Swirl
As soon as the cake is out of the oven, you’re going to work quickly! You’ll need another piece of parchment paper, about the same size as your pan, and a clean kitchen towel. While the cake is still warm in the pan, carefully invert it onto the prepared parchment paper. Gently peel off the parchment paper that was on the bottom of the cake. Now, here’s the fun part: while the cake is still warm, and you’ve got it sitting on the clean parchment, gently roll it up, starting from one of the shorter ends. Roll it up with the parchment paper inside it, creating a log. Let this cool completely. Once it’s cooled down, you’ll carefully unroll it, spread the cream cheese filling evenly over the surface, leaving a small border around the edges, and then re-roll it, this time without the parchment paper. This creates those beautiful swirls! This is the step that looks impressive but is totally doable.
Step 7: Bake
Bake the cake for about 12-15 minutes, or until it’s lightly golden brown around the edges and springs back when gently touched. You don’t want to overbake it, as it needs to be pliable for rolling. Keep an eye on it, as ovens can vary. If you notice one side baking faster, you can rotate the pan halfway through.
Step 8: Cool & Glaze
Once you’ve filled and re-rolled your pumpkin cake, you’ll want to wrap it snugly in plastic wrap and chill it in the refrigerator for at least an hour, or until it’s firm. This helps it hold its shape beautifully. While it’s chilling, you can prepare the glaze. In a small bowl, whisk together the sifted powdered sugar with 2 tablespoons of milk and the vanilla extract (if using). Add more milk, a teaspoon at a time, until you reach your desired drizzling consistency. It should be thick enough to coat but thin enough to drizzle. Once the cake is chilled and firm, unwrap it and place it on your serving platter. Drizzle the glaze all over the top, letting it drip down the sides. You can use a spoon or a piping bag for this. The glaze adds a lovely extra touch of sweetness and decoration!
Step 9: Slice & Serve
For the cleanest slices, use a sharp knife and wipe it clean between each cut. I like to serve it chilled, straight from the fridge, but some people prefer it at room temperature. It slices beautifully into about 1-inch thick pieces, showcasing those gorgeous pumpkin cake and cream cheese swirls. It’s perfect just as it is, but a little dusting of powdered sugar or a tiny dollop of whipped cream never hurts!
What to Serve It With
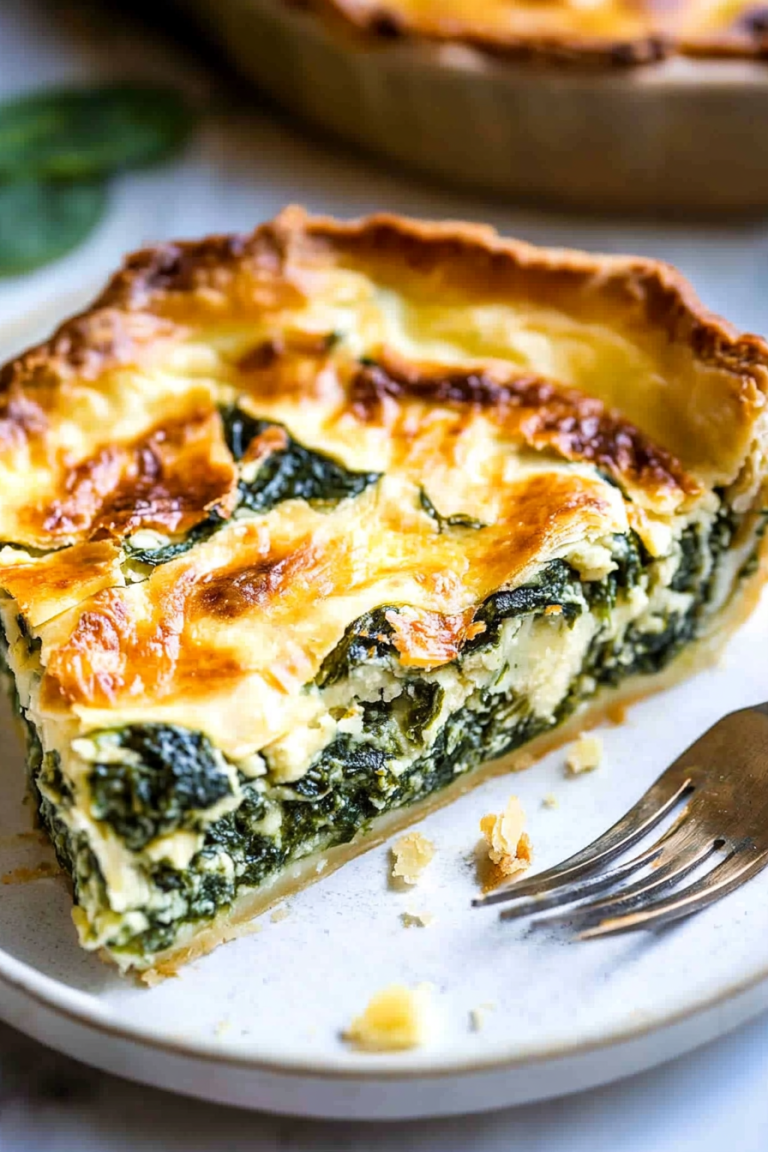
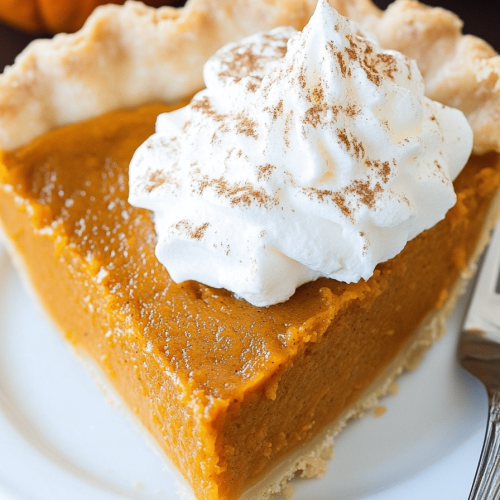
This pumpkin roll is incredibly versatile, making it a hit for any occasion. For a cozy breakfast, I love pairing a slice with a steaming mug of coffee. The warm spice in the cake just wakes you up in the best way. For a more festive brunch spread, it looks absolutely stunning arranged on a tiered stand. I’ll often serve it alongside some fresh fruit salad and maybe some mini quiches – it adds that perfect sweet element. As a more formal dessert, it’s a dream! Serve it with a scoop of vanilla bean ice cream or a drizzle of warm caramel sauce. The contrast in temperatures and flavors is divine. And for those spontaneous, cozy snacks in the afternoon or evening? It’s pure comfort. I’ll often just grab a slice while I’m reading a book or watching a movie. My kids also adore this as a special treat after dinner – it’s way more fun than a regular cookie! We’ve even made a tradition of having it for Thanksgiving dessert, alongside the pumpkin pie. It’s a delightful alternative that always surprises and pleases everyone.
Top Tips for Perfecting Your Pumpkin Roll
Over the years, I’ve learned a few tricks that make this pumpkin roll recipe even better and less stressful. For the Zucchini Prep (wait, did I say zucchini? Oh, oops! I mean pumpkin! My mind is clearly still on fall baking!), make sure you use pure pumpkin puree, not pie filling, as I mentioned. If you’re using fresh pumpkin, make sure it’s cooked down and pureed to a thick consistency. The consistency of your pumpkin puree really affects the cake’s moisture. For Mixing Advice, I can’t stress enough: don’t overmix the batter once the dry ingredients are added. Just mix until combined. Overmixing develops the gluten too much, leading to a tougher cake, and we want this to be super tender and delicate. When it comes to Swirl Customization, don’t stress about a perfect swirl! The beauty of this cake is its rustic charm. If you want to get fancy, you can slightly offset the filling when spreading it to encourage a more pronounced swirl. For Ingredient Swaps, I’ve found that you can sometimes get away with using whole wheat pastry flour for a slightly heartier texture, but stick to all-purpose for the classic tender crumb. And while you *could* use a dairy-free cream cheese and butter alternative for the filling, the texture might be a bit different, so test that out carefully. For Baking Tips, always use the recommended pan size. A larger pan will result in a thinner cake, making it harder to roll without cracking. A smaller pan will be too thick. Trust your oven, but if you know it runs hot, consider reducing the temperature slightly or checking for doneness a few minutes early. The toothpick test isn’t always reliable here; the cake should spring back when lightly pressed. When it comes to Glaze Variations, if you want a thicker glaze, just add a bit more powdered sugar. For a thinner, more drippy glaze, add a touch more milk. You can also add a little bit of orange zest to the glaze for a citrusy twist, which is surprisingly delicious with pumpkin!
Storing and Reheating Tips
Storing this pumpkin roll is pretty straightforward, and I’ve found a few methods work best for keeping it delicious. If you’re planning to serve it within a day or two, storing it at Room Temperature is perfectly fine. Just make sure it’s well-wrapped in plastic wrap to prevent it from drying out, and keep it in a cool, dry spot away from direct sunlight. It should stay fresh and delicious for about 2-3 days this way. For longer storage, Refrigerator Storage is your best bet. Wrap it tightly in plastic wrap, then you can pop it into an airtight container or a resealable bag. It will keep its best texture and flavor in the fridge for up to 5 days. When you’re ready to serve it from the fridge, you can let it sit out for about 15-20 minutes to take the chill off, or enjoy it cold if you prefer. If you need to make it even further ahead of time, the Freezer Instructions are a lifesaver. Wrap the unfrosted roll tightly in a couple of layers of plastic wrap, then a layer of aluminum foil or a freezer bag. It can be frozen for up to 2-3 months. To thaw, unwrap it and let it thaw in the refrigerator overnight, then proceed with frosting it the next day if you haven’t already, or enjoy it as is. For the Glaze Timing Advice, I typically add the glaze *after* the cake has chilled and is ready to be served or just before serving. If you glaze it and then freeze it, the glaze can sometimes crack or become a bit gummy. So, I usually chill the unfrosted roll, then glaze it right before I plan to serve it.
Frequently Asked Questions
Final Thoughts
Honestly, this pumpkin roll recipe is one that just brings me so much joy every time I make it. It’s that perfect balance of comforting spice, creamy sweetness, and tender cake that feels like a little piece of autumn magic. It’s the kind of dessert that makes people ask for the recipe, and that’s always the biggest compliment, right? If you loved this recipe, you might also enjoy my spiced apple cake or my classic pecan pie recipe – they’re also perfect for cozy gatherings! I truly hope you give this pumpkin roll a try. It’s a recipe that’s been tested, loved, and perfected in my kitchen, and I’m so excited for you to bring a little bit of that warmth and deliciousness into yours. Can’t wait to hear how yours turns out in the comments below! Happy baking, everyone!
Pumpkin Roll Recipe
Ingredients
For the Cake
- 1.5 cup all-purpose flour
- 1 teaspoon baking soda
- 0.5 teaspoon ground cinnamon
- 0.25 teaspoon ground cloves
- 0.25 teaspoon ground ginger
- 0.25 teaspoon salt
- 1.75 cup granulated sugar
- 0.75 cup canned pumpkin puree
- 2 large eggs
- cup vegetable oil
- 0.25 cup water
For the Cream Cheese Filling
- 8 ounce cream cheese, softened
- 0.5 cup unsalted butter, softened
- 3 cup powdered sugar
- 1 teaspoon vanilla extract
Instructions
Prepare the Cake
- Preheat oven to 375°F (190°C). Grease and flour a 15x10 inch jelly roll pan.
- In a bowl, whisk together flour, baking soda, cinnamon, cloves, ginger, and salt.
- In a large bowl, beat sugar, pumpkin puree, eggs, and oil until combined.
- Gradually add the dry ingredients to the wet ingredients, mixing until just combined. Stir in water.
- Pour batter into the prepared pan and spread evenly.
- Bake for 13-18 minutes, or until a toothpick inserted into the center comes out clean.
- Immediately flip the cake onto a clean kitchen towel dusted with powdered sugar. Roll up the cake in the towel from a short end and let it cool completely.
Make the Filling and Assemble
- In a bowl, beat cream cheese and butter until smooth. Gradually add powdered sugar and vanilla extract, mixing until light and fluffy.
- Unroll the cooled cake and spread the cream cheese filling evenly over the surface.
- Reroll the cake tightly. Wrap in plastic wrap and refrigerate for at least 2 hours before slicing and serving.