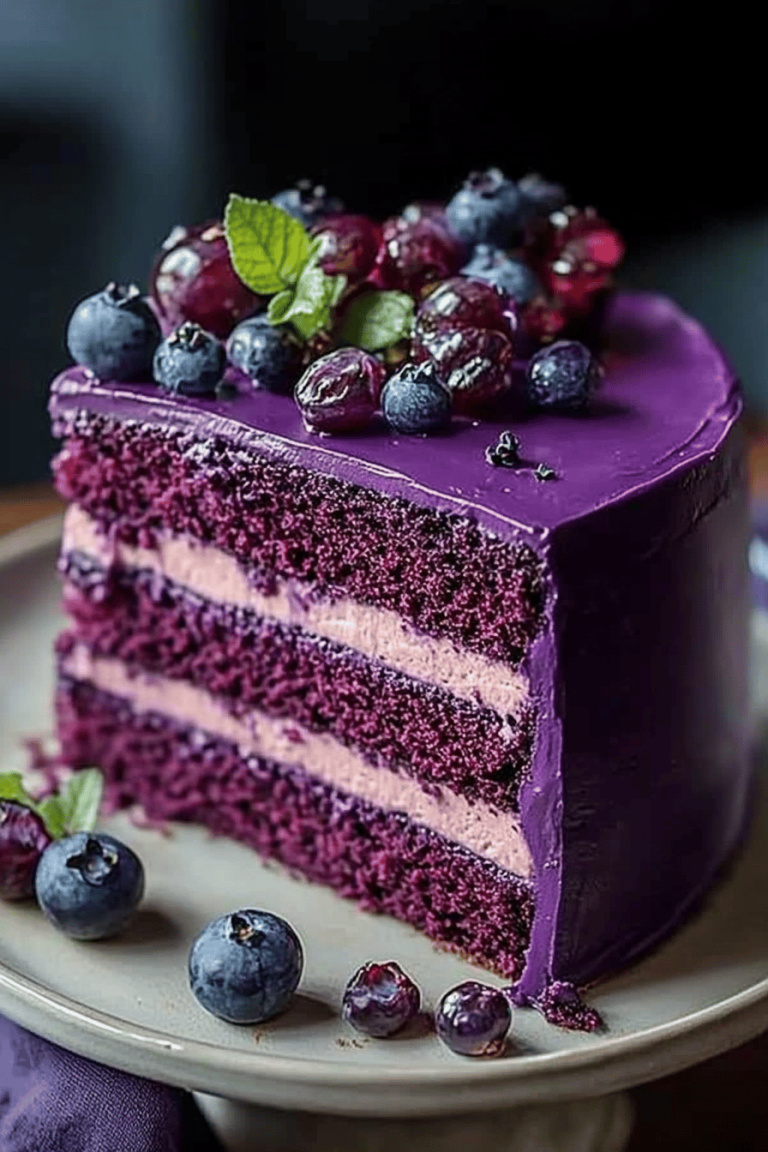
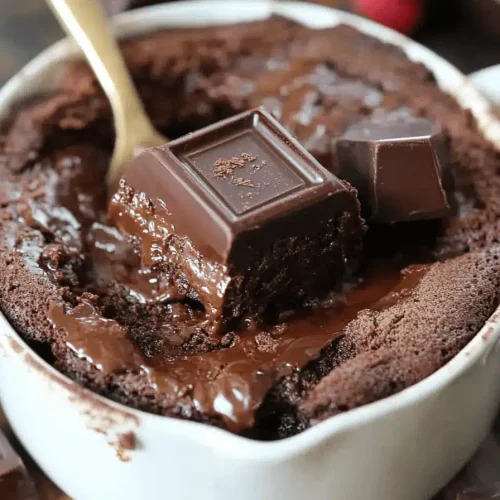
I still remember the first time I baked this chocolate craving cake — it was one of those spontaneous afternoons when a sudden chocolate hankering hit me hard at around 3pm. I didn’t want anything too complicated or fussy, just something that would satisfy that deep, chocolatey urge without the hassle of hours in the kitchen. This cake? It’s like a warm hug for your soul — rich, moist, and with the perfect balance of sweet and a little bittersweet chocolate kick. My kids are always begging for seconds, and honestly, so am I! It’s got this incredible, fudgy texture but stays light enough that you won’t feel weighed down after. Compared to something like a classic fudge cake, this one is easier to whip up on a whim and doesn’t require any fancy ingredients or equipment. Plus, it hits the spot every time you get that intense chocolate craving — trust me, it disappears in minutes at my house.
What is chocolate craving cake?
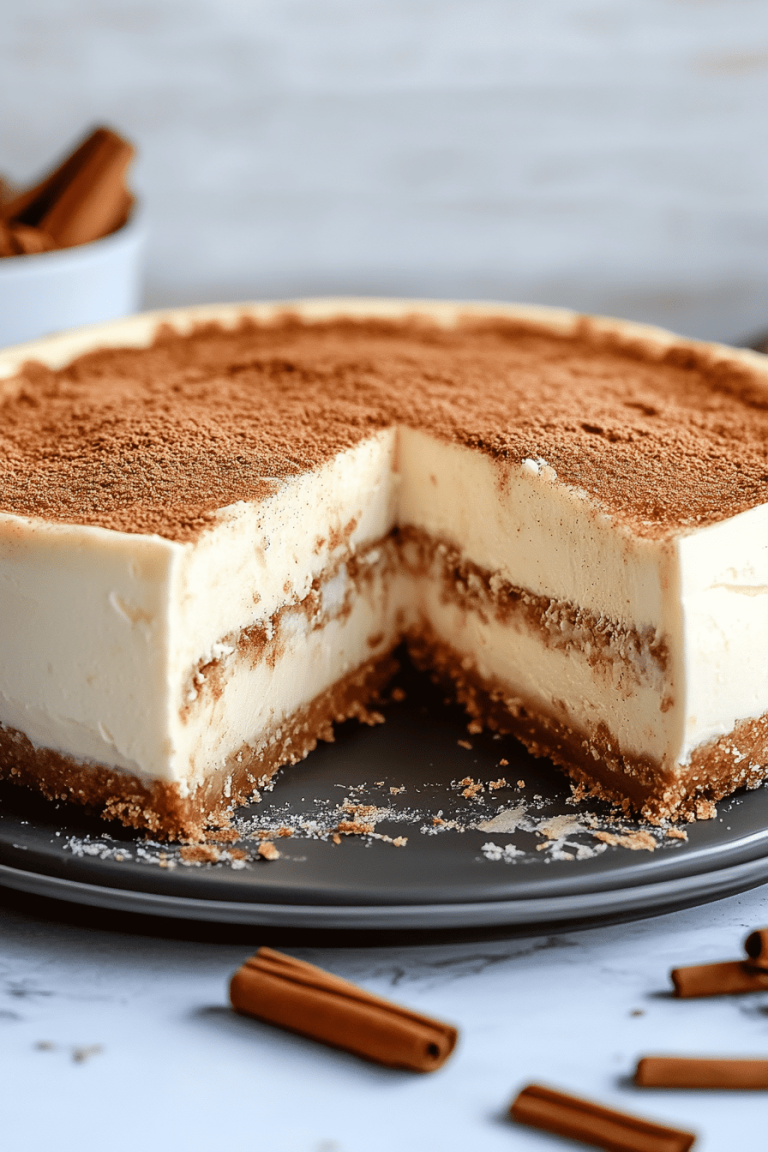
Think of chocolate craving cake as your instant go-to comfort dessert when the chocolate fix just won’t quit. It’s essentially a dense but tender chocolate cake with a layered swirl of creamy chocolate goodness inside and on top. The name comes from that irresistible urge to grab a slice whenever that chocolate craving sneaks up on you, which — let’s be honest — happens far too often in my book! It’s not overly sweet or fussy, which makes it perfect for everyday baking and family snack time. I like to think of it as a mashup between a classic chocolate cake and a luscious chocolate swirl cheesecake, but way simpler. Anyone who’s not exactly a “baker” yet can totally nail this, which is why it’s become a staple in my kitchen and one I’m excited to share with you.
Why you’ll love this recipe?
So, what makes this cake so special? Here’s the thing — what I love most about this chocolate craving cake is how it hits that perfect chocolatey note without ever feeling too heavy or overly sweet. It’s rich and moist, but not dense like a brownie, making it super satisfying for any time of day. Easy is a huge selling point for me because this cake doesn’t need weird ingredients or multiple steps that leave you exhausted. It’s pretty straightforward but feels like a real treat — a balance I’m always chasing in the kitchen.
Budget-wise? It’s a keeper because I usually have everything on hand already — simple pantry staples like cocoa powder, eggs, sugar, and a splash of coffee (which is my secret weapon to boost the chocolate flavor). You don’t have to break the bank to get that intense chocolate taste. Plus, it’s incredibly versatile: I often serve it plain, but sometimes I jazz it up with chopped nuts in the batter or drizzle it with whipped cream and fresh berries depending on the mood. If you’re into raspberry or mint chocolate combinations, that’s a killer addition too!
Compared to my other chocolate favorites (shoutout to my triple-layer fudge cake), the real charm is how effortless this cake is that still makes your kitchen smell like a little chocolate paradise. Oh, and the frosting glaze! It’s such a nice touch — silky smooth, not too sweet, and the kind of finish that makes your eyes light up when you take your first bite. Honestly, my kids went crazy the first time I added the glaze. This one’s a lifesaver on busy nights when you want something that feels special but can be done without pulling out every cooking utensil in the drawer.
How do I make a chocolate craving cake?
Quick Overview
This cake is a beautiful balance of ease and decadence. You’ll mix your dry ingredients separately from the wet, then bring them together for a silky batter. After that, you’ll prepare a creamy chocolate filling that’s swirled into the cake batter for a magic marbled effect. Pop it in the oven and once baked, glaze it with a glossy chocolate topping that sets just right. The whole process is straightforward, no mixer required (unless you want to!), and is forgiving enough for a beginner baker’s nerves. I promise, this is one of those recipes where the results look way fancier than the effort needed.
Ingredients
For the Main Batter:
- 1 ¾ cups all-purpose flour – use fresh and sifted if you can
- ¾ cup unsweetened cocoa powder – Dutch-processed if available for that rich flavor
- 1 ½ tsp baking powder – helps keep it light
- ½ tsp baking soda – balances the acidity
- ¼ tsp salt – so the chocolate really pops
- 1 cup granulated sugar – regular sugar works best here
- ¾ cup whole milk – or almond milk for a creamier, dairy alternative (I tried it, and it’s lovely)
- ½ cup vegetable oil – keeps the cake moist and soft
- 2 large eggs – room temperature for better mixing
- 1 tsp pure vanilla extract – quality counts here
- ½ cup hot brewed coffee – trust me on this, coffee intensifies the chocolate
For the Filling:
- ⅔ cup cream cheese, softened – makes the filling silky
- ⅓ cup powdered sugar – sift it to avoid lumps
- 2 tbsp cocoa powder – for extra chocolate punch in the filling
- 1 tsp vanilla extract – for warmth and aroma
For the Glaze:
- ½ cup heavy cream – brings that luscious texture
- 4 oz bittersweet chocolate, chopped – chopped finely for smooth melting
- 1 tbsp unsalted butter – adds glossy shine
- Pinch of salt – balances sweetness
Step-by-Step Instructions
Step 1: Preheat & Prep Pan
Start by preheating your oven to 350°F (175°C). I always line a 9-inch springform pan with parchment paper and grease the sides thoroughly — it makes releasing the cake much easier, especially with all that glaze. If you don’t have a springform, any cake pan will do, just be careful with turning it out.
Step 2: Mix Dry Ingredients
In a large bowl, sift together the flour, cocoa powder, baking powder, baking soda, and salt. I love sifting because it removes lumps and also helps aerate the ingredients, leading to a tender crumb. Give it a gentle whisk to combine evenly — the texture should be uniform and powdery, with no clumps.
Step 3: Mix Wet Ingredients
In a separate bowl, whisk the sugar, eggs, and vanilla until you see it lighten slightly. Pour in the oil, milk, and hot coffee (be careful not to scramble the eggs, so make sure the coffee isn’t boiling hot but still warm). The wet mixture should look glossy and quite smooth — this is your chocolate magic in the making.
Step 4: Combine
Slowly add the dry ingredients into the wet, folding gently but thoroughly. I like to use a spatula for this to avoid overmixing, which can toughen the cake. The batter should come together silky and thick but still pourable — if it feels too stiff, a splash more milk does the trick. Overmixing is my baking downfall, so I always stop as soon as there are no streaks.
Step 5: Prepare Filling
In a small bowl, beat the cream cheese until smooth. Add powdered sugar, cocoa powder, and vanilla, then mix until creamy and free of lumps. This filling is what makes the cake feel indulgent without being too sweet — you want it spreadable but not runny.
Step 6: Layer & Swirl
Pour half of the chocolate batter into your prepared pan. Dollop the cream cheese filling over it in spoonfuls and then pour the remaining batter on top. Take a sharp knife or skewer and swirl gently through the batter to create those beautiful marbled patterns. Don’t overdo the swirling — just enough to see the elegant ribbons of chocolate.
Step 7: Bake
Bake the cake in the center of the oven for about 45-50 minutes. I always start checking at 40 minutes by inserting a toothpick near the cream cheese swirl area. It should come out with a few moist crumbs but no raw batter. Ovens vary, so keep an eye on it — remember, you want it moist, not dry. I’ve learned the hard way that a little underbaking here is okay because it keeps the cake fudgy.
Step 8: Cool & Glaze
Once out of the oven, let the cake cool in the pan for about 15 minutes, then loosen the sides and gently remove it onto a wire rack. While it cools completely, make the glaze. Heat the cream until just simmering, then pour over the chopped chocolate and butter in a bowl. Let it sit for a minute, then stir gently until smooth and shiny. Pour over the cooled cake, using a spatula to smooth out the edges or let it dribble down for that rustic look.
Step 9: Slice & Serve
Allow the glaze to set for about 20 minutes before slicing — it should be soft but hold its shape. Use a sharp, warm knife (run it under hot water and dry) for clean cuts that don’t drag the filling. Serve at room temperature or slightly warmed with a scoop of vanilla ice cream if you’re feeling fancy. Honestly, I usually just grab a slice with a big mug of coffee and call it a day!
What to Serve It With
For Breakfast: This cake feels surprisingly right with a cup of strong black coffee or a creamy latte. I’ve set it out on weekend mornings with fresh fruit and it makes breakfast feel like a celebration, even on a regular day.
For Brunch: Pair it alongside a simple fruit salad and maybe some sparkling water or a light mimosa. The richness of the chocolate craving cake cuts through nicely with the freshness of fruit, making it perfect for a casual get-together.
As Dessert: Serve warm with a dollop of whipped cream or vanilla bean ice cream. Top with fresh raspberries or a drizzle of caramel for a bit of tang and sweetness contrast. This combo never fails to get compliments at dinner parties.
For Cozy Snacks: When the kids come home from school craving something quick, I’ll slice a small piece and pair it with a glass of cold milk or hot chocolate for an indulgent afternoon boost. It’s like a bite of happiness and comfort all wrapped in one.
Top Tips for Perfecting Your Chocolate Craving Cake
Cocoa Powder Quality: Using Dutch-processed cocoa powder gives a deeper, smoother chocolate flavor. I tried natural cocoa first, but the difference surprised me once I switched!
Mixing Advice: Don’t overmix once you combine wet and dry ingredients — gently fold to keep the crumb light. I’ve found beating too much leads to a denser texture, and nobody wants that for this cake.
Swirl Customization: For an eye-catching marble, swirl with a knife in a slow “S” pattern rather than circular loops. This creates those gorgeous, graceful trails of cream cheese throughout. Over-swirl and the layers blend too much, which I’ve done one too many times!
Ingredient Swaps: I’ve experimented with coconut oil instead of vegetable oil — the cake tastes delightful with a subtle tropical hint. The swap works one-for-one in quantity. For a dairy-free version, almond milk and vegan cream cheese in the filling work great too.
Baking Tips: Place your cake in the middle rack and avoid opening the oven door the first 35 minutes to prevent it from collapsing. If your oven runs hot, tent with foil after 40 minutes to keep the glaze from browning too quickly.
Glaze Variations: Mixing in a tablespoon of espresso powder to the glaze amps up the chocolate deeply. You can also switch to dark chocolate chips or add a splash of liqueur like Grand Marnier for an adult twist. I once tried adding a pinch of cinnamon in the glaze — unexpected but delicious!
Storing and Reheating Tips
Room Temperature: You can keep this chocolate craving cake covered on the counter (in a cake dome or loosely wrapped in foil) for up to 2 days without losing freshness. The glaze stays glossy if room temp is not too hot.
Refrigerator Storage: Store in an airtight container or wrapped tightly in plastic wrap for up to 5 days. Bring it back to room temperature or warm gently for the best texture since chilled cake can firm up the filling and glaze.
Freezer Instructions: Wrap individual slices firmly in plastic wrap and foil, and freeze for up to 2 months. Thaw overnight in the fridge, then warm slices briefly in the microwave or oven. The glaze melts beautifully with even a few seconds of warming.
Glaze Timing Advice: You can also freeze the cake without the glaze and add it fresh when ready to serve — this keeps that silky topping just perfect. If glazing before freezing, let the glaze harden fully and wrap tightly to avoid frost damage.
Frequently Asked Questions
Final Thoughts
This chocolate craving cake has truly become one of those treasures I make when I want to feel a little cozy and indulge without overthinking things. It hits all the nails on the head — not too sweet, wonderfully chocolatey, and easy enough to whip up on a whim. I hope you find yourself reaching for it just like I do on those evenings when you really need a hug in cake form. And if you love sinking your teeth into chocolate, you might enjoy experimenting with some of my other chocolate treats like the triple chocolate brownies or chocolate swirl banana bread. I’d be thrilled to hear how yours turns out or if you put your own spin on it — don’t forget to leave a comment or share a rating if you try it! Happy baking, friends!
chocolate craving cake
Ingredients
Main Ingredients
- 1 cup all-purpose flour
- 1 cup granulated sugar
- 0.5 cup unsweetened cocoa powder
- 0.75 teaspoon baking powder
- 0.75 teaspoon baking soda
- 0.5 teaspoon kosher salt
- 1 large egg
- 0.5 cup whole milk
- 0.25 cup vegetable oil
- 2 teaspoons vanilla extract
- 0.5 cup warm water or brewed coffee warm
- 1 cup milk chocolate chips
- 0.5 cup sour cream
- 0.5 teaspoon vanilla extract
Instructions
Preparation Steps
- Preheat oven to 350°F. Line an 8x8 inch baking dish with parchment paper and grease the sides.
- In a large bowl, whisk together flour, sugar, cocoa powder, baking powder, baking soda, and salt.
- Add egg, milk, vegetable oil, and vanilla extract. Mix on low speed until combined, then increase to medium and mix 2 minutes.
- Stir in warm water or coffee until batter is smooth and thin.
- Pour batter into prepared pan and bake for 35-40 minutes until a toothpick comes out with a few crumbs.
- Allow cake to cool in pan for 10 minutes. Transfer to wire rack to cool completely.
- To make frosting, melt chocolate chips in microwave at 50% power in 30-second intervals, stirring until smooth.
- Stir in sour cream and vanilla extract until frosting is smooth and fluffy.
- Spread frosting evenly over cooled cake before serving.