
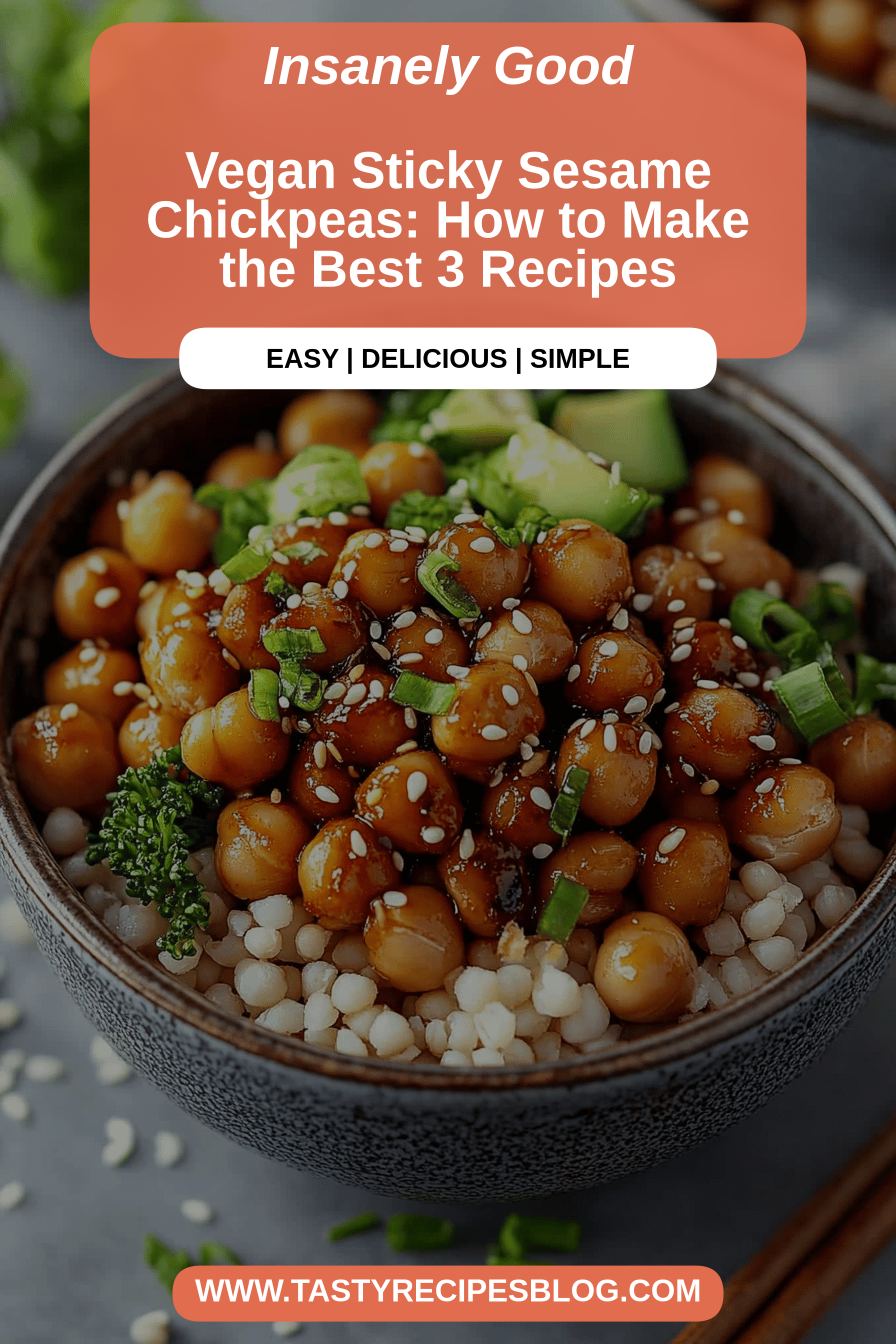
You know those nights? The ones where you’re staring into the fridge, a little peckish, and absolutely *not* in the mood to cook anything complicated? Yeah, I live for those moments because they usually lead to my favorite discoveries. And this, my friends, this recipe for Vegan sesame chickpeas is one of those magic creations that happened purely out of necessity and a serious craving. It’s got this incredible savory, slightly sweet, nutty flavor profile that just hits all the right notes. Honestly, it’s like a warm hug in a bowl, and it’s so ridiculously simple, I almost feel guilty sharing it. It reminds me a bit of those addictive roasted chickpeas you can buy at the store, but so much better because you control the ingredients and the flavor explosion. If you’re a fan of those little crunchy flavor bombs, prepare yourself, because these vegan sesame chickpeas are about to become your new obsession.
What are vegan sesame chickpeas?
So, what exactly are we talking about here? Think of these Vegan sesame chickpeas as the ultimate plant-based snack or light meal. They’re essentially tender, cooked chickpeas that have been tossed in a glorious, glossy sauce made primarily of tahini (that wonderful sesame paste!) and a few other flavor boosters. We roast them just enough to get them slightly crispy on the outside while keeping them creamy inside. The sesame flavor is the star, of course, but it’s balanced with just the right amount of savory, a hint of sweetness, and a touch of something tangy. It’s not overly complicated; it’s essentially a way to elevate humble chickpeas into something truly special. It’s a dish that proves you don’t need a lot of fancy ingredients to create something incredibly satisfying and delicious. It’s pure, unadulterated goodness!
Why you’ll love this recipe?
Oh, where do I even begin with why this recipe is an absolute winner? First off, the FLAVOR. Seriously, it’s next level. The tahini brings this rich, nutty depth, and when it’s combined with the sesame oil and toasted sesame seeds, it creates this incredible aroma and taste that’s just… addictive. It’s savory, it’s got a subtle sweetness that keeps you coming back for more, and there’s a tiny tang from the lemon that just brightens everything up. Then there’s the SIMPLICITY. I’m talking about a recipe that comes together in under 30 minutes, minimal dishes, and practically foolproof. This is my absolute go-to when I need something quick and healthy. It’s also incredibly COST-EFFECTIVE. Chickpeas are one of the most budget-friendly proteins out there, and tahini, while it might seem a bit pricey upfront, lasts for ages and you only need a little for this recipe. Plus, the VERSATILITY! You can eat these straight from the bowl, pile them on a salad, tuck them into a wrap, or even serve them as a side dish. It’s one of those recipes that just keeps on giving. Honestly, what I love most about these vegan sesame chickpeas is that they feel like a treat without any of the guilt. They’re packed with protein and fiber, which makes them super filling. If you’re looking for something similar to my What is a quick and easy lentil soup recipe?What are some good roasted chickpeas?
How to Make Vegan Sesame Chickpeas
Quick Overview
Making these Vegan sesame chickpeas is a breeze. You’ll drain and rinse your chickpeas, toss them with a few pantry staples to get them ready for roasting, and then whip up a super simple sesame-tahini sauce while they’re in the oven. Once they’re out, you’ll toss them in that glorious sauce and give them a final toast for maximum flavor and that perfect slightly crisp texture. It’s a one-pan wonder for the most part, and the aroma that fills your kitchen while they’re roasting? Pure magic.
Ingredients
For the Main Dish:
2 cans (15-ounce each) chickpeas, drained and rinsed very well. Make sure you get them nice and dry! I usually pat them with a clean kitchen towel. This is key for getting them a little crispy.
1 tablespoon Olive oil. Or avocado oil if you have it. Just a touch to help them get golden.
1 teaspoon smoked paprika. This adds such a lovely depth, don’t skip it if you can help it!
1/2 teaspoon garlic powder. Because garlic makes everything better, right?
1/4 teaspoon salt. Or to taste, of course.
A pinch of Black Pepper. Freshly ground is always best.
For the Glorious Sesame Glaze:
1/4 cup tahini (sesame paste). Make sure it’s well-stirred before you measure! Good quality tahini makes a difference here.
2 tablespoons soy sauce or tamari for a gluten-free option. This brings the savory umami punch.
1 tablespoon maple syrup. For that perfect hint of sweetness. You can adjust this to your liking.
1 tablespoon fresh lemon juice. It cuts through the richness and brightens everything up.
1 clove garlic, minced. Or you can use a bit more garlic powder if you’re in a pinch.
1-2 tablespoons water. To get the glaze to your desired consistency. Start with one and add more if needed.
For Garnish (Optional but highly recommended!):
1 tablespoon toasted sesame seeds. For an extra nutty crunch and visual appeal.
A sprinkle of chopped fresh parsley or cilantro. Adds a burst of freshness.
Step-by-Step Instructions
Step 1: Preheat & Prep Pan
First things first, let’s get that oven roaring. Preheat it to 400°F (200°C). Line a large baking sheet with parchment paper. This makes cleanup an absolute dream, trust me. Parchment paper is your best friend when you want minimal fuss.
Step 2: Mix Dry Ingredients
Now, grab your dried chickpeas. I like to put them in a medium bowl. Add the olive oil, smoked paprika, garlic powder, salt, and black pepper. Give everything a really good toss until the chickpeas are evenly coated. You want to make sure every single one of those little guys gets some love from the spices.
Step 3: Mix Wet Ingredients
While the chickpeas are chilling (or getting ready to go in the oven), let’s make that amazing glaze. In a small bowl, whisk together the tahini, soy sauce (or tamari), maple syrup, lemon juice, and minced garlic. It might look a bit thick at first, and that’s totally normal. Whisk it until it’s relatively smooth.
Step 4: Combine
Here’s where the magic starts to happen. Add 1 tablespoon of water to your tahini mixture and whisk again. Keep adding water, a tablespoon at a time, whisking after each addition, until you reach a smooth, pourable consistency. It should be like a thick but drippy sauce. If it gets too thin, don’t worry, you can always add a tiny bit more tahini.
Step 5: Prepare Filling
Okay, so for this particular recipe, there isn’t a separate “filling” step in the traditional sense. The chickpeas *are* the star, and the glaze is what coats them. But if you were thinking of adding other things, this is where you’d prep them. For these vegan sesame chickpeas, we’re keeping it pure and simple!
Step 6: Layer & Swirl
Spread your seasoned chickpeas in a single layer on the prepared baking sheet. Try not to overcrowd them; giving them some space helps them crisp up nicely. Pop them into the preheated oven and roast for about 20-25 minutes. You’re looking for them to be lightly golden and a little firm to the touch.
Step 7: Bake
During those 20-25 minutes, keep an eye on them. You might want to give the baking sheet a little shake halfway through to ensure even browning. If they’re looking a little too dry, you can add another teaspoon of olive oil before they go in. The goal is a slight crispiness, not dry and hard.
Step 8: Cool & Glaze
Once the chickpeas are roasted to perfection, take them out of the oven. Let them cool *slightly* for about 5 minutes. Now, pour about half of that beautiful sesame glaze over the warm chickpeas on the baking sheet. Toss them gently to coat. Then, spread them back out on the baking sheet and pop them back into the oven for another 5-7 minutes. This extra toasting helps the glaze get lovely and sticky. It’s this second toasting that really locks in the flavor and gives them that irresistible chew.
Step 9: Slice & Serve
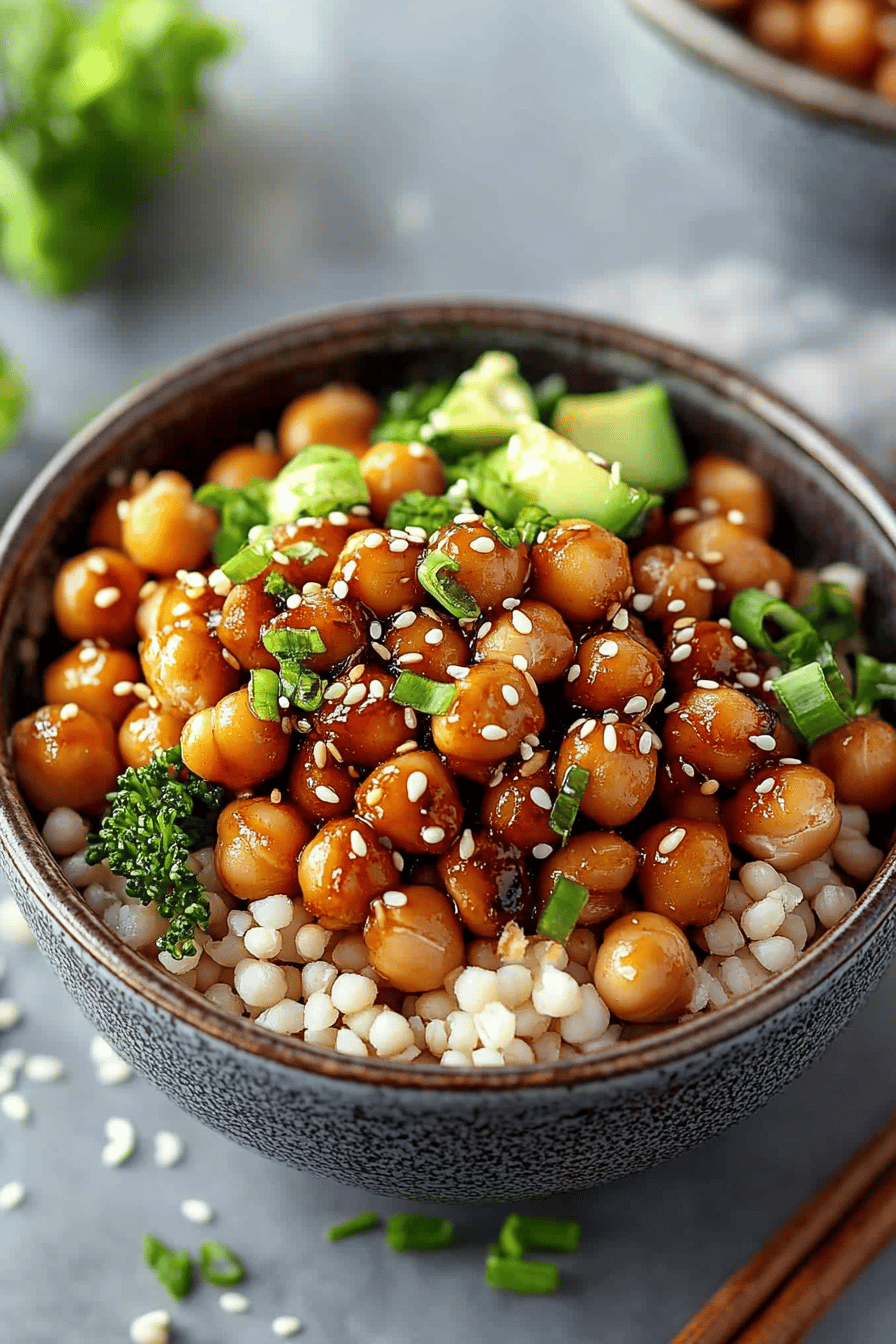
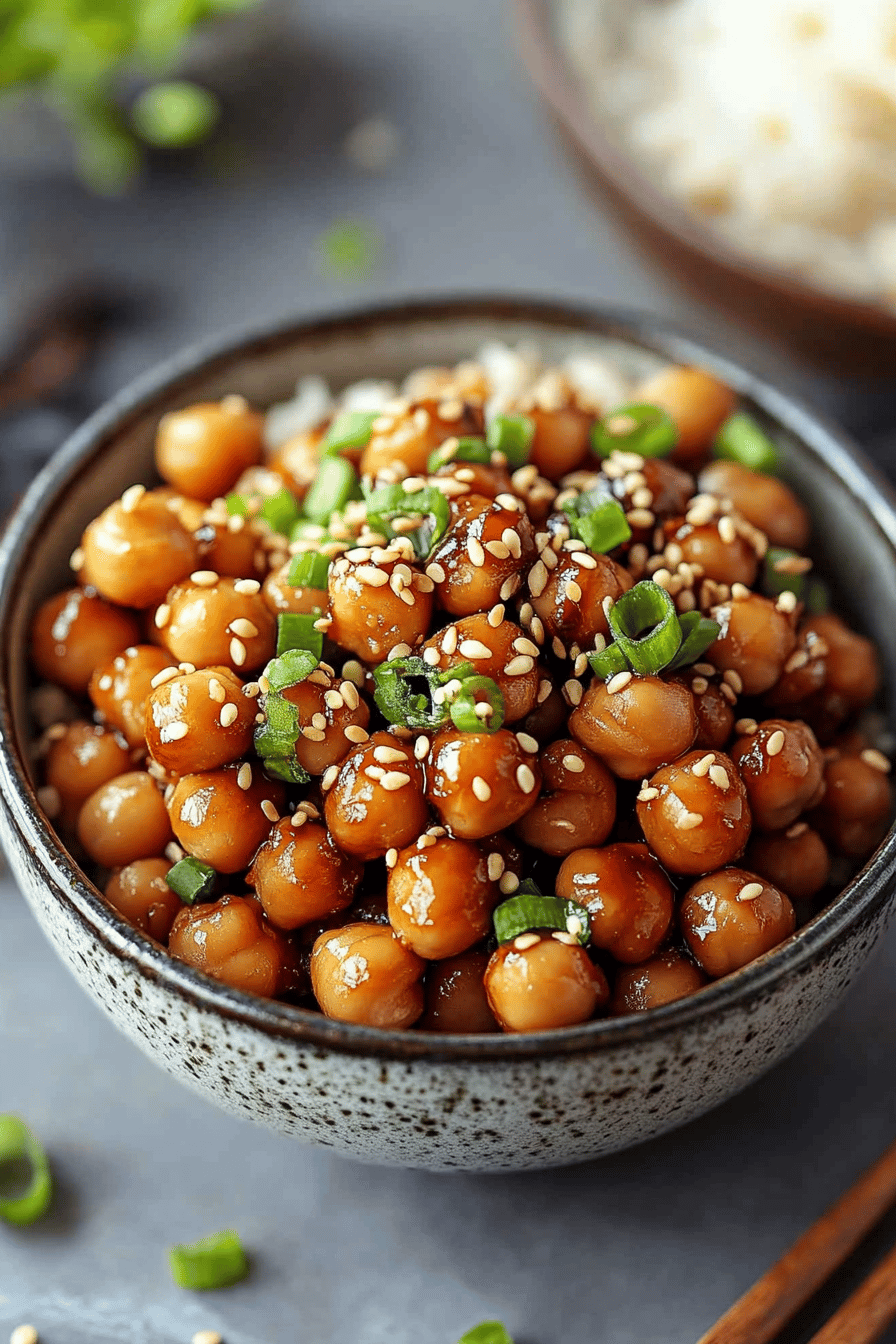
Remove the chickpeas from the oven. Drizzle with the remaining glaze. Sprinkle with toasted sesame seeds and fresh parsley or cilantro if you’re using them. Give them one final gentle toss. Serve them warm! They are absolutely divine right out of the oven.
What to Serve It With
These vegan sesame chickpeas are so versatile, they honestly fit into almost any meal. For breakfast, I sometimes just grab a handful on my way out the door – they’re surprisingly satisfying and much healthier than a granola bar! If you want to make them a bit more substantial for brunch, pile them onto some fluffy quinoa or brown rice. They also make a fantastic addition to a big, vibrant salad. Think mixed greens, cucumber, cherry tomatoes, and a generous scoop of these flavor-packed chickpeas. For a light lunch, I love them tucked into a warm pita with some shredded lettuce and a dollop of hummus. And as a side dish? They’re amazing alongside roasted vegetables or even some grilled tofu. My kids even love them sprinkled over pasta. They really are that good, and they don’t discriminate!
Top Tips for Perfecting Your Vegan Sesame Chickpeas
I’ve made these vegan sesame chickpeas more times than I can count, and over the years, I’ve picked up a few tricks that I think really make a difference. First, that Zucchini Prep – wait, wrong recipe! Okay, for *these* vegan sesame chickpeas, the most crucial prep is drying the chickpeas thoroughly. I can’t stress this enough. If they’re wet, they’ll steam instead of roast, and you won’t get that delightful little crisp. So, drain them, rinse them well, and then spread them out on a clean kitchen towel or paper towels and pat them dry. Seriously, get them as dry as you possibly can. For MIXING ADVICE, when you’re tossing the chickpeas with the oil and spices, use your hands! It ensures every single chickpea gets coated properly, which means even flavor distribution. And when you’re adding the glaze after the first roast, be gentle. You don’t want to mash them up; you just want to coat them beautifully. For SWIRL CUSTOMIZATION… well, there are no swirls here, but you can definitely customize the GLOW. The key to that luscious glaze is the water. Add it slowly, little by little, until it’s just right. You want it thick enough to coat, but thin enough to pour and mix easily. Too much water and it’ll be watery; too little and it’ll be clumpy. It takes a little practice, but you’ll get the hang of it. As for INGREDIENT SWAPS, if you don’t have smoked paprika, regular paprika will work, but you’ll lose a bit of that smoky depth. If you’re not a fan of maple syrup, agave nectar is a good substitute. For the sesame seeds, you can use un-toasted ones, but toasting them yourself in a dry pan for a few minutes until fragrant really amps up the flavor. I’ve even thrown in a pinch of chili flakes into the glaze when I want a little kick – it’s absolutely delicious! When it comes to BAKING TIPS, oven temperatures can be tricky. If your oven tends to run hot, keep an eye on them during that second toasting phase so they don’t burn. Conversely, if it runs cool, they might need a few extra minutes. The visual cue – lightly golden and slightly firm – is your best guide. The last thing is Glaze VARIATIONS. Don’t be afraid to play with it! A little dash of sriracha for heat, a bit of ginger for zing, or even a tiny bit of nutritional yeast for a cheesy undertone. You can really make this glaze your own.
Storing and Reheating Tips
These vegan sesame chickpeas are truly best enjoyed fresh, warm from the oven with that lovely sticky glaze. However, life happens, and sometimes you have leftovers. If you find yourself with some, here’s how to store them to keep them as tasty as possible. At ROOM TEMPERATURE, they’re usually good for about a day, stored in an airtight container. They might lose a bit of their crispiness, but they’ll still be delicious. For REFRIGERATOR STORAGE, pop them into a sealed container and they should keep well for up to 3-4 days. They’ll soften up in the fridge, which isn’t necessarily a bad thing if you’re planning to add them to salads or wraps. When it comes to FREEZER INSTRUCTIONS, I don’t usually freeze these because I find the texture changes a bit too much. But if you absolutely must, spread them in a single layer on a baking sheet and freeze until solid, then transfer to a freezer-safe bag or container. They should last for about a month. Thawing is best done overnight in the refrigerator. For reheating, I almost always opt for the oven or a skillet. Toss them in a hot oven (around 375°F/190°C) for about 5-10 minutes, or heat them in a dry skillet over medium-high heat, stirring often, until they’re warmed through and regain a bit of their crispiness. Microwaving is an option, but they tend to get a bit mushy. For Glaze Timing Advice, if you know you’ll be storing them, I recommend adding only half the glaze before the second toasting, and then tossing them with the rest of the glaze *after* reheating. This helps the remaining glaze stay fresher and glossier.
Frequently Asked Questions
Final Thoughts
So there you have it, my friends! My absolute favorite recipe for vegan sesame chickpeas. I really hope you give this one a try. It’s just one of those dishes that consistently makes me happy, and I think it will do the same for you. It’s proof that simple ingredients can create something truly spectacular. It’s healthy, it’s delicious, and it’s ridiculously easy to make – what’s not to love? If you end up making these, please, please, please tag me on social media or leave a comment below to let me know how they turned out. I’d love to see your creations and hear any variations you’ve come up with! You might also enjoy my recipe for Spicy Roasted Broccoli if you like a little heat and a good crunch. Happy cooking, and I can’t wait to hear your thoughts!


