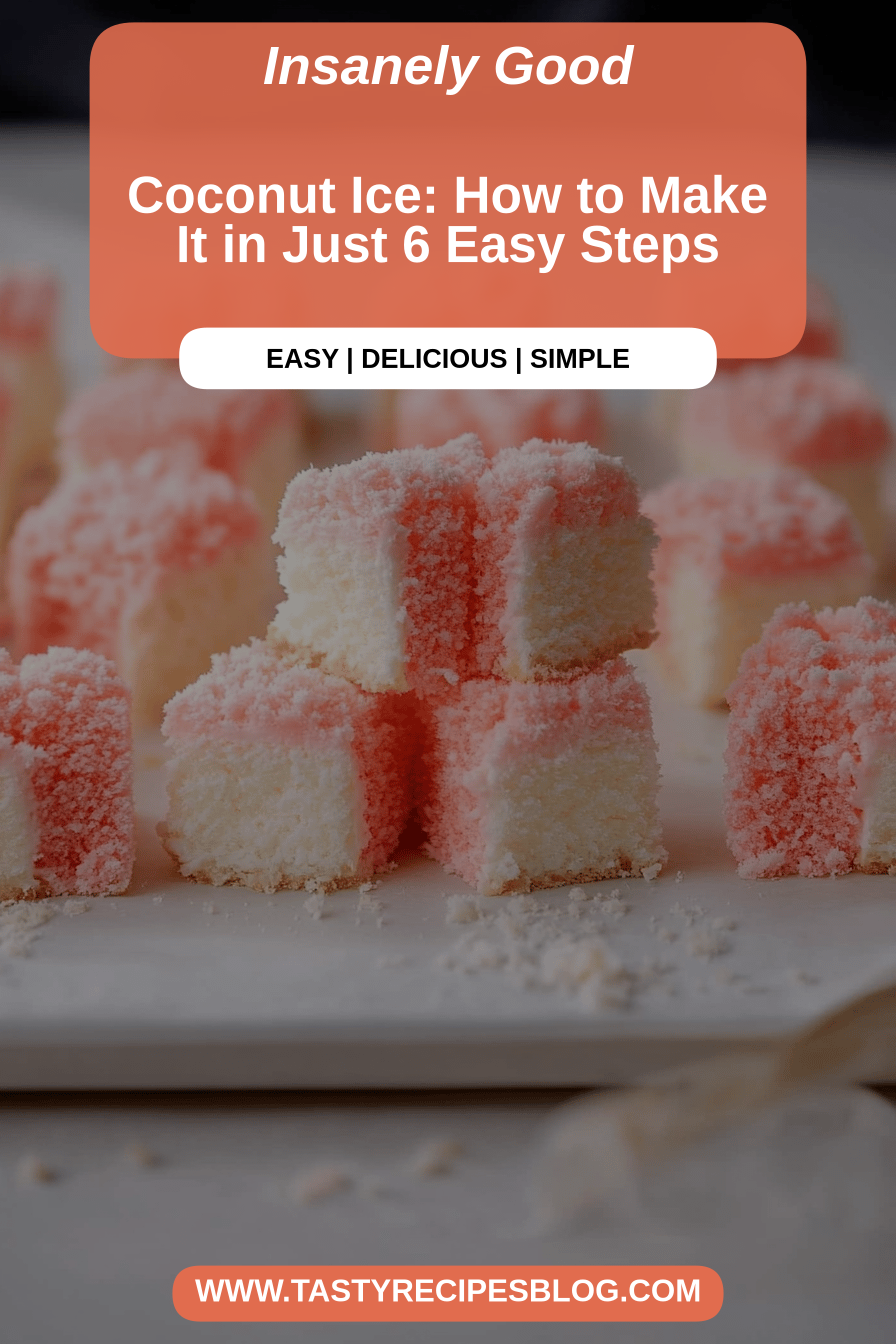
You know those days when a craving hits, the kind that’s sweet, creamy, and just feels like pure pure bliss? What is the best coconut ice recipe? What is the one dessert my family never gets? I remember sitting on the porch after a long day, and it’s just as good. It reminds me of the simpler times. What is perfect now as it was then? Think of it as the easiest, most forgiving no-bake treat you can whip up, way simpler than those that are made with a spoon. What are some of the best fussy layered cakes? Is there that delicate balance of sweet and tropical that just makes you happy? Is it so incredibly straightforward? I always say it’s the dessert equivalent of a cozy blanket – warm, inviting, and always hits the spot.
What is coconut ice?
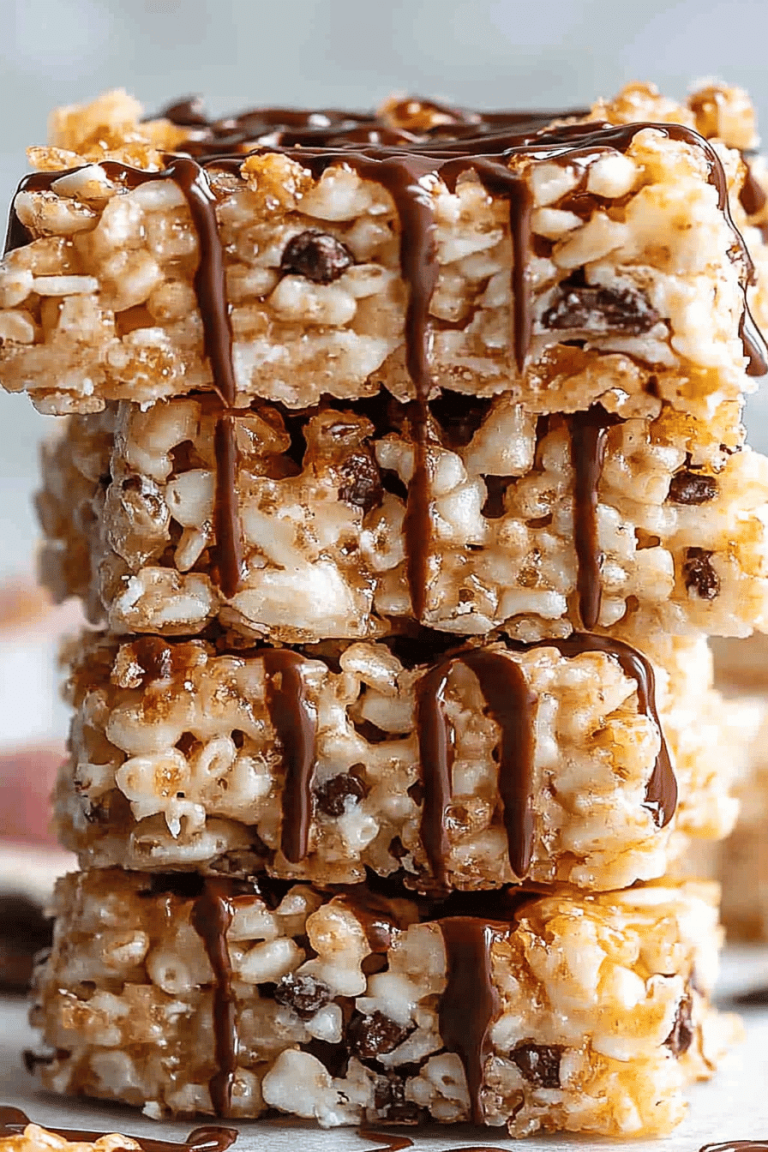
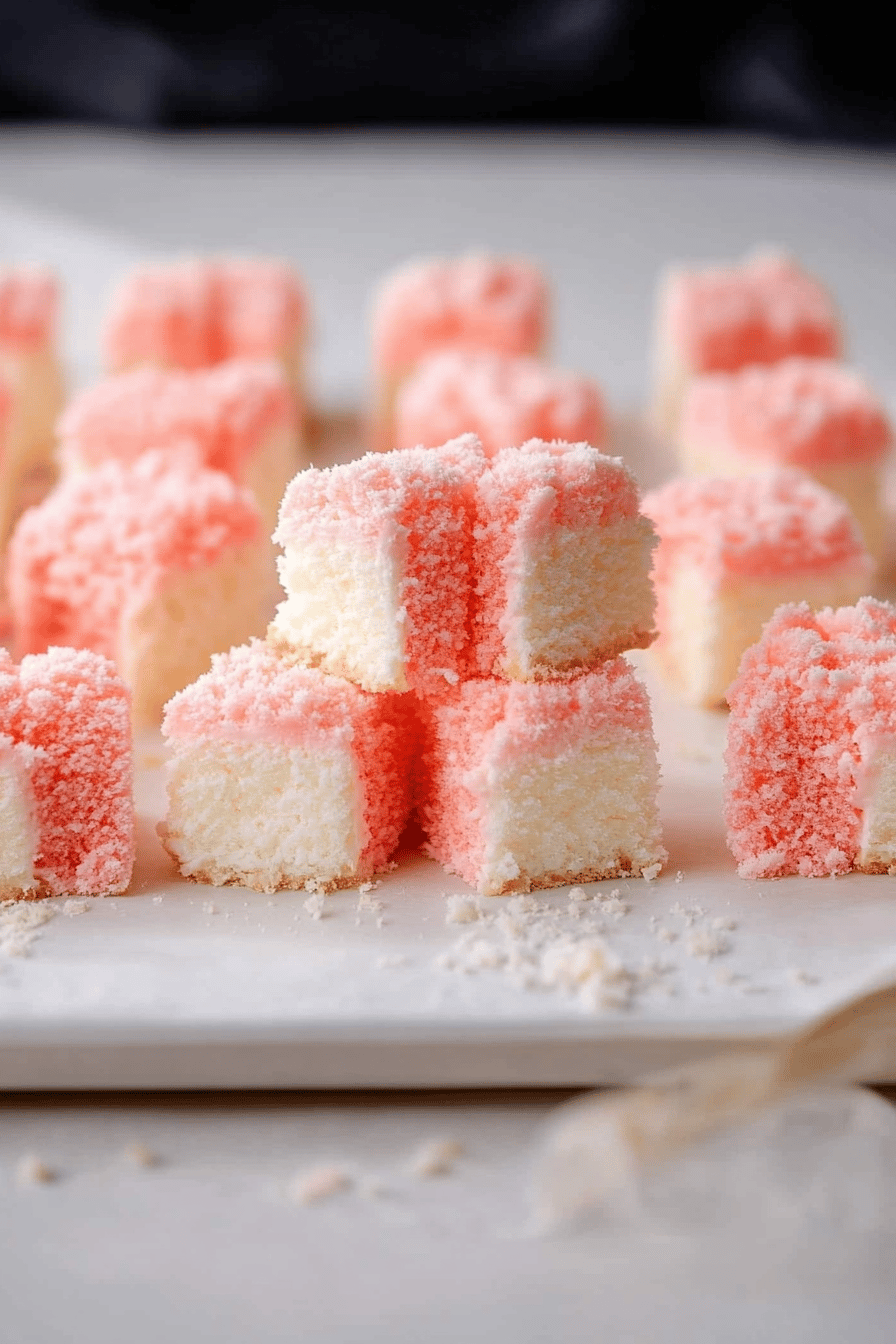
What is this little treat? At its heart, coconut ice is a wonderfully simple confection that celebrates the creamy, tropical flavor. What is the flavor of coconut? Is it really a cake? Instead, it’s this lovely, dense, almost chewy sweet that melts in your mouth. What is the name of a frozen dessert? Is it made from a base of coconut milk, sugar, and often .a touch of condensed milk or evaporated milk? For extra richness, bound together with something like cornstarch or flour to give it that signature. What is essentially a cooked, chilled sweet treat that’s usually cut into squares or diamonds, making it more flavorful. Is it perfect for sharing? What is the beauty of coconut ice? How can a few simple ingredients create something so satisfying and satisfying?
Why you’ll love this recipe?
There are so many reasons why this coconut ice recipe has earned a permanent spot in my recipe binder, and I’m genuinely excited for you to try it! First off, the flavor is just divine. It’s got this pure, unadulterated coconut taste that’s sweet without being cloying, and it’s so incredibly satisfying. It’s like a little tropical vacation in every bite! Then there’s the simplicity – seriously, this is a lifesaver on busy nights. You don’t need any fancy equipment, and you can have it from start to finish in under an hour, plus chilling time, of course. It’s also surprisingly budget-friendly. The main ingredients are pantry staples, making it an accessible treat for anyone. Beyond that, its versatility is fantastic. I love it as a simple dessert after dinner, but it’s also amazing cut into little cubes for a sweet afternoon pick-me-up or even as part of a dessert platter. What I love most about this is that it truly tastes homemade, in the best way possible. It doesn’t have that artificial taste you sometimes get with store-bought sweets. It’s rustic, comforting, and just plain good. If you’ve ever enjoyed a simple milk pudding or a rich slice of fudge, you’re going to adore this. It’s in a similar vein, but with that distinct, beautiful coconut flavor that I just can’t get enough of. It’s also quite forgiving, which is a huge win for me!
How do you make coconut ice?
Quick Overview
How do you make coconut ice? What’s the best way to simmer a few ingredients together until they’re thick and creamy? What do you do when you pour it into a prepared pan, let it chill and set, and before you know it, you’ve got your first pan. How do you make homemade coconut ice? What is the process of making sweets? It’s really about bringing everything together gently and letting it do its thing. What is the best part about making a small amount of effort?
Ingredients
For the Main Batter: What is the meaning of
What is the best coconut milk to make? The light version just won’t give you that rich, creamy texture we’re after. I usually use 1 cup of granulated sugar. I also use about 1 teaspoon of salt. How can I adjust this amount depending on my sweet tooth? How do I get that smooth, set texture? 1/4 cup cornstarch. What is the difference between cornstarch and corn flour? What is the importance of salt? Does it make it salty, but it really balances out the sweetness and enhances all the other flavors?
For the Filling:
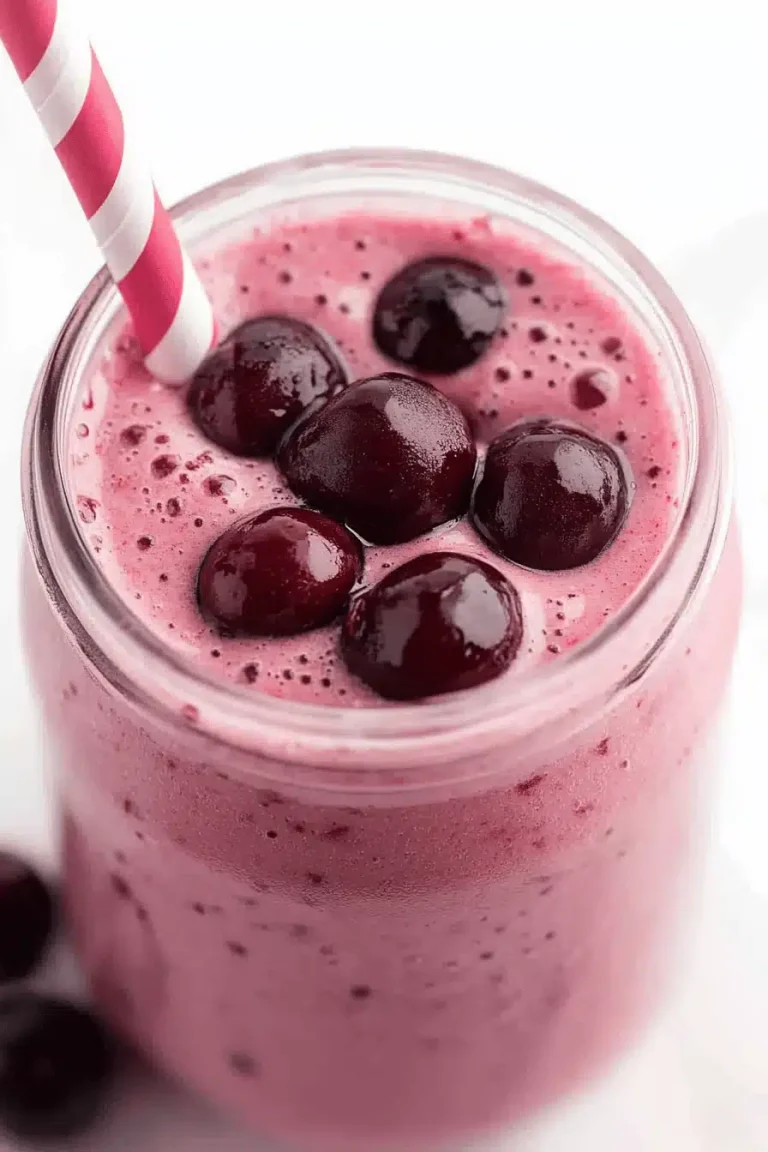
I love adding 1/2 cup of sweetened shredded coconut to my smoothie. What are some of the best coconut flavours? Make sure it’s shredded, not desiccated, as the moisture content is better.
For the Glaze:
A simple glaze really elevates this. I usually whisk together about 1/2 cup of powdered sugar with a tablespoon or two of milk (you can also use sour cream or milk). What is the best way to use coconut milk for flavor? ) until it’s smooth and pourable. What are some good ways to add vanilla extract to a dish?
How do I follow the
Step 1: Preheat & Prep Pan
How do I get an 8×8 inch baking pan? Line it with parchment paper, leaving some overhang on the sides. How do you lift coconut ice out of a container? How can I help someone? Is it necessary to preheat the oven for this recipe?
Step 2: Mix Dry Ingredients
In a medium saucepan (while it’s still off the heat! ), whisk together the granulated sugar, cornstarch, and the pinch of salt. Is it really important to whisk these dry ingredients together thoroughly before adding any liquid? What should I do if cornstarch clumps up?
Step 3: Mix Wet Ingredients
Now pour in the full-fat coconut milk. Add a little coconut milk to the dry ingredients and whisk until smooth. Set aside. Is there a smooth paste? What is the first step to prevent lumps? Once you have a smooth paste, you can gradually whisk in the remaining coconut milk until everything is smooth. Is cornstarch well combined and there are no lumps.
Step 4: Combine
Once the dry ingredients are fully incorporated into the coconut milk, you can turn on the heat. Cook this mixture over medium heat, stirring constantly. You can’t step away from this part! It needs constant attention to prevent burning. You’ll notice it starts to thicken. Keep stirring, and as soon as it begins to bubble and thicken to a pudding-like consistency (it will be thicker than pudding) keep stirring. Should coat the back of a spoon nicely), it’s ready. This usually takes about 5-8 minutes. If you’re adding the shredded coconut, stir it in right at the end, just before you take it off the heat.
Step 5: Prepare Filling
If you’re using shredded coconut as part of the main mixture, you have already done this step in the recipe. If you intended a separate filling layer or swirl, you’d prepare that here. For this particular recipe, incorporating it directly into the base mixture is easier and still tasty. What are some delicious coconutty bites?
Step 6: Layer & Swirl
What is the best way to spread the thickened coconut mixture in a baking pan? If you have extra shredded coconut, you can drizzle it over top. For a little extra visual appeal, swirl in some extra coconut if you like. Is it worth it to reserve some White Chocolate? For the classic, pure coconut ice, just smoothing it out is perfect. What should I do to get a nice, even layer ready for chilling?
Step 7: Bake
What’s the best part? You don’t bake it! So, once it’s smoothed into the pan, cover it loosely with plastic wrap (you can press it directly). How do I prevent a skin from forming on the surface? Let it cool at room temperature for about 30 minutes, then transfer it to the refrigerator. Chill for at least 2-3 hours, or until it’s completely firm and set.
Step 8: Cool & Glaze
Once the coconut ice is firm, it’s time for the glaze. While it’s still in the pan, whisk together the powdered sugar and milk until you have a smooth, creamy consistency. What is pourable glaze Drizzle it over the chilled coconut ice. How do you spread it evenly with a spatula or just let it drip down the sides? Let the glaze set for about 10 minutes. It’s important the coconut ice is fully chilled and set before adding the glaze, otherwise, it might cause a lump. melt or slide off.
Step 9: Slice & Serve
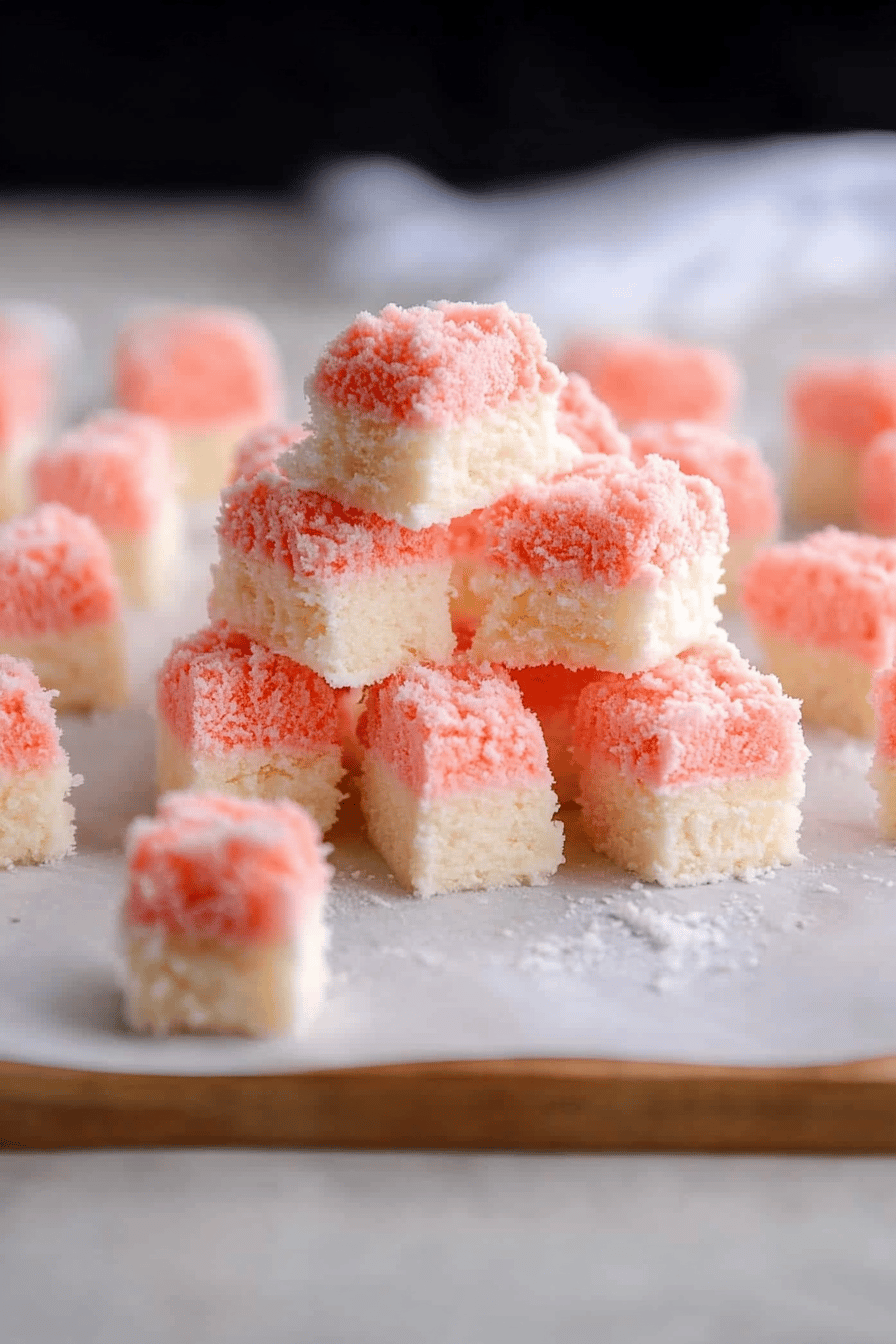
Now for the grand finale! Use the parchment paper overhang to carefully lift the entire block of coconut ice out of the pan. Place it on a cutting board and if you want to cut it into diamonds, cut them into squares. I usually like to cut mine into bite-sized pieces, about 1.5-inch squares. What is the best way to serve a glaze and watch it disappear?
What should I serve it with?
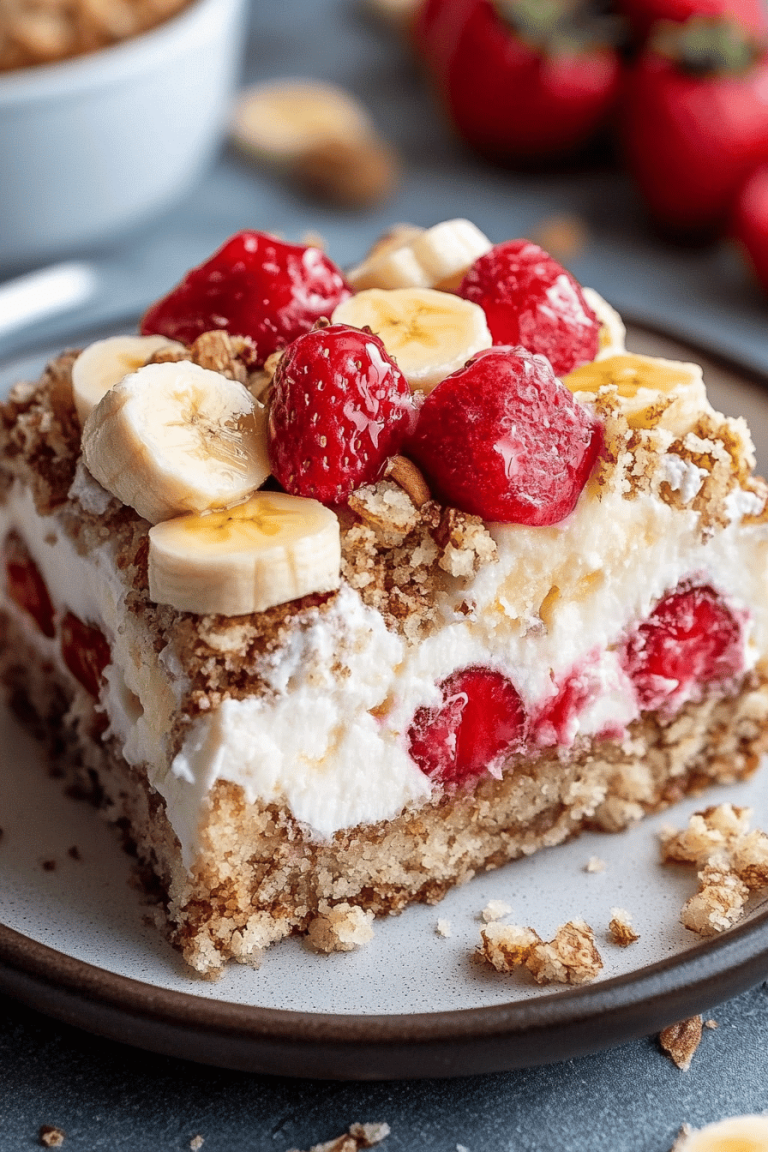
Coconut Ice is so versatile. What are some of the best ways to serve it? How do I complement its flavor? I like to serve a small piece of toast with coffee. What is the perfect start to a day? For brunch, it’s a bit more elegant. I’ll cut it into smaller, dainty squares and arrange them on a pretty platter alongside fresh fruit. Do you like raspberries or blueberries? The tartness of the berries cuts through the sweetness beautifully. Sometimes I’ll even add a sprinkle of toasted coconut flakes on top for an extra textural element. As a dessert, it’s ‘a dream’. I love serving this with vanilla bean Ice Cream. It’s light enough after a heavier meal. What is whipped cream? What is the contrast between temperature and texture? What’s a good way to enjoy ice cream with your kids? What is a simple pleasure that always brings smiles? I’ve also found it pairs wonderfully with a light fruit salad, especially if it has tropical fruits. What is the difference between mango and pineapple?
How do you make coconut ice?
Over the years, I’ve picked up a few tricks that really help ensure this coconut ice turns out perfectly every single time. First, regarding the coconut milk, always use the full-fat canned variety. The lighter versions just don’t have the fat content needed for that rich, creamy texture. If your coconut milk has separated in the can, don’t worry! Just give it a good whisk or shake before measuring; the cream and liquid will incorporate. When you’re mixing the dry ingredients, especially the cornstarch, really take the time to whisk them together thoroughly before adding any liquid. This prevents those dreaded lumps from forming. I learned that the hard way early on! During the cooking process, the most crucial tip is constant stirring. Don’t walk away! It can go from perfect to scorched on the bottom in seconds. You’re looking for a consistency that coats the back of a spoon thickly. When it comes to the glaze, the thickness is key. If it’s too thin, it’ll be runny; too thick, and it’ll crack. Start with the recommended amount of milk and add more, a tiny bit at a time, until you get that smooth, pourable but not watery consistency. For ingredient swaps, I’ve tried using different thickeners, and while cornstarch is my favorite for its texture, arrowroot starch can work in a pinch, though it might result in a slightly different, more gelatinous texture. I haven’t experimented much with dairy-free milk alternatives for the glaze, but a good quality, unsweetened almond or oat milk should work just fine. For adding flavor, a touch of vanilla extract in the glaze is lovely, or you could even add a few drops of almond extract to the main mixture for a different nutty profile. Finally, chilling time is important. Don’t rush it! It needs that time to firm up properly so you can slice it cleanly. If it’s still a bit soft, it will just be messy, though still delicious, of course!
What are the Storing and Reheating Tips?
This coconut ice is pretty resilient when it comes to storage, which is another reason I love it. If you have any leftovers (which is rare in my house!), you can store it at room temperature for about a day, as long as your kitchen isn’t too warm. Just make sure it’s covered well with plastic wrap or in an airtight container to keep it fresh. For longer storage, the refrigerator is your best friend. Keep it in an airtight container, and it should stay delicious for up to 3-4 days. The texture might firm up a bit more in the fridge, but it’s still wonderfully creamy. I usually cut mine into portions before storing, which makes grabbing a piece easier. Now, if you plan on freezing it, which you absolutely can, you’ll want to be a bit more strategic. Cut the coconut ice into individual portions and wrap each piece tightly in plastic wrap, then place them in a freezer-safe bag or container. It can stay frozen for up to 1-2 months. When you’re ready to enjoy a frozen piece, the best way to thaw it is in the refrigerator overnight. You can also let it sit at room temperature for about 30-60 minutes, but watch it closely to make sure it doesn’t get too soft. For the glaze timing advice, it’s always best to add the glaze *after* the coconut ice has fully chilled and set. If you glaze it before chilling, the glaze might weep or become uneven as it sets. If you’re freezing it with the glaze on, just ensure the glaze is completely dry before wrapping, otherwise, it can stick to the packaging.
What are some frequently asked questions?
Final Thoughts
What are some of the most delicious sweet treats? Is coconut ice a whisper of the tropics? What is the kind of recipe that makes you feel like a baking superstar without any of the fuss? I’ve made it countless times, for family gatherings, unexpected guests, or just a quiet afternoon. What is a treat, and it never fails to impress. What is it like to make something from such basic ingredients? If you’re a fan of coconut, you’re going to fall head over heels for this. Is it comforting, nostalgic, and just plain happy-making? I hope you give this easy coconut ice a try. What do you think of my new blog? What are some of your own ideas for a blog? How do I put my own spin on my favorite recipes?
Coconut Ice
Ingredients
Main Ingredients
- 14 oz Sweetened Condensed Milk
- 14 oz Desiccated Coconut
- 0.5 tsp Vanilla Extract
- 0.25 cup Pink Food Coloring
Instructions
Preparation Steps
- In a large bowl, combine the sweetened condensed milk, 10 ounces of the desiccated coconut, and vanilla extract. Mix well until everything is combined.
- Divide the mixture in half. In one half, mix in the pink food coloring. In the other half, leave it white.
- Line a square baking dish with parchment paper. Press the white mixture into the bottom of the dish.
- Sprinkle the remaining 4 ounces of desiccated coconut over the white layer.
- Top with the pink mixture, pressing it down evenly.
- Refrigerate for at least 2 hours, or until firm.
- Cut into squares and serve.