
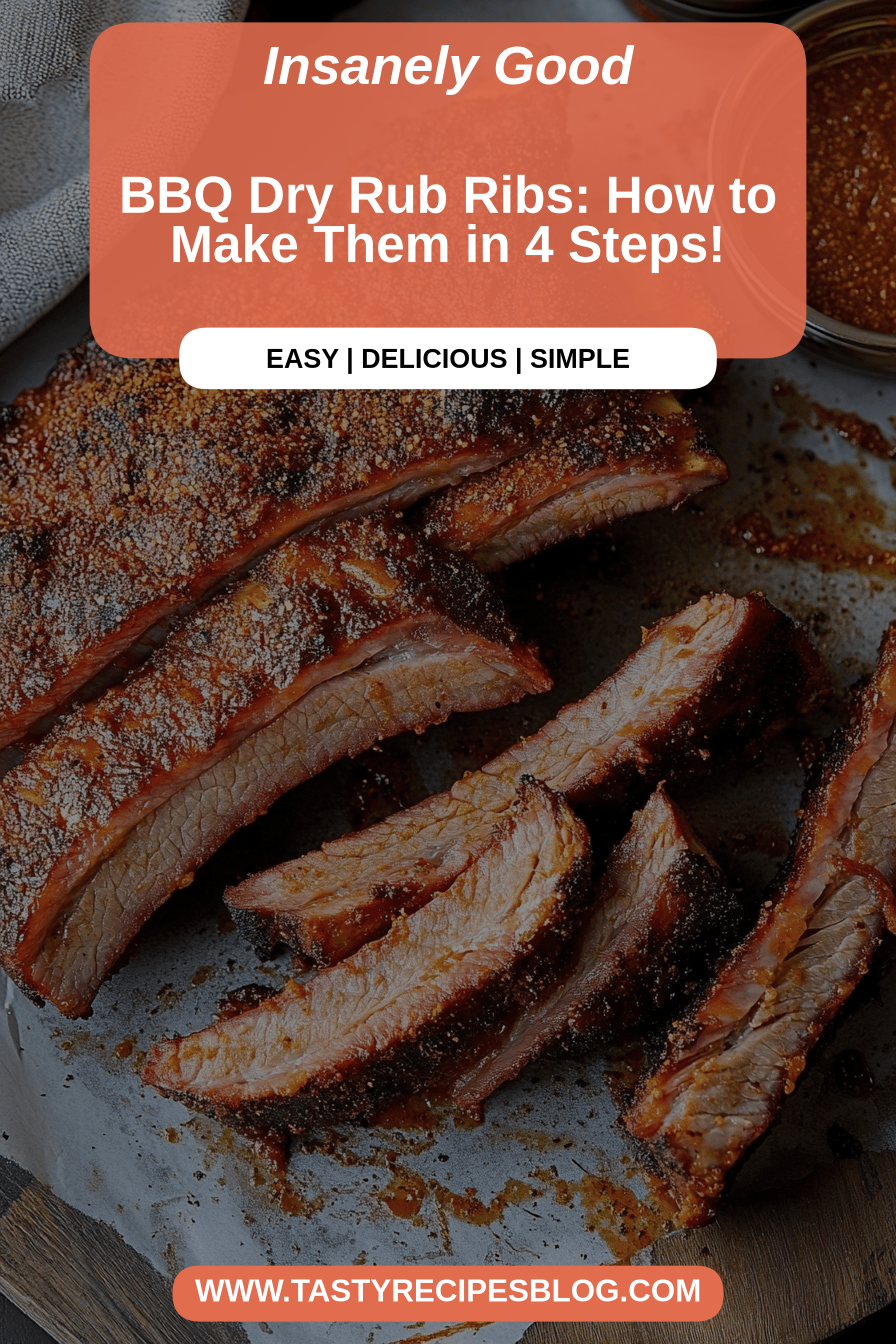
Oh, these BBQ ribs! Just the thought of them makes my mouth water. This isn’t just any recipe; it’s a memory. It’s the smell that used to waft through our house on summer evenings, signaling that a truly special meal was on its way. My dad was the grill master, and these ribs were his signature. He’d spend hours coaxing out that incredible, fall-off-the-bone tenderness, and the smoky, sweet, tangy aroma… pure bliss. If you’ve ever wrestled with ribs, wondering if they’ll ever be as tender and flavorful as the ones you get at your favorite BBQ joint, you are in for a treat. This method, while it takes a little patience, is incredibly foolproof. It’s the kind of recipe that makes people ask for seconds (and thirds!) and makes you feel like a culinary rockstar, even if you’re a total beginner. Forget those dry, tough ribs; this is the real deal, and it’s surprisingly manageable for a weeknight if you plan a little, or an absolute showstopper for a weekend feast. These BBQ ribs are genuinely the gold standard in my book.
What are some of the best BBQ ribs?
So, what makes these BBQ ribs so special? Think of them as your ticket to backyard BBQ heaven, no matter the weather outside. We’re talking about tender, succulent Pork Ribs that practically melt in your mouth, coated in a sticky, irresistible glaze that’s a perfect balance of sweet, smoky, and a little bit tangy. The name isn’t fancy; it’s just… BBQ Ribs. Because that’s exactly what they are: the quintessential BBQ ribs that everyone adores. The magic really happens in the slow cooking process, which breaks down all the connective tissue, leaving you with that melt-in-your-mouth texture that’s so satisfying. It’s the kind of dish that doesn’t need a whole lot of fussing once it’s in the oven, but the results are so impressive, people will think you’ve been slaving away for days. They’re a comfort food dream, perfect for feeding a crowd or just treating yourself to something truly delicious.
Why you’ll love this recipe?
Honestly, there are so many reasons why I keep coming back to this BBQ ribs recipe, and why I just *know* you’re going to fall in love with it too. First off, the FLAVOR is absolutely insane. We’re talking deep, rich, smoky notes from the rub, followed by that sweet and tangy punch from the homemade BBQ sauce that just clings perfectly to every bite. It’s the kind of flavor that lingers, making you crave just one more rib. Then there’s the SIMPLICITY. Now, I know “ribs” can sound intimidating, but this method is incredibly forgiving. It’s mostly hands-off cooking time, which is a lifesaver on busy days. You prep them, let them do their thing in the oven (or Slow Cooker, more on that later!), and then finish them off with that glorious glaze. It’s foolproof, I promise! And let’s talk COST-EFFICIENCY. Ribs, especially when you buy them in larger packs, are surprisingly affordable. When you make them at home, you’re also saving a ton compared to restaurant prices, and you get so much more. Plus, the VERSATILITY! These ribs are fantastic on their own, but they also pair beautifully with so many sides. Think creamy coleslaw, baked beans, cornbread… the possibilities are endless. What I love most about this recipe is how it bridges the gap between a humble cut of meat and an absolutely show-stopping meal. It’s my go-to for family gatherings, potlucks, and even those nights when I just need a serious comfort food fix. It’s far superior to many other rib recipes I’ve tried, especially those that skimp on the slow cooking aspect. Trust me, these are worth every minute.
How do you make a BBQ rib?
Quick Overview
The secret to these ridiculously tender BBQ ribs is a two-step cooking process: a low and slow bake to break down the meat until it’s fall-off-the-bone tender, followed by a quick broil or grill to get that beautiful, caramelized glaze. It sounds simple, and it really is! You’ll start by preparing a flavorful dry rub, then wrap the ribs tightly and let them bake gently. Once they’re perfectly tender, we’ll slather them with your favorite BBQ sauce (or my Easy Homemade version!) and give them a final blast of heat to create that irresistible sticky coating. It’s a patient process, but the payoff is absolutely immense. This method ensures maximum flavor and that perfect, melt-in-your-mouth texture every single time. It really is that straightforward.
Ingredients
For the Ribs & Dry Rub:
- 3-4 pounds pork spare ribs or baby back ribs: For the best results, I always go for pork spare ribs. They have a bit more fat, which means more flavor and tenderness. If you can’t find them, baby back ribs are a great alternative, though they might cook up a little faster. Look for racks that are well-marbled.
- 1/4 cup packed brown sugar: This adds a lovely sweetness and helps with caramelization. Light or dark brown sugar both work beautifully.
- 2 tablespoons smoked paprika: This is where a lot of that smoky depth comes from. Use good quality smoked paprika for the best flavor.
- 1 tablespoon garlic powder: A pantry staple that adds a savory foundation.
- 1 tablespoon onion powder: Complements the garlic and paprika wonderfully.
- 1 teaspoon black pepper: Freshly ground is always best for that zing.
- 1 teaspoon kosher salt: You can adjust this to your preference, but this amount is a good starting point for the rub.
- 1/2 teaspoon cayenne pepper (optional): For a little kick! Don’t be shy if you like a bit of heat.
For the BBQ Glaze:
- 2 cups your favorite BBQ sauce: This is the heart of the glaze! Use a store-bought sauce you love, or my simple homemade version below. Ketchup-based sauces work really well here.
- 2 tablespoons apple cider vinegar: This adds a touch of acidity to balance the sweetness and helps tenderize the meat.
- 1 tablespoon Worcestershire sauce: For that umami depth and complexity.
- 1 tablespoon honey or maple syrup: To enhance the sweetness and glossiness.
- 1 teaspoon Dijon mustard (optional): Adds a subtle tang and emulsifies the sauce.
Step-by-Step Instructions
Step 1: Preheat & Prep Pan
First things first, get your oven preheated to a nice and gentle 275°F (135°C). This low temperature is key to tenderizing the ribs without drying them out. Next, grab your ribs. If there’s a tough membrane on the bone side (you’ll see a thin, papery layer), it’s a good idea to remove it. Just slide a butter knife under the membrane at one end, lift it up, and then grab it with a paper towel (it can be slippery!) and peel it off. This makes the ribs much more enjoyable to eat. Then, pat the ribs completely dry with paper towels. This helps the rub adhere better and promotes better browning later on.
Step 2: Mix Dry Ingredients
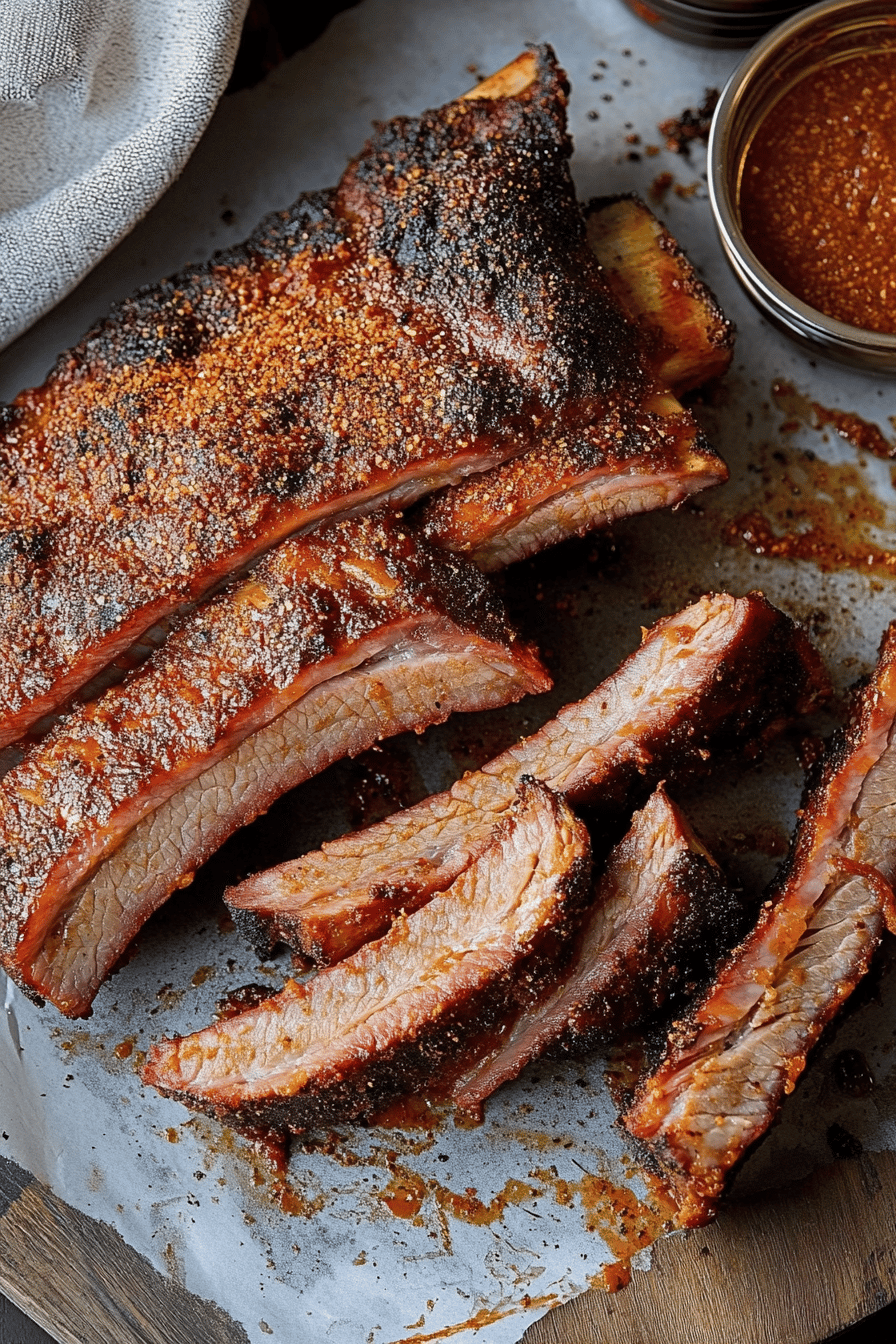
In a small bowl, let’s make our magic dry rub. Combine the brown sugar, smoked paprika, garlic powder, onion powder, Black Pepper, kosher salt, and cayenne pepper (if you’re using it). Give it a good whisk until everything is thoroughly mixed. You want to make sure there are no clumps of brown sugar. This rub is seriously flavorful on its own, providing a fantastic base for our BBQ ribs.
Step 3: Mix Wet Ingredients
While the oven heats up, let’s get our glaze ready. In a medium saucepan, combine the BBQ sauce, Apple Cider vinegar, Worcestershire sauce, honey (or maple syrup), and Dijon mustard (if using). Stir everything together until it’s well combined. We’re not cooking this glaze yet, just getting it ready to coat those beautiful ribs later. This combination is my secret weapon for that sticky, caramelized finish.
Step 4: Combine
Now it’s time to get that rub onto the ribs! Sprinkle the dry rub generously over both sides of the ribs. Use your hands to really rub it in, making sure every nook and cranny is covered. Don’t be shy! The more rub, the more flavor. Once they’re fully coated, place the ribs on a large piece of heavy-duty aluminum foil. Wrap them up tightly, creating a sealed packet. You might want to double wrap them to prevent any leaks during the long bake. This foil packet is going to steam the ribs and make them incredibly tender.
Step 5: Prepare Filling
This step is actually already done with the previous steps! The “filling” here is essentially the tender meat that will be revealed after the slow cooking process, enhanced by the dry rub. The magic is in the rub and the cooking method, not a separate filling in this particular recipe structure.
Step 6: Layer & Swirl
The “layering and swirling” happens more metaphorically here, referring to how the flavors meld together during the cooking process. The dry rub layers onto the meat, and as it bakes, the sugar caramelizes and melds with the pork juices. The BBQ sauce will later be layered on, and when it caramelizes under the broiler, it creates those beautiful, slightly swirled, glossy finishes.
Step 7: Bake
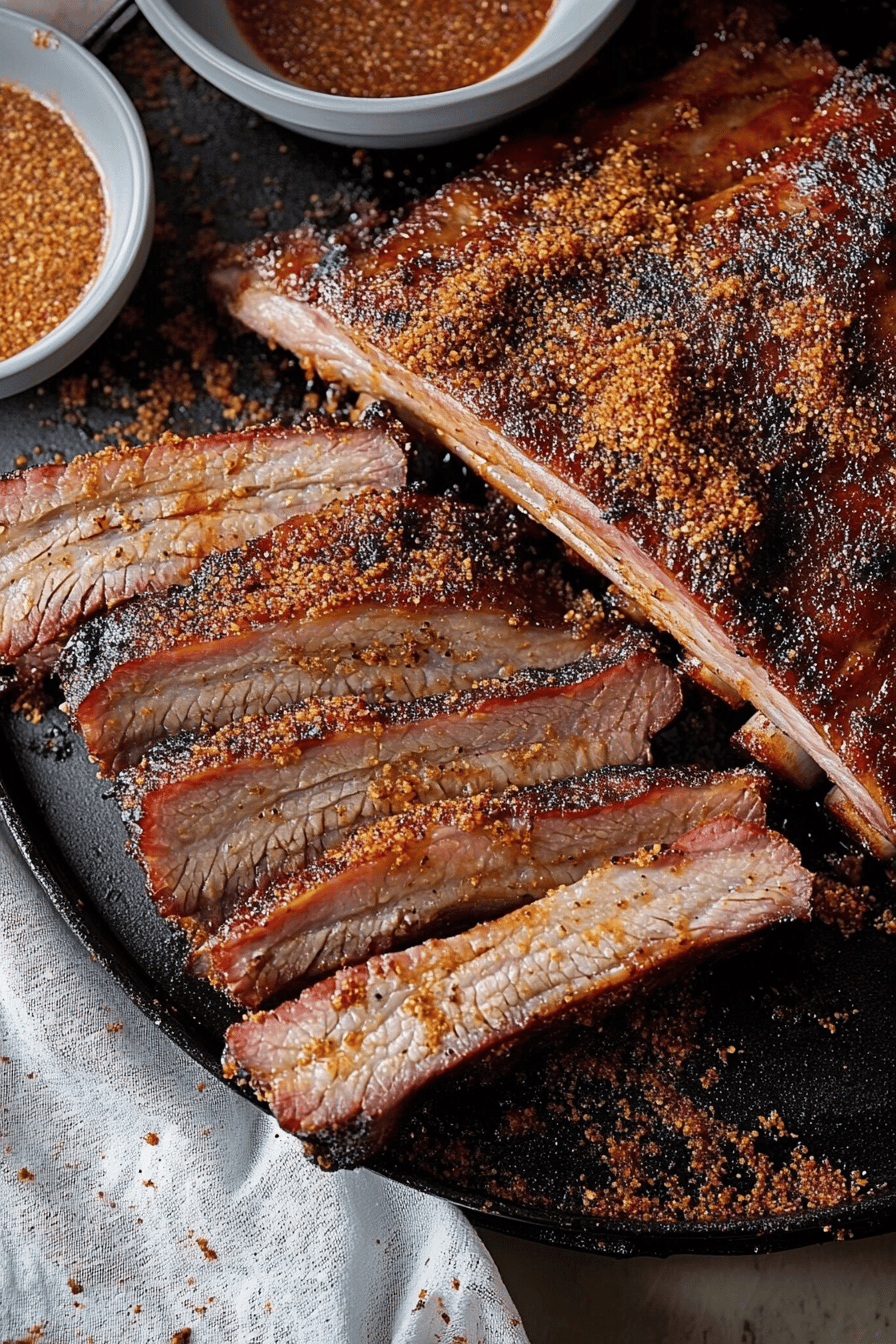
Place the foil-wrapped ribs on a baking sheet (to catch any potential drips). Pop them into your preheated oven and bake for about 2.5 to 3 hours. The exact time will depend on the thickness of your ribs. You’re looking for them to be very tender when you poke them with a fork – the meat should be pulling away from the bone slightly. This low and slow bake is what makes all the difference for that melt-in-your-mouth texture.
Step 8: Cool & Glaze
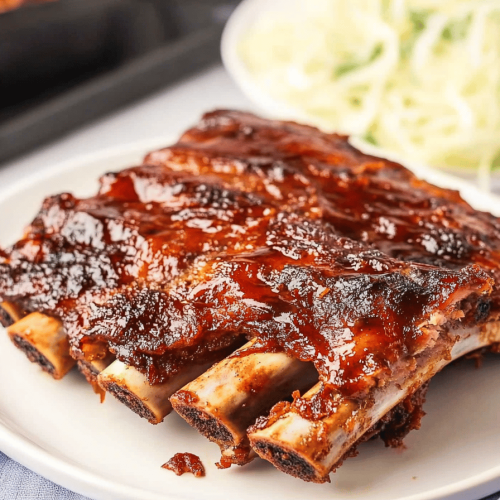
Once the ribs are tender, carefully remove them from the oven. Let them rest in the foil packet for about 10-15 minutes. This allows the juices to redistribute. While they’re resting, unwrap them carefully (watch out for steam!). Now, it’s glaze time! Brush your prepared BBQ sauce mixture generously all over the top and sides of the ribs. Make sure they’re well coated. Then, you have two options: you can either pop them back into the oven under the broiler for 2-3 minutes until the glaze is bubbly and slightly caramelized, or grill them over medium heat for a few minutes per side. Keep a close eye on them under the broiler, as the sugar can burn quickly!
Step 9: Slice & Serve
Once they’ve got that beautiful, sticky glaze, let the ribs rest for another 5-10 minutes before slicing. This is important for keeping them juicy. Use a sharp knife to cut between the bones to separate the ribs. Serve them up hot and watch them disappear! The aroma alone will have everyone gathering around the table.
What to Serve It With
These BBQ ribs are the star of any show, but they do love their supporting cast! For a classic, comforting meal, you can’t go wrong with a creamy, tangy coleslaw and some smoky baked beans. My family also loves them with simple, buttery corn on the cob. If you’re feeling a bit more adventurous, a fresh, vibrant potato salad or some grilled corn off the cob adds a lovely contrast. My kids also adore these with homemade mac and cheese – pure comfort food heaven! For a lighter feel, a simple green salad with a vinaigrette works wonders. And for a truly Southern spread, don’t forget some fluffy cornbread or buttermilk biscuits to sop up any extra BBQ sauce. Honestly, these ribs are so versatile, they elevate any meal they’re a part of!
Top Tips for Perfecting Your BBQ Ribs
Over the years, I’ve picked up a few tricks that make these BBQ ribs absolutely sing. When it comes to the ribs themselves, I always recommend checking for that membrane on the back; removing it makes a world of difference in tenderness and how the rub penetrates. If you can’t find spare ribs, baby backs are fine, but just keep an eye on them as they might cook a bit faster. For the dry rub, don’t be afraid to adjust the spice level – a little more cayenne can be fantastic if you like heat, or omit it entirely for the kiddos. The brown sugar is essential for that lovely caramelization, so don’t skip it unless you absolutely have to. When you’re wrapping the ribs in foil, make sure it’s super tight to create a good steam environment. This is the key to tenderizing the meat. If you’re using a store-bought BBQ sauce, taste it first! Some are sweeter, some are spicier, so you might want to tweak your glaze mixture accordingly. I’ve found that adding that bit of apple cider vinegar and Worcestershire sauce really balances out the sweetness of most commercial sauces and gives them a more complex flavor profile. And for the final glazing step, either under the broiler or on the grill, watch them like a hawk! The sugar in the sauce can go from perfectly caramelized to burnt in a flash. It’s a quick process, just a few minutes is all you need. I’ve definitely learned that lesson the hard way more than once! If you want an even deeper smoky flavor without a smoker, try adding a teaspoon of liquid smoke to your glaze mixture. It’s a little cheat that works wonders. Lastly, patience is your best friend here. Don’t rush the slow-bake. That’s where the magic happens!
Storing and Reheating Tips
These BBQ ribs are pretty resilient, but keeping them stored properly ensures they taste just as amazing later. If you happen to have any leftovers (which is rare in my house!), let them cool completely before storing. You can store them at room temperature for no more than two hours. For longer storage, wrap them tightly in plastic wrap or place them in an airtight container and refrigerate. They should stay good in the fridge for about 3-4 days. If you plan to freeze them, wrap them well in plastic wrap, then in aluminum foil or place them in a freezer bag to prevent freezer burn. They’ll keep in the freezer for up to 2-3 months. When you’re ready to reheat, the best method is to warm them gently. You can reheat them in a low oven (around 300°F or 150°C) wrapped loosely in foil for about 10-15 minutes, or until heated through. You can also gently reheat them on the stovetop over low heat, or even in a slow cooker on the ‘warm’ setting. Be careful not to overheat them, as they can dry out. If you didn’t glaze them before storing, you can add a fresh layer of BBQ sauce before reheating for that fresh-off-the-grill appeal. Just make sure they’re heated thoroughly before serving.
Frequently Asked Questions
Final Thoughts
There you have it – my absolute favorite way to make BBQ ribs! I truly believe this recipe is a game-changer. It delivers that incredible, fall-off-the-bone tenderness and a flavor explosion that’s just unmatched. It’s the kind of meal that brings people together and creates lasting memories. It might take a little time, but it’s so worth it for those moments when you take that first bite and everything else just melts away. If you love this recipe, you might also enjoy my Smoked Brisket Recipe or my Pulled Pork Sandwiches for more delicious BBQ goodness. Give these ribs a try, and please, please let me know how yours turn out in the comments below! I love hearing your feedback and seeing your creations. Happy cooking, and I hope you enjoy these as much as my family and I do!
BBQ Ribs
Ingredients
Main Ingredients
- 3 pounds Baby back ribs
- 0.5 cup Brown sugar
- 0.25 cup Paprika
- 2 tablespoons Garlic powder
- 2 tablespoons Onion powder
- 1 tablespoon Black pepper
- 1 tablespoon Salt
- 1 tablespoon Chili powder
Instructions
Preparation Steps
- Remove the membrane from the back of the ribs.
- In a small bowl, mix together the brown sugar, paprika, garlic powder, onion powder, black pepper, salt, and chili powder.
- Rub the dry rub generously all over the ribs.
- Preheat your smoker to 225°F (107°C).
- Place the ribs in the smoker and cook for 6 hours, or until they are tender.
- Let the ribs rest for 10 minutes before slicing and serving.


