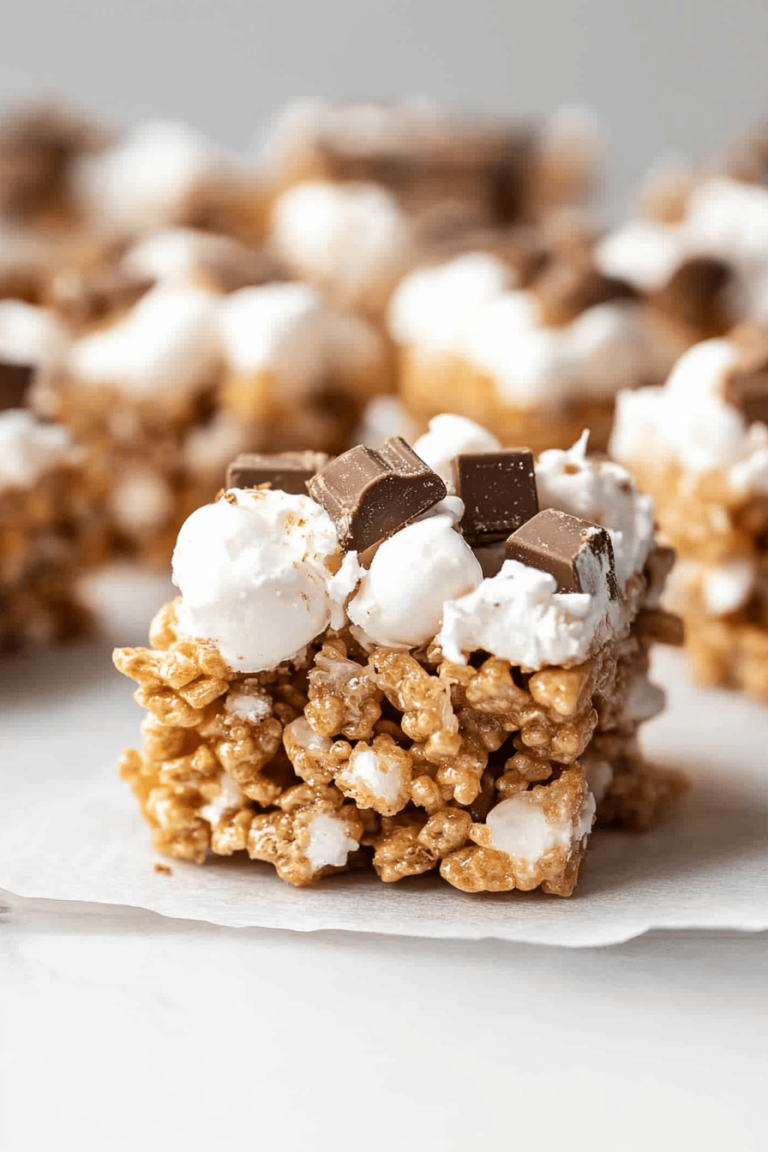
Oh, these fruity cereal bars! Just thinking about them brings me right back to Saturday mornings, sprawled on the living room floor with a giant bowl of my favorite sugary cereal, the TV blaring cartoons, and not a care in the world. There’s something so utterly magical about that nostalgic flavor, isn’t there? It’s the taste of pure, unadulterated joy. And honestly, sometimes, when I need a serious pick-me-up or something sweet without the fuss of a whole cake, these bars are my absolute go-to. They’re like a hug in dessert form, but way easier to whip up than you might think. Forget those store-bought ones that always fall apart or taste… well, a little too artificial. We’re talking about the *real deal* here, folks. These fruity cereal bars capture that essence perfectly, with a chewy, gooey center and that unmistakable, delightful crunch. They’re a lifesaver on busy weeknights and an absolute crowd-pleaser for little ones and grown-ups alike. I’ve tweaked this recipe more times than I can count, and I’m so excited to finally share my perfected version with you!
What are fruity cereal bars?
So, what exactly *are* these magical things we call fruity cereal bars? Think of them as a delightful mashup between a classic Rice Krispie treat and a really good, homemade candy bar. They’re baked, which gives them a wonderful structure that holds up way better than the no-bake versions. The base is typically a simple, buttery batter, studded with generous amounts of colorful, crunchy fruity cereal. The magic happens when you add a gooey layer of melted marshmallows and a swirl of that same fruity goodness right into the middle. It’s this combination that gives them that signature “bar” texture – a slightly crisp edge, a chewy, marshmallow-y middle, and that burst of sweet, fruity flavor in every bite. The name itself just evokes fun, doesn’t it? It’s not just about the taste; it’s about the feeling they bring. They’re essentially a deconstructed, amped-up bowl of your favorite breakfast cereal, turned into a portable, utterly irresistible treat. They’re perfect when you’re craving that sweet, slightly tangy, crunchy goodness but don’t have the energy for complex baking.
Why you’ll love this recipe?
Seriously, there are so many reasons why this recipe has become a staple in my kitchen, and I just know you’re going to fall in love with it too. Let’s talk flavor first, because that’s usually what draws us in, right? These bars deliver a fantastic punch of sweet, fruity goodness that’s incredibly satisfying without being cloyingly sweet. The cereal itself provides a wonderful texture, and the marshmallow layer adds that signature chewiness that makes them so addictive. Then there’s the simplicity. I know baking can sometimes feel daunting, but trust me, this recipe is incredibly forgiving and surprisingly quick. Even if you’re a beginner baker, you’ll nail this on the first try. I’ve tested this with my nieces and nephews, and they were practically making them themselves within an hour! And let’s not forget budget-friendliness. The ingredients are super accessible and affordable, making this a treat you can whip up without breaking the bank. It’s the perfect way to use up that half-box of cereal lingering in the pantry. What I love most about these bars, though, is their versatility. They’re fantastic for a quick breakfast on the go, a fun after-school snack, or even a simple dessert. They’re way more exciting than a plain cookie, and I find they hold up beautifully at room temperature, which makes them ideal for potlucks or packing in lunchboxes. If you’re a fan of my gooey Chocolate Chip Cookies or my no-bake energy bites, you’ll absolutely adore the chewy, crunchy, fruity sensation of these bars. They’re a delightful departure from the usual suspects and bring a smile to everyone’s face.
How do I make fruity cereal bars?
Quick Overview
The beauty of these fruity cereal bars lies in their straightforward approach. We’re essentially creating a simple, slightly cake-like base, layering it with a rich, gooey marshmallow filling infused with more fruity cereal, and then baking it all together until golden. It sounds complex, but it’s really just a few steps: mix, layer, bake, and cool. What makes this method special is how it creates a bar that’s sturdy enough to hold its shape while still being wonderfully soft and chewy inside. You won’t end up with crumbly messes here; just perfectly formed, flavorful bars ready for devouring. It’s the kind of recipe that makes you feel like a baking wizard, even if you’re just starting out.
Ingredients
For the Main Batter:
* 1 cup (2 sticks) unsalted butter, softened: Using softened butter is key here; it creams beautifully with the sugar and creates a tender base. Don’t melt it completely, or you’ll lose that crucial airy texture.
* 1 ½ cups granulated sugar: This provides sweetness and structure.
* 2 large eggs: They bind everything together and add richness. Make sure they’re at room temperature so they incorporate smoothly.
* 1 teaspoon vanilla extract: A little goes a long way to enhance all those fruity flavors.
* 2 ½ cups all-purpose flour: This forms the structure of our bars.
* 1 teaspoon baking powder: For a slight lift.
* ½ teaspoon salt: Balances the sweetness and brings out the other flavors.
* 3 cups fruity cereal: Choose your favorite! The more colorful, the better the final look. I like to use a mix sometimes for extra fun. Make sure it’s crisp and fresh for the best crunch.
For the Filling:
* 1 (10-ounce) bag mini marshmallows: These melt down into that irresistible gooeyness. Mini marshmallows melt faster and more evenly than the big ones, so they’re worth seeking out.
* ¼ cup (½ stick) unsalted butter: Adds richness and helps create a smooth texture for the filling.
* 1 ½ cups fruity cereal: More of that delightful crunch and flavor!
For the Glaze:
* 1 cup powdered sugar: The base for our simple, sweet glaze.
* 2-3 tablespoons milk (or water): Start with 2 tablespoons and add more only if needed to reach a drizzly consistency. You can also use a splash of fruity juice for added flavor.
* ½ teaspoon vanilla extract (optional): If you want a hint of vanilla in the glaze.
Step-by-Step Instructions
Step 1: Preheat & Prep Pan
First things first, let’s get our oven preheated to 350°F (175°C). This ensures even baking. Next, you’ll need a 9×13 inch baking pan. I always line mine with parchment paper, leaving an overhang on the sides. This makes lifting the bars out so much easier later, and cleanup is a breeze! Just grease the pan generously before lining it, or grease the parchment paper itself. Nobody likes stuck-on bits!
Step 2: Mix Dry Ingredients
In a medium bowl, whisk together the flour, baking powder, and salt. Give it a good stir to make sure the leavening agent and salt are evenly distributed throughout the flour. This ensures consistent texture and rise in your bars. Don’t skip this; it’s a small step that makes a big difference!
Step 3: Mix Wet Ingredients
In a large bowl, cream together the softened butter and granulated sugar until light and fluffy. This is where you build the base for our tender batter. Beat in the eggs one at a time, ensuring each is fully incorporated before adding the next. Stir in the vanilla extract. You want a smooth, emulsified mixture.
Step 4: Combine
Gradually add the dry ingredients to the wet ingredients, mixing on low speed (or by hand with a spatula) until just combined. Be careful not to overmix! Overmixing can lead to tough bars. Once the flour streaks are almost gone, gently fold in 3 cups of the fruity cereal. You want to see little pockets of cereal throughout the batter, not a completely uniform mixture.
Step 5: Prepare Filling
Now for the gooey center! In a microwave-safe bowl, combine the mini marshmallows and ¼ cup butter. Microwave in 30-second intervals, stirring in between, until completely melted and smooth. Stir in the remaining 1 ½ cups of fruity cereal until evenly coated. This filling is going to be wonderfully sticky and sweet!
Step 6: Layer & Swirl
Spread about half of the batter into your prepared baking pan, pressing it evenly into the bottom. It will be a thick batter, so use your hands or a spatula to distribute it. Spoon the marshmallow cereal filling over the batter layer. Dollop spoonfuls of the remaining batter over the filling. Now, using a knife or a toothpick, gently swirl the top batter layer into the filling. Don’t over-swirl; you just want to create some lovely marbled patterns. This is where the magic happens visually!
Step 7: Bake
Bake for 30-35 minutes, or until the edges are lightly golden brown and a toothpick inserted into the center comes out with moist crumbs attached (not wet batter). The top should look set. Keep an eye on them, as ovens can vary!
Step 8: Cool & Glaze
Let the bars cool in the pan on a wire rack for at least 30 minutes before attempting to glaze them. This is crucial for them to set properly. While they’re cooling, whisk together the powdered sugar, 2 tablespoons of milk, and vanilla (if using) until smooth. If it’s too thick, add more milk, a teaspoon at a time, until it’s a drizzly consistency. Drizzle this over the cooled bars. Let the glaze set for another 15-20 minutes before slicing.
Step 9: Slice & Serve
Once the glaze has set, use the parchment paper overhang to lift the entire slab out of the pan. Place it on a cutting board and slice into bars. I find a sharp knife works best. Serve them at room temperature for the best texture. Enjoy that burst of fruity goodness!
What to Serve It With
These fruity cereal bars are stars on their own, but they can certainly be paired with other goodies depending on the occasion! For a fun, quick breakfast, I love serving them alongside a steaming mug of coffee or a glass of cold milk. They’re just as satisfying as a bowl of cereal but a little more exciting, especially on a busy morning when you need something portable. For a delightful brunch spread, imagine these alongside some fresh fruit salad and perhaps some mini quiches or pancakes. They add a playful, colorful element that kids (and adults!) will adore. They’re also fantastic as a sweet dessert. I sometimes serve them with a small scoop of vanilla bean Ice Cream or a dollop of whipped cream for an extra treat. And for those cozy snack times when you just need a little something sweet to get you through the afternoon slump, these bars are perfect with a cup of tea or even a glass of chocolate milk. My family has a tradition of making these on the last day of school each year, and it always signals the start of summer freedom!
Top Tips for Perfecting Your Fruity Cereal Bars
I’ve made these bars more times than I can count, and through trial and error, I’ve picked up a few tricks that really make them shine. First, when it comes to the cereal itself, make sure it’s nice and fresh! Stale cereal can make your bars a bit chewy in a not-so-pleasant way. For the batter, the key is not to overmix once you add the flour. Mix only until the dry ingredients are just incorporated. Overmixing develops the gluten in the flour, leading to tough bars. You want them tender and melt-in-your-mouth! For that beautiful swirl effect, don’t go overboard. Gentle swirls are best; you want distinct layers of batter and filling, not a uniform muddy mess. If you want to get creative with the filling, try adding a few chocolate chips or even some sprinkles to the marshmallow mixture for extra pops of flavor and color. When it comes to baking, every oven is a little different. I’ve found that if my bars are browning too quickly on top, I can loosely tent them with foil for the last 10-15 minutes of baking. This ensures the center cooks through without burning the edges. For the glaze, the consistency is everything. You want it pourable but not too thin. If it’s too thick, add milk a teaspoon at a time until you reach your desired drizzling consistency. If you’re not a fan of a fully glazed bar, you can skip the glaze altogether, or just dust them lightly with powdered sugar once cooled for a simpler finish. And one last thing I learned the hard way: make sure you let them cool sufficiently before slicing! Patience is truly a virtue with these bars; cutting them too soon will result in a gooey, messy situation. Trust me on this one – it’s worth the wait!
Storing and Reheating Tips
One of the best things about these fruity cereal bars is how well they store. If you find yourself with leftovers (which is rare in my house!), you can keep them at room temperature for about 2-3 days. Just make sure they’re stored in an airtight container. This is perfect for when you want a quick snack over the next couple of days. For longer storage, the refrigerator is your friend. Keep them in an airtight container in the fridge for up to a week. They might firm up a bit in the fridge, so if you prefer them softer, you can let them sit at room temperature for about 15-20 minutes before serving. If you want to make a big batch for later or have more than you can eat within a week, freezing is a great option! Wrap the cooled, sliced bars individually in plastic wrap, then place them in a freezer-safe bag or container. They’ll keep well in the freezer for up to 2-3 months. To reheat, you can simply let them thaw at room temperature for an hour or two, or gently warm them in a low oven (around 250°F or 120°C) for a few minutes until they’re soft again. I usually recommend adding the glaze just before serving or right after they’ve cooled if you plan on storing them at room temperature or refrigerating. If you freeze them with the glaze, it can sometimes crack or get a bit sticky upon thawing, so it’s often best to glaze them after reheating or right before you plan to eat them if they’ve been frozen and thawed.
Frequently Asked Questions
Final Thoughts
There you have it – my absolute favorite fruity cereal bars! They’re a delightful journey back to childhood, packed with vibrant flavor and that irresistible chewy-crunchy texture that just makes you happy. They’re so much more than just a simple treat; they’re memories, they’re comfort, and they’re pure, unadulterated fun. I truly believe this recipe is a winner for anyone who loves a good nostalgic flavor but wants something that’s easy enough for any day of the week. If you enjoy recipes that bring a smile to your face and a pop of color to your kitchen, you might also want to check out my Rainbow Sprinkle Cookies or my No-Bake lemon bars for more cheerful baking adventures. I can’t wait to hear how your fruity cereal bars turn out! If you give them a try, please leave a comment below to let me know what you think, or share your own fun variations. Happy baking, and enjoy every colorful, delicious bite!
Fruity Cereal Bars
Ingredients
Main Ingredients
- 5 tablespoons unsalted butter
- 500 g mini marshmallows (divided)
- 216 g Fruity Pebbles cereal
Instructions
Preparation Steps
- Spray an 8×8-inch baking dish with nonstick cooking spray. Set aside.
- In a large pot over medium heat, melt butter.
- Add 8 cups of marshmallows, frequently stirring until melted. Once melted, remove from heat.
- Using a clean rubber spatula, fold in the Fruit Pebbles cereal. Stir until well-coated.
- Fold in the remaining marshmallows and transfer the mixture into the prepared baking dish. Press into an even layer.
- Allow the bars to cool to room temperature before cutting and serving.