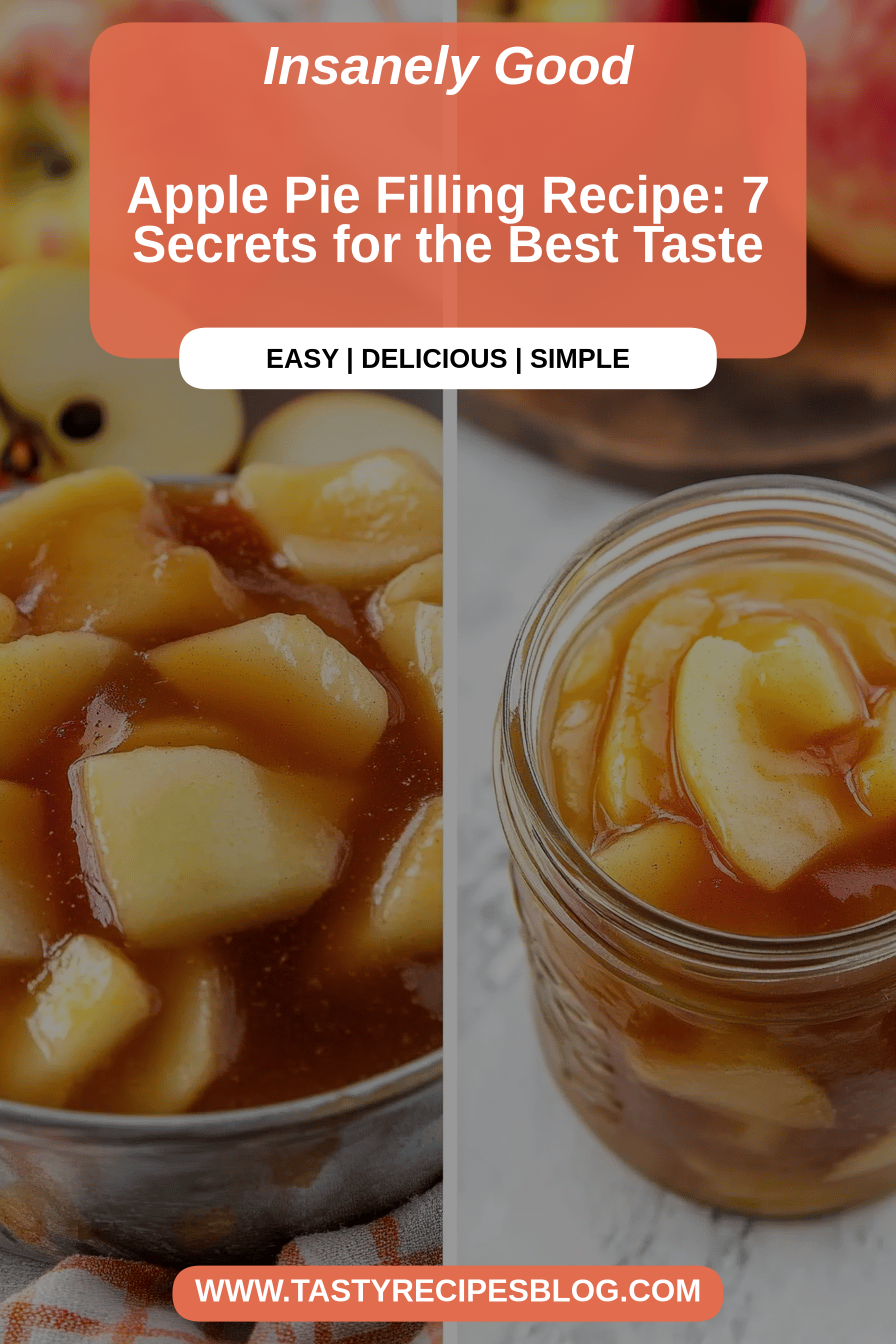
There are some flavors that just bring you home, aren’t there? For me, that’s the warm, comforting hug of perfectly cooked apples, laced with cinnamon and a hint of vanilla. I remember my grandmother making apple pie every fall, and the aroma would fill our little house. What makes a house feel so cozy? I chased that smell for years until I finally got it. That pure, unadulterated apple goodness is what I craved. How did you make this apple pie filling? Is it just an ingredient? What is the best way to get that classic apple pie taste? Without the fuss of a whole pie sometimes. Forget those store-bought versions that are either too mushy or too bland; forget the canned versions. How do you make Homemade Apple pie filling? In taste like a slice of heaven.
What is Apple Pie filling?
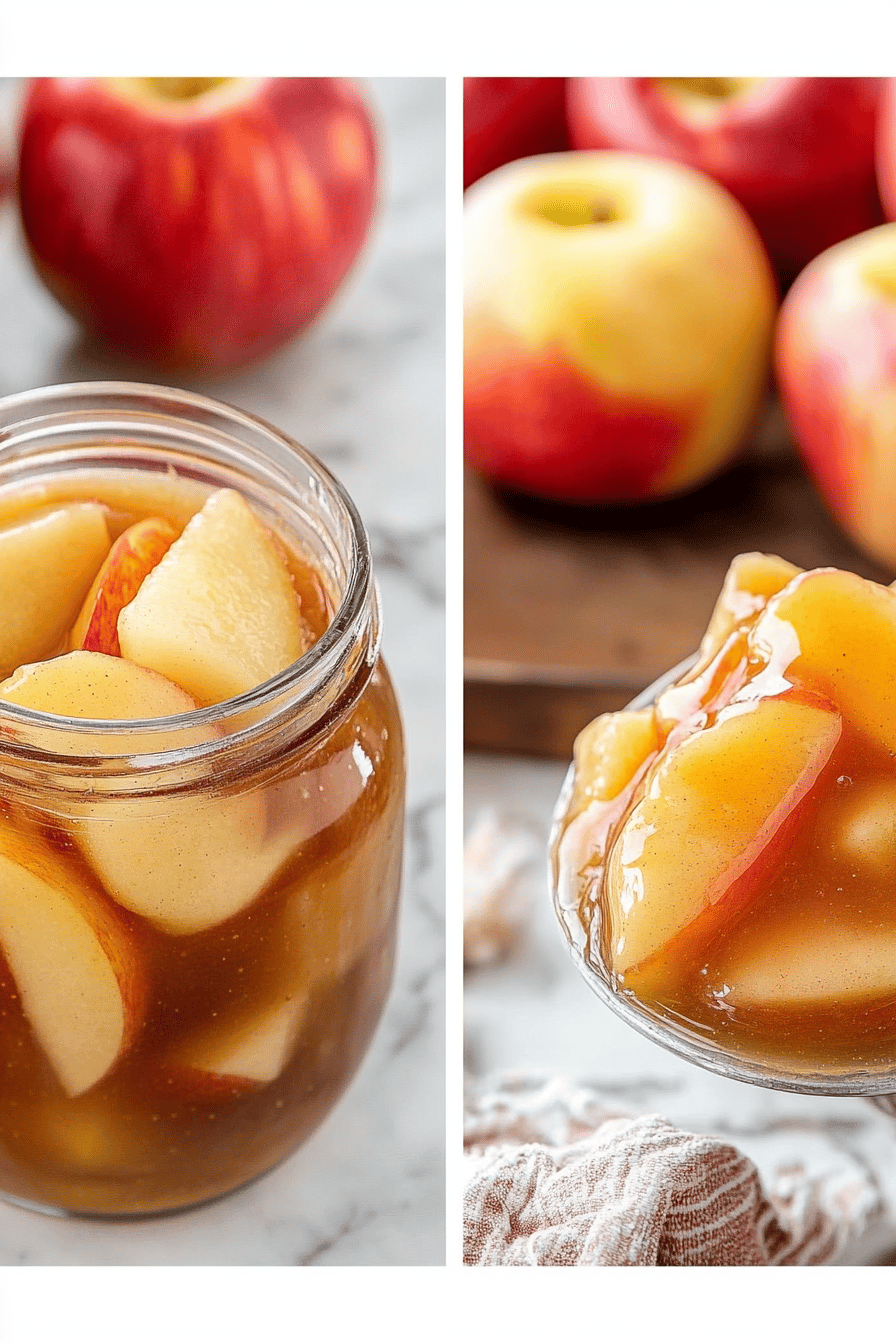
What is this magical apple pie filling? What is the heart and soul of apple pie? What’s essentially a delicious, simmered mixture of tender apple chunks, sugar, warm spices like like. Is there a thickening agent for cinnamon and nutmeg? We’re talking about apples cooked down until they are soft but still hold their shape, coated in a protective coating. What is a beautifully spiced, slightly syrupy sauce? Is it the kind of filling that smells absolutely divine while it’s cooking? What is that quintessential autumn aroma? What are some of the best ways to make homemade apple pie? What goes beyond pie crust?
Why you’ll love this recipe?
Honestly, there are so many reasons why this apple pie filling recipe has become a staple in my kitchen, and I just know you’re going to adore it too. First off, the FLAVOR is out of this world. It’s that perfect balance of sweet and tart apples with the cozy warmth of cinnamon and nutmeg. It just tastes like pure comfort. Then there’s the SIMPLICITY. I know, I know, making apple pie filling from scratch might sound intimidating, but trust me, this is surprisingly easy. We’re talking just a few common ingredients and minimal prep. It’s way easier than making a full pie crust, making it a lifesaver on busy weeknights or when you’re craving that apple pie goodness without the commitment of baking a whole dessert. And let’s talk about COST-EFFICIENCY. Apples are usually pretty affordable, especially in season, and the other ingredients are pantry staples. You get incredible, gourmet flavor for a fraction of the cost of store-bought or bakery versions. What I love most, though, is its VERSATILITY. While it’s obviously fantastic in pies, I use this apple pie filling in so many other things! It’s incredible spooned over yogurt, swirled into oatmeal, topping pancakes or waffles, stuffed into French Toast, or even served warm alongside pork chops. It’s my secret weapon for elevating simple breakfasts and desserts in a flash. It’s even better than my mom’s old recipe for apple crisp topping, which used to be my go-to!
How to Make Apple Pie Filling
Quick Overview
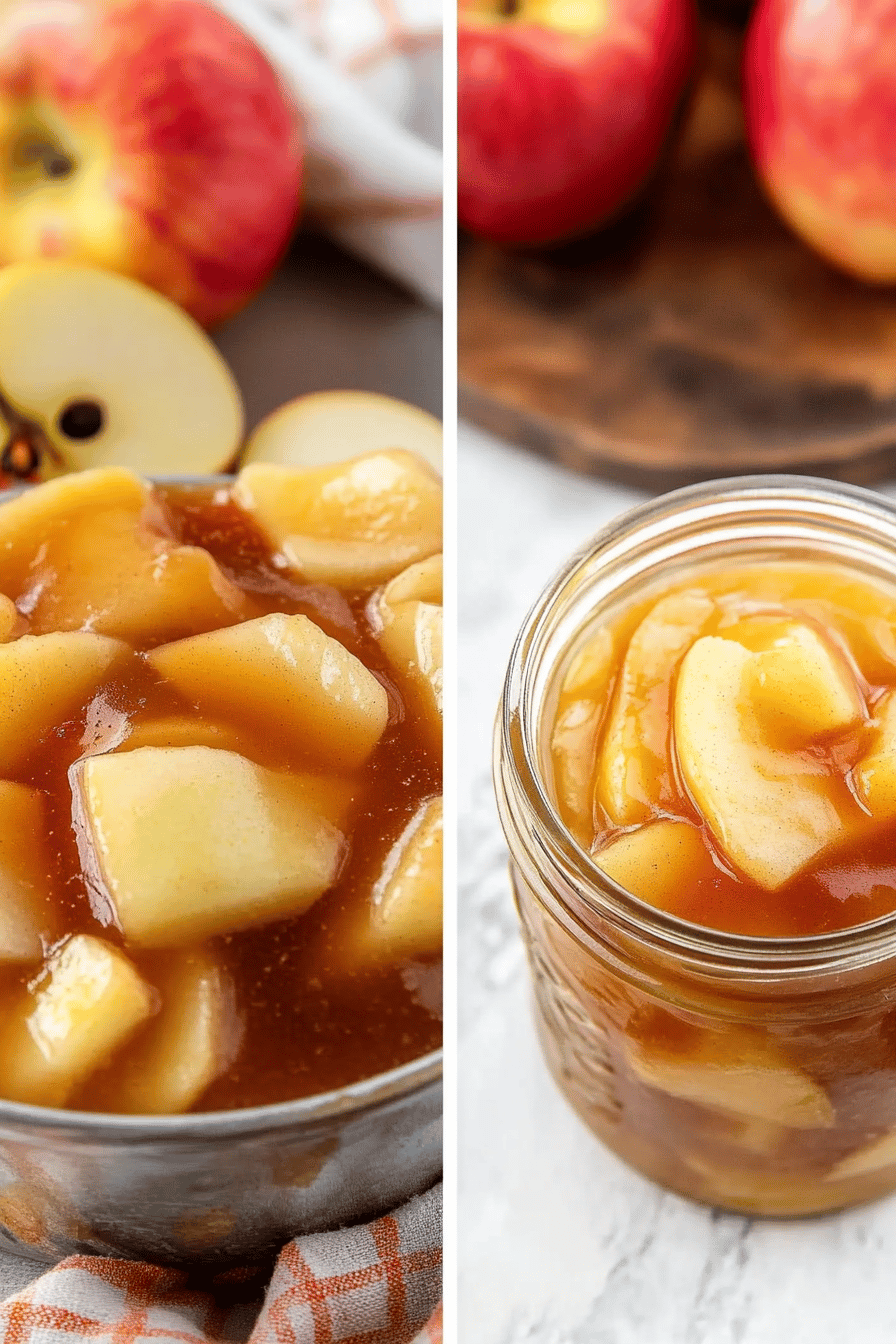
The process for this amazing apple pie filling is delightfully straightforward. We’re essentially going to cook down fresh apples with sugar, spices, and a little liquid until they’re tender and perfectly seasoned. The key is to use the right apples and to cook them just until they’re soft but not mushy, creating a filling that’s both comforting and texturally pleasing. It’s a simple stovetop method that yields spectacular results, proving that incredible flavor doesn’t need to be complicated. This is the kind of recipe that makes you feel like a baking pro, even if you’re just starting out!
Ingredients
Here’s what you’ll need to bring this delicious apple pie filling to life. Choosing the right apples really makes a difference, so I’ll give you some tips there!
What is the recipe for Apple Pie Filling?
6 cups of peeled, cored, and sliced or diced apples (about 6-8 medium apples). My favorites for this are a mix of Honeycrisp and Granny Smith for a good balance of sweet and tart, but Gala or Fuji also work beautifully.
3/4 cup granulated sugar (you can adjust this based on the sweetness of your apples and your preference)
2 tablespoons all-purpose flour or cornstarch (for thickening)
1 teaspoon ground cinnamon
1/4 teaspoon ground nutmeg
1/4 teaspoon ground allspice (optional, but adds a lovely depth)
1 tablespoon lemon juice (helps keep apples from browning and adds brightness)
2 tablespoons unsalted butter, cut into small pieces (optional, but adds richness and a lovely sheen)
For Serving (Optional):
Whipped cream or vanilla Ice Cream.
Pie crust, biscuits, or scones.
What are the steps for
Step 1: Prepare the Apples
Start by peeling, coring, and slicing or dicing your apples. Aim for slices about 1/4-inch thick or diced pieces about 1/2-inch square. I like a mix of slice thicknesses for a more interesting texture. As you prepare them, toss them in a large bowl with the lemon juice. This not only helps prevent them from browning too quickly but also adds a nice bright note to the overall flavor. I usually prep all my apples at once, then let them sit in the lemon juice while I gather the other ingredients.
Step 2: Combine Dry Ingredients
In a separate bowl, whisk together the granulated sugar, flour (or cornstarch), cinnamon, nutmeg, and allspice (if using). Make sure there are no clumps of flour or sugar. Whisking them together beforehand ensures that the spices and thickener are evenly distributed throughout the apples when you add them, preventing pockets of spice or a gloopy sauce. It’s a small step, but it really makes a difference in the final result.
Step 3: Mix Apples and Spices
Add the prepared apples to the bowl with the dry ingredients. Gently toss everything together until the apple pieces are thoroughly coated with the sugar and spice mixture. You want every single apple slice or chunk to be touched by that delicious blend! This coating helps draw out some of the apples’ natural juices, which will form the base of our sauce.
Step 4: Cook the Filling
Transfer the coated apples to a large saucepan or Dutch oven over medium heat. If you’re using the butter, dot the pieces over the top of the apples now. Stir everything together. As the mixture heats up, the sugar will dissolve, and the apples will start to release their liquid. Continue to cook, stirring occasionally, for about 10-15 minutes, or until the apples have softened to your desired tenderness and the sauce has thickened slightly. Be careful not to overcook them; you want them tender but still with a bit of bite, not applesauce!
Step 5: Check Consistency and Taste
Once the apples have reached your preferred tenderness, taste a piece of apple and a bit of the sauce. This is your chance to adjust. Need more sweetness? Add a tablespoon more sugar. Want more spice? A pinch more cinnamon does the trick! If the sauce seems a little thin for your liking, you can let it simmer uncovered for a few more minutes to allow some of the liquid to evaporate and thicken the sauce further. If it’s too thick, a tiny splash of water or apple juice can loosen it up. The goal is a glossy, flavorful filling where the apples are tender and suspended in a lovely, slightly thickened sauce.
Step 6: Cool the Filling
Remove the saucepan from the heat and let the apple pie filling cool completely. As it cools, it will continue to thicken. This step is crucial if you’re using it for a pie. How do you melt a pie crust? For other uses, it’s still best to let it cool a bit so it’s not piping hot. Is it safe to transfer it to a bowl and pop it in the fridge?
Step 7: Serve or Store
Once cooled, your delicious homemade apple pie filling is ready to be used in your favorite recipes, or stored for later. It’s truly that simple!
What should I serve it with?
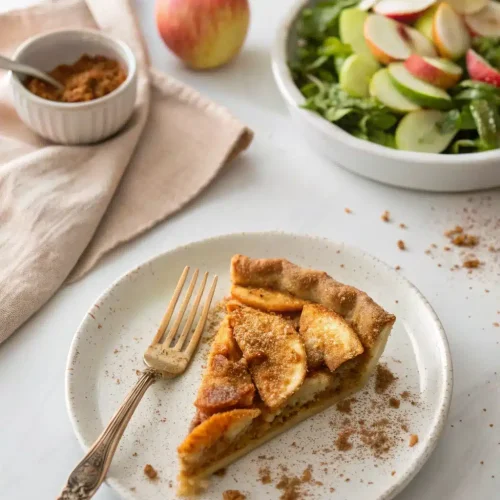
This apple pie filling is like a little pot of gold for your kitchen! Its versatility means it’s not just for pies. For a cozy BREAKFAST, spoon a generous amount over your morning oatmeal or yogurt. It’s fantastic tucked into the center of a fluffy pancake or waffle, making breakfast feel like a special occasion. For BRUNCH, I love serving it alongside some warm, buttery biscuits or scones. A dollop on top of French toast is also a winner. As a DESSERT, the obvious choice is a classic apple pie, but it’s also wonderful served warm with a scoop of vanilla bean Ice Cream or a dollop of whipped cream. My kids absolutely love it with some simple shortbread cookies. And for COZY SNACKS, especially on a chilly evening, just warming up a small bowl and eating it with a spoon is pure bliss. It’s that perfect sweet treat when you don’t want to bake a whole cake. My family also loves it stuffed into crepes – talk about a decadent treat!
How do I make an Apple Pie filling?
Over the years, I’ve picked up a few tricks that really elevate this apple pie filling from good to absolutely unforgettable. First, regarding the APPLES: don’t be afraid to mix your apple varieties. Using a combination of sweet and tart apples gives you a more complex flavor profile. Granny Smith provides that essential tartness that cuts through the sweetness, while Honeycrisp or Fuji offer a lovely crisp texture and natural sweetness. If your apples are particularly juicy, you might need a little extra flour or cornstarch to thicken it properly. When MIXING, be gentle. You don’t want to mash the apples; the goal is to coat them evenly with the spice mixture without bruising them too much. For SWIRL CUSTOMIZATION (if you’re adding anything like caramel or a different spice blend later), just make sure the base filling is cooled and slightly thickened before incorporating any additions, so they don’t get completely absorbed. For my go-to INGREDIENT SWAPS, if you don’t have cinnamon, a good quality apple pie spice blend works wonderfully, just adjust the quantity to your taste. If you’re out of flour or cornstarch, a tablespoon of tapioca starch can also work as a thickener. For BAKING, if you’re using this for a pie, make sure your filling is completely cool before adding it to your pie crust to prevent sogginess. Also, keep an eye on it as it cooks; oven temperatures can vary, and you don’t want to burn the apples. For GLAZE VARIATIONS (not part of this recipe but a fun idea), a drizzle of Salted Caramel or a sprinkle of toasted nuts on top after serving can add another layer of deliciousness. I learned the hard way that overcooking makes for a mushy filling, so watching the apples carefully is key. Trust me on this one: a little patience during the cooking process pays off immensely!
What are some Storing and Reheating Tips?
This wonderful apple pie filling is quite forgiving when it comes to storing and reheating. If you’ve got leftovers (which is rare in my house!), you can store it at ROOM TEMPERATURE for a couple of hours if it’s not too hot out, but it’s best to refrigerate it within two hours of making it. For REFRIGERATOR STORAGE, make sure it’s cooled completely and then transfer it to an airtight container. It will stay delicious and fresh in the fridge for about 3-4 days. The texture might change slightly as it sits, but it’s still perfectly usable. For FREEZER INSTRUCTIONS, this filling freezes beautifully! Let it cool completely, then portion it into freezer-safe containers or bags, removing as much air as possible. It can be stored in the freezer for up to 3 months. To thaw, transfer it to the refrigerator overnight. When you’re ready to use it, you can reheat it gently on the stovetop over low heat, stirring occasionally, until warmed through. If it seems a bit thick after thawing or reheating, you can add a tablespoon of water or apple juice to loosen it up. The GLASING ADVICE is simple: if you’re planning to store it for a while, it’s best to let it cool completely *before* adding any glaze or toppings that might get soggy. The filling itself is perfect as is!
Frequently Asked Questions
Final Thoughts
This apple pie filling is more than just a recipe; it’s a little piece of homemade happiness that you can whip up in no time. It’s the smell of autumn, the comfort of grandma’s kitchen, and the pure joy of simple, delicious food. Whether you’re using it in a traditional pie, topping your morning pancakes, or just enjoying a warm spoonful on a chilly evening, I promise it will bring a smile to your face. It’s a true testament to how a few humble ingredients can create something truly spectacular. If you love this, you might also enjoy my easy apple crumble or my spiced baked apples for more cozy fall flavors! Give this apple pie filling a try, and let me know how it turns out for you in the comments below. I can’t wait to hear about your creations and any fun variations you come up with!
Classic Apple Pie Filling
Ingredients
Main Ingredients
- 6 cups Apples, peeled and sliced Granny Smith or Honeycrisp
- 0.75 cup Granulated Sugar
- 0.25 cup Brown Sugar, packed
- 2 tablespoons Cornstarch
- 0.5 teaspoon Cinnamon
- 0.25 teaspoon Nutmeg
- 1 tablespoon Lemon Juice
- 2 tablespoons Butter Cut into small pieces
Instructions
Preparation Steps
- In a large bowl, combine apples, granulated sugar, brown sugar, cornstarch, cinnamon, and nutmeg.
- Gently toss to coat the apples evenly.
- Add lemon juice and butter. Stir to combine.
- Pour the apple mixture into a saucepan.
- Cook over medium heat, stirring frequently, until the apples soften and the sauce thickens (about 10-15 minutes).
- Remove from heat and let cool before using.