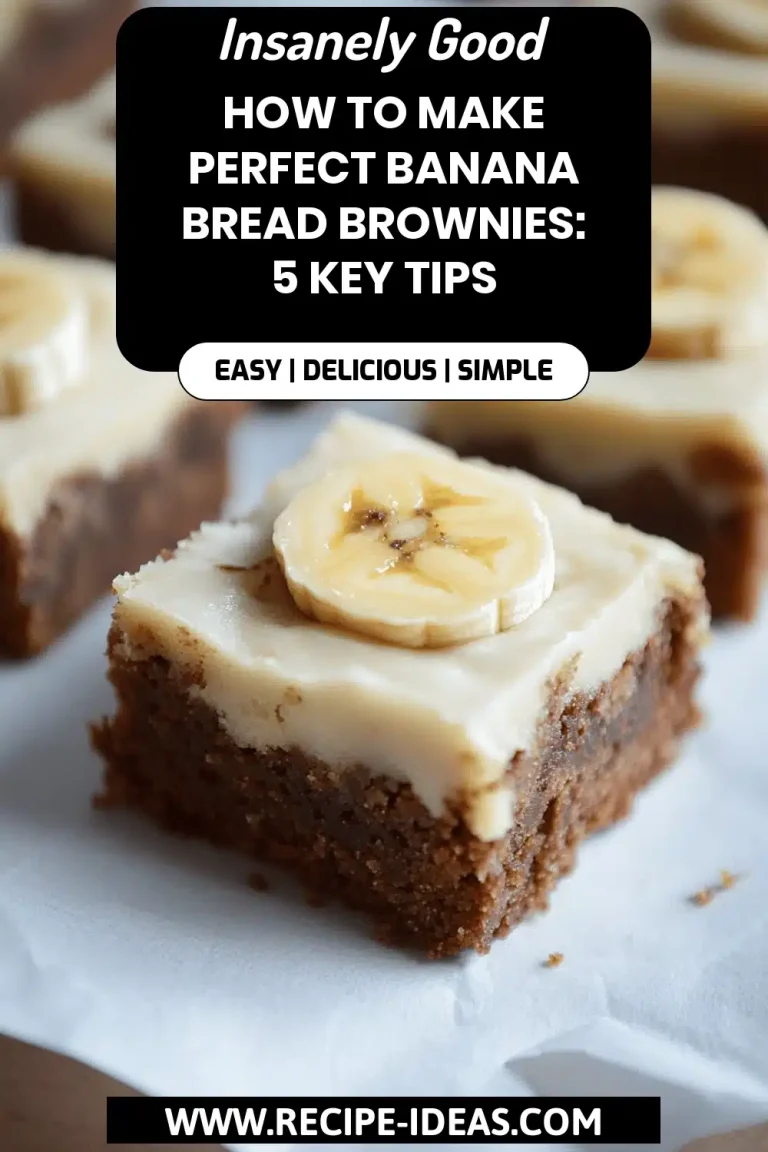
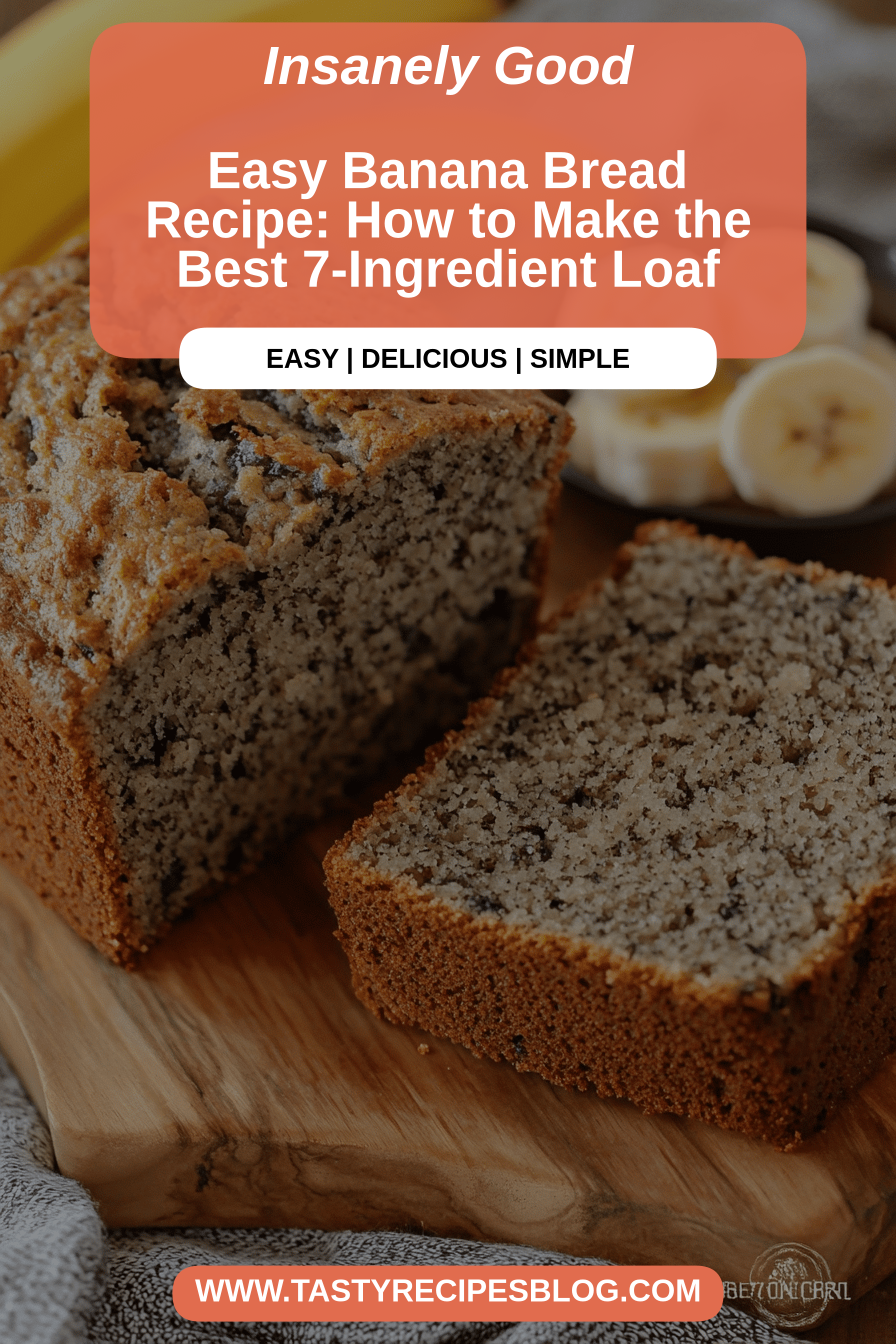
You know those recipes that just *feel* like home? The ones you pull out when you need a little comfort, a little sweetness, or just a really good excuse to use up those browning bananas on the counter? For me, that recipe is this Banana Bread. It’s not just any banana bread, mind you. This is the one that has graced my family table for years, the one my kids ask for when they get home from school, and the one that fills the entire house with the most incredible, warm, cinnamon-spiced aroma. Forget those dry, crumbly loaves that leave you disappointed. This Banana Bread is moist, tender, packed with flavor, and has this subtle sweetness that’s just perfect. It’s honestly more like a decadent cake than a quick bread, and it’s a lifesaver on busy mornings or when you’re craving something sweet but don’t want the fuss of a full cake. If you’ve ever tried a good quick bread, you know the magic they hold, and this one? It’s the undisputed champion in my book.
What Is This Amazing Banana Bread?
So, what exactly makes this Banana Bread so special? Well, think of it as the ultimate upgrade to a classic. It’s essentially a super moist, incredibly flavorful quick bread that happens to be loaded with ripe bananas. The “bread” in its name is a bit of a misnomer because when it comes out of the oven, it’s so tender and rich, it honestly rivals a good Pound Cake. The origin? Honestly, it’s a hodgepodge of my grandmother’s techniques and a few happy accidents I’ve discovered over the years. The concept is simple: take ripe, spotty bananas (the spottier, the better!), mash them up, and mix them with simple pantry staples to create a batter that bakes into pure comfort. It’s unpretentious, straightforward, and always a crowd-pleaser. It’s the kind of baking that makes you feel like a kitchen wizard, even if you’re just mixing things in a bowl!
Why you’ll love this recipe?
Let me tell you, there are so many reasons why this Banana Bread recipe has earned a permanent spot in my recipe binder, and why I’m so excited to share it with you. First off, the flavor is out of this world. We’re talking deep, caramelized banana notes, a hint of warm cinnamon, and a sweetness that’s perfectly balanced. It’s not cloying; it’s just right. Then there’s the simplicity. Seriously, you can whip this up in about 15 minutes flat, which is a lifesaver when you’re rushing around. No fancy equipment needed, just a couple of bowls and a whisk. It’s incredibly cost-efficient too – the main ingredients are probably already in your pantry, and ripe bananas are usually on sale! And the versatility? Oh my goodness. I’ve served this for breakfast, as a satisfying afternoon snack, and even as a simple dessert with a dollop of whipped cream. What I love most about this recipe is how forgiving it is. Even if you’re a beginner baker, you’ll nail this one. It’s also a fantastic base for add-ins like chocolate chips or nuts, though honestly, I often leave it plain because it’s just that good. If you’re a fan of my classic Zucchini Bread or my moist Blueberry Muffins, you’ll find this Banana Bread hits all the same comforting notes but with its own unique charm.
How to Make This Banana Bread
Quick Overview
Making this Banana Bread is genuinely as easy as it gets. You’ll mash your bananas, whisk together your wet and dry ingredients separately, then combine them. A quick swirl of a simple filling, a short bake, and voilà! The whole process from start to finish takes under an hour, with minimal hands-on time. What makes this method special is how we ensure maximum moisture and flavor without any fuss. It’s designed for busy lives and guaranteed delicious results, every single time.
Ingredients
For the Main Batter:
You’ll need about 3 very ripe bananas, mashed. The riper, the sweeter and more potent the flavor. Look for those with lots of brown spots – they’re your best friends here! I always use unsalted butter, softened, about 1/2 cup (1 stick), which gives it that lovely richness. For the sugar, I prefer a mix of granulated and Brown Sugar – around 3/4 cup total. The brown sugar adds a lovely molasses note and helps with that moist texture. Two large eggs, at room temperature, are essential for binding. A good splash of vanilla extract (about 1 teaspoon) really rounds out the flavors. For the dry ingredients, we’re talking all-purpose flour, about 1.5 cups. Make sure you measure it correctly by spooning it into the cup and leveling it off; scooping directly from the bag can lead to a dry bread. Baking soda (1 teaspoon) is crucial for leavening, and a pinch of salt (1/4 teaspoon) enhances all the flavors. And of course, cinnamon! I like about 1 teaspoon, but feel free to adjust to your liking. Some people even add a touch of nutmeg.
For the Filling:
This is where we get a little extra! For my favorite version, I love a simple cinnamon-sugar swirl. You’ll need about 2 tablespoons of packed brown sugar and 1 teaspoon of cinnamon. That’s it! Sometimes, I’ll add a handful of chopped walnuts or pecans for a little crunch, but it’s totally optional. If you’re feeling decadent, a few mini chocolate chips are always a welcome addition.
For the Glaze:
This is totally optional but highly recommended for that extra touch of sweetness and polish. I usually just whisk together about 1/2 cup of powdered sugar with 1-2 tablespoons of milk or lemon juice until it reaches a drizzle-able consistency. You can add a tiny bit of vanilla or even a pinch of cinnamon to the glaze if you like!
Step-by-Step Instructions
Step 1: Preheat & Prep Pan
First things first, get your oven preheating to 350°F (175°C). This is super important because you want the oven to be at the perfect temperature when your batter is ready. While it’s heating up, grab a standard loaf pan (about 9×5 inches). Grease it really well with butter or non-stick spray, and then lightly flour it. Tapping out the excess flour is key, otherwise, you’ll have white streaks on your beautiful bread. Some people like to line their pan with parchment paper, leaving an overhang on the sides – this makes lifting the finished bread out a breeze!
Step 2: Mix Dry Ingredients
In a medium-sized bowl, whisk together your all-purpose flour, baking soda, salt, and cinnamon. Make sure everything is thoroughly combined. Whisking the dry ingredients helps to distribute the leavening agent evenly, which means your bread will rise beautifully. It also helps break up any little clumps of flour. Give it a good mix until it all looks uniform and smells wonderfully spiced.
Step 3: Mix Wet Ingredients
Now, in a larger bowl, mash your ripe bananas really well. You can use a fork or a potato masher – a few small lumps are totally fine and add lovely texture. Add your softened butter, granulated sugar, brown sugar, eggs, and vanilla extract to the mashed bananas. Whisk it all together until it’s smooth and well combined. It should look like a thick, creamy mixture. Make sure your butter is properly softened; if it’s too cold, it won’t incorporate smoothly.
Step 4: Combine
This is where the magic happens! Pour the dry ingredients into the wet ingredients. Now, here’s a crucial tip: mix *just until combined*. Overmixing is the enemy of tender quick breads. You’ll see a few streaks of flour – that’s okay! Gently fold everything together with a spatula or wooden spoon until there are no large dry patches. A few lumps are perfectly fine; they’ll disappear during baking. Overmixing develops the gluten in the flour too much, which can result in a tough, rubbery bread. We want moist and tender!
Step 5: Prepare Filling
If you’re making the cinnamon-sugar swirl, this is super easy. In a small bowl, just mix together the 2 tablespoons of packed brown sugar and 1 teaspoon of cinnamon until it’s well combined. If you’re adding nuts or chocolate chips, you can stir them into this mixture now, or add them directly to the batter in the next step.
Step 6: Layer & Swirl
Pour about half of your banana bread batter into your prepared loaf pan and spread it evenly. Sprinkle about half of your cinnamon-sugar mixture (or any add-ins) over the batter. Then, carefully spoon the remaining batter on top, smoothing it out. Sprinkle the rest of the cinnamon-sugar mixture over the top. Now, grab a knife or a skewer and gently swirl it through the batter a few times. Don’t overdo it – you want distinct ribbons of cinnamon sugar, not a muddy mess. This creates those beautiful marbled patterns and pockets of extra flavor.
Step 7: Bake
Place the loaf pan in the preheated oven. Bake for 50-65 minutes. The exact time will vary depending on your oven. You’ll know it’s done when a wooden skewer or toothpick inserted into the center comes out clean, or with just a few moist crumbs attached (no wet batter!). The top should be golden brown and the edges should be pulling away slightly from the sides of the pan. If the top starts to brown too quickly, you can loosely tent it with foil.
Step 8: Cool & Glaze
Once it’s baked, remove the loaf pan from the oven and let it cool in the pan on a wire rack for about 10-15 minutes. This allows the bread to set up properly. Then, carefully invert the pan to remove the bread and place it directly on the wire rack to cool completely. Resist the urge to slice it while it’s hot! If you’re adding a glaze, wait until the bread is mostly cooled, then drizzle it over the top. The glaze should be thick enough to coat the top without running all the way down the sides.
Step 9: Slice & Serve
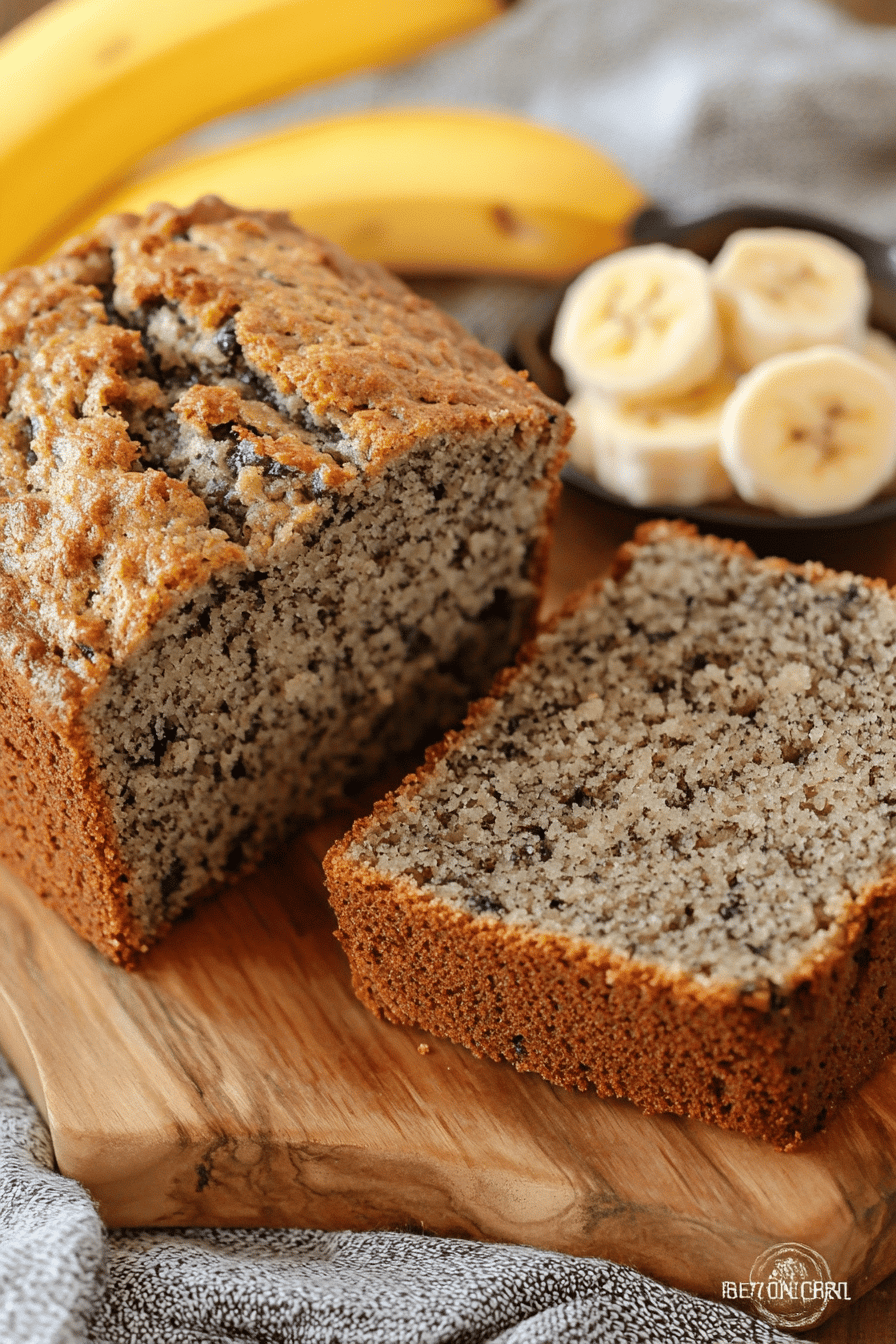
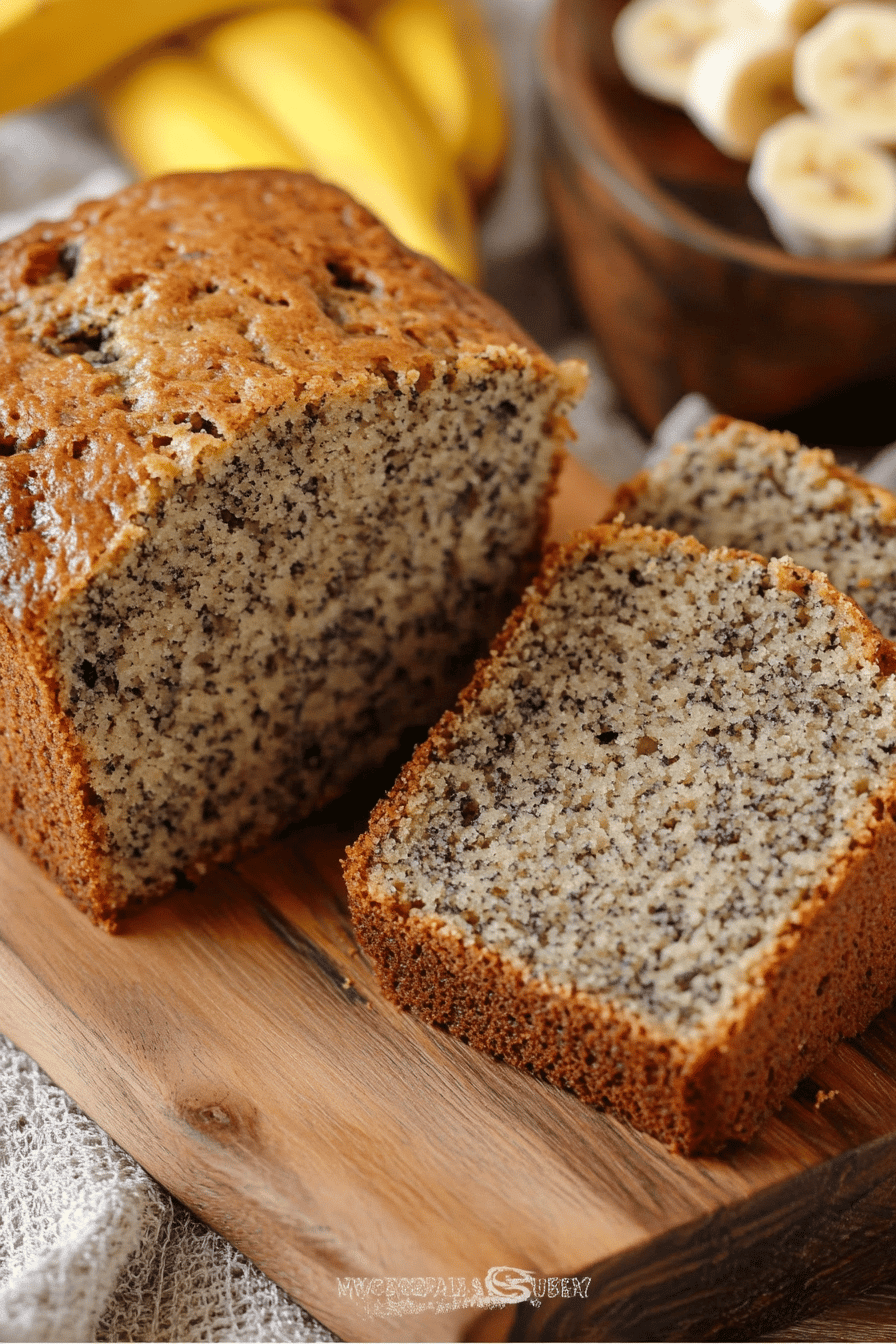
Once the bread is completely cool (or at least lukewarm if you can’t wait!), slice it with a serrated knife for the cleanest cuts. This Banana Bread is absolutely divine served at room temperature. It’s perfect on its own, but a little spread of butter or cream cheese is never a bad idea. Enjoy!
What to Serve It With
This Banana Bread is so versatile, it fits in anywhere! For Breakfast, it’s an absolute winner. I love pairing a warm slice with a strong cup of coffee – the richness of the coffee really cuts through the sweetness of the bread beautifully. It’s also fantastic with a side of fresh fruit salad for a lighter start to the day. For Brunch, it feels a little more elegant. I often serve it alongside quiches or frittatas, maybe with a drizzle of honey or a sprinkle of powdered sugar for extra flair. A mimosa or a fresh fruit smoothie makes the perfect beverage pairing. As Dessert, it’s incredibly satisfying. A scoop of vanilla bean ice cream or a dollop of freshly whipped cream takes it to a whole new level. It’s also lovely with a warm caramel sauce drizzled over the top. And for those Cozy Snacks, it’s just the best. A glass of cold milk, a good book, and a slice of this Banana Bread is my idea of pure bliss. My family also loves it with a smear of peanut butter – it’s like a deconstructed banana bread sandwich!
Top Tips for Perfecting Your Banana Bread
Over the years, I’ve picked up a few tricks that I think make this Banana Bread truly shine, and I want to share them with you! First, about those bananas: don’t be afraid of the really, really ripe ones. Those black, mushy bananas are where all the flavor and sweetness are. If yours aren’t quite ripe enough, you can speed up the process by popping them in the oven on a baking sheet for about 15-20 minutes at 300°F (150°C) until the skins are black and the bananas are soft. For mixing, remember my mantra: “Don’t overmix!” Seriously, just mix until you don’t see dry flour anymore. A few lumps are your friends. Overmixing develops gluten, and we want tender, not tough, bread. It’s the most common mistake people make, so trust me on this one. When it comes to the swirl customization, experiment! You can add cocoa powder to half of the cinnamon sugar for a chocolate swirl, or even a pinch of espresso powder for a mocha twist. Just be sure not to swirl too aggressively, or you’ll lose that beautiful marbling effect. For ingredient swaps, I’ve experimented a lot. If you’re out of eggs, you can try using a flax egg (1 tablespoon flaxseed meal + 3 tablespoons water, let sit for 5 mins) for each egg, though the texture might be slightly denser. For a dairy-free version, unsweetened almond milk or soy milk works wonderfully as a milk substitute in the glaze, and you can use a plant-based butter. When it comes to baking, always know your oven. If your oven tends to run hot, you might need to reduce the temperature slightly or cover with foil sooner. Use the toothpick test religiously; it’s your best friend for determining doneness. And for glaze variations, if you want a thicker glaze, just add more powdered sugar. If you prefer it thinner, add a little more liquid. A squeeze of lemon juice in the glaze adds a lovely bright tang that balances the sweetness.
Storing and Reheating Tips
One of the best things about this Banana Bread is how well it keeps, meaning you can enjoy it for days! For room temperature storage, once completely cooled, wrap the loaf tightly in plastic wrap or aluminum foil and store it in an airtight container. It will stay fresh and moist for about 2-3 days. I find it tastes even better on the second day! If you need to keep it longer, refrigerator storage is your best bet. Wrap it well and store it in an airtight container or zip-top bag in the fridge for up to a week. The texture might firm up a bit in the fridge, but it reheats beautifully. For freezer instructions, this bread freezes like a dream! Let it cool completely, then wrap it very tightly in a double layer of plastic wrap, followed by a layer of aluminum foil or a freezer-safe bag. It can stay frozen for up to 3 months. To thaw, unwrap it and let it sit at room temperature for a few hours, or gently reheat it in a low oven (around 300°F/150°C) for about 10-15 minutes. For glaze timing advice, it’s best to glaze the bread *after* it has cooled down significantly. If you glaze a hot loaf, the glaze will melt and become a runny mess. If you plan to freeze your bread, I highly recommend glazing it *after* thawing it, just before serving, for the freshest look and taste. If you freeze a glazed loaf, the glaze can sometimes become a bit sticky or uneven upon thawing.
Frequently Asked Questions
Final Thoughts
Honestly, there’s nothing quite like pulling a perfectly baked loaf of this Banana Bread out of the oven. The aroma alone is enough to make your day better, and the first bite? Pure bliss. It’s the kind of recipe that proves simple ingredients can create something truly extraordinary. It’s my go-to for a reason – it’s reliable, incredibly delicious, and always brings smiles to faces. If you love this recipe, you might also enjoy my equally comforting Apple Cinnamon Scones or my light and fluffy Lemon Poppy Seed Muffins. They share that same homemade goodness! I truly hope you give this Banana Bread a try and that it becomes a favorite in your home too. Don’t be afraid to experiment with add-ins or to leave it perfectly plain – it’s wonderful either way. I can’t wait to hear how yours turns out in the comments below! Happy baking, everyone!
Banana Bread
Ingredients
Main Ingredients
- 1.75 cups all-purpose flour
- 0.75 teaspoon baking soda
- 0.5 teaspoon salt
- 0.5 cup unsalted butter softened
- 0.75 cup granulated sugar
- 0.75 cup packed brown sugar
- 2 large eggs
- 3 ripe bananas mashed
- 1 teaspoon vanilla extract
Instructions
Preparation Steps
- Preheat oven to 350°F (175°C). Grease and flour a loaf pan.
- In a bowl, whisk together flour, baking soda, and salt.
- In a separate bowl, cream together butter and sugars until light and fluffy.
- Beat in eggs one at a time, then stir in mashed bananas and vanilla.
- Gradually add dry ingredients to wet ingredients, mixing until just combined.
- Pour batter into prepared loaf pan and bake for 50-60 minutes, or until a toothpick inserted into the center comes out clean.
- Let cool in pan for 10 minutes before transferring to a wire rack to cool completely.