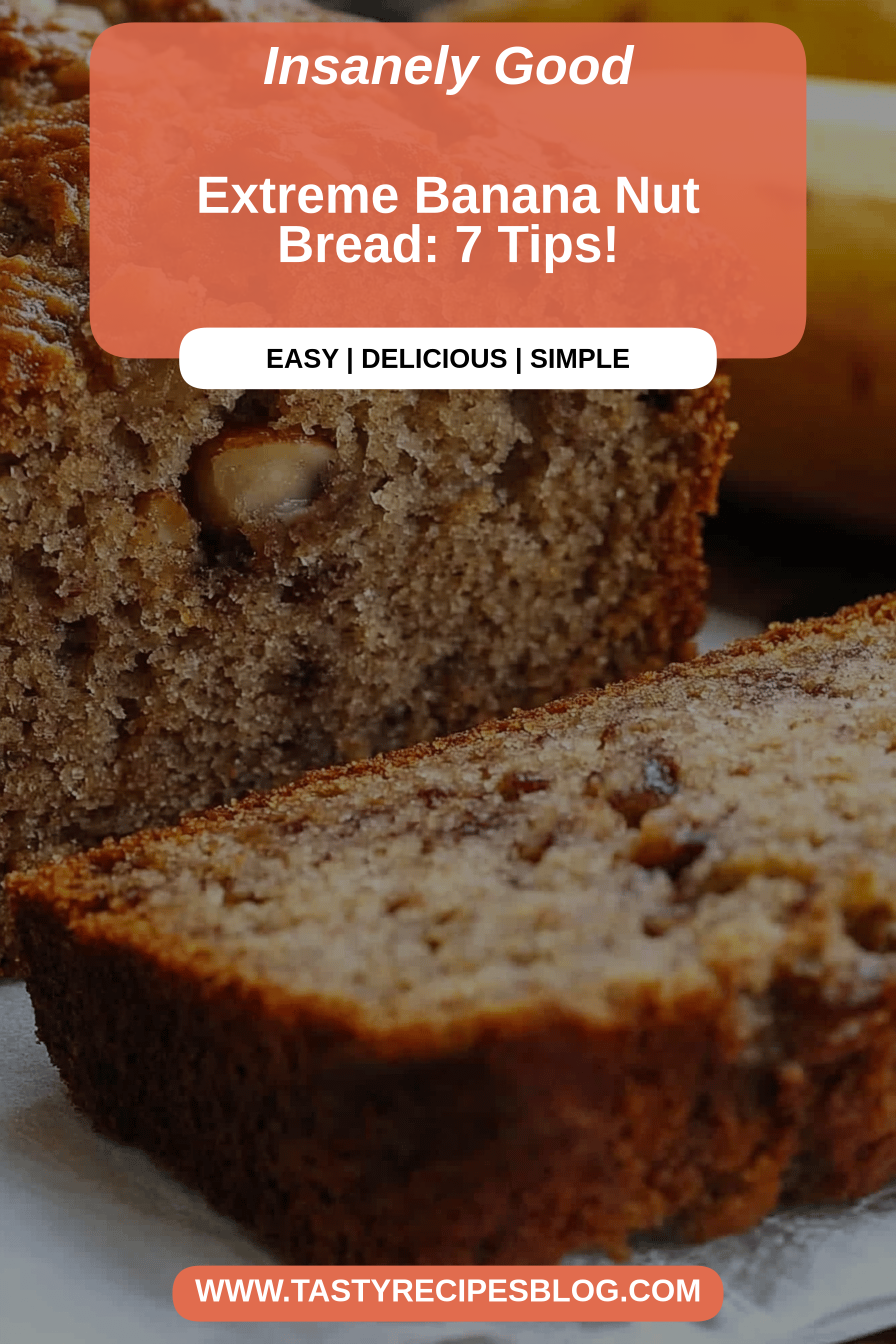
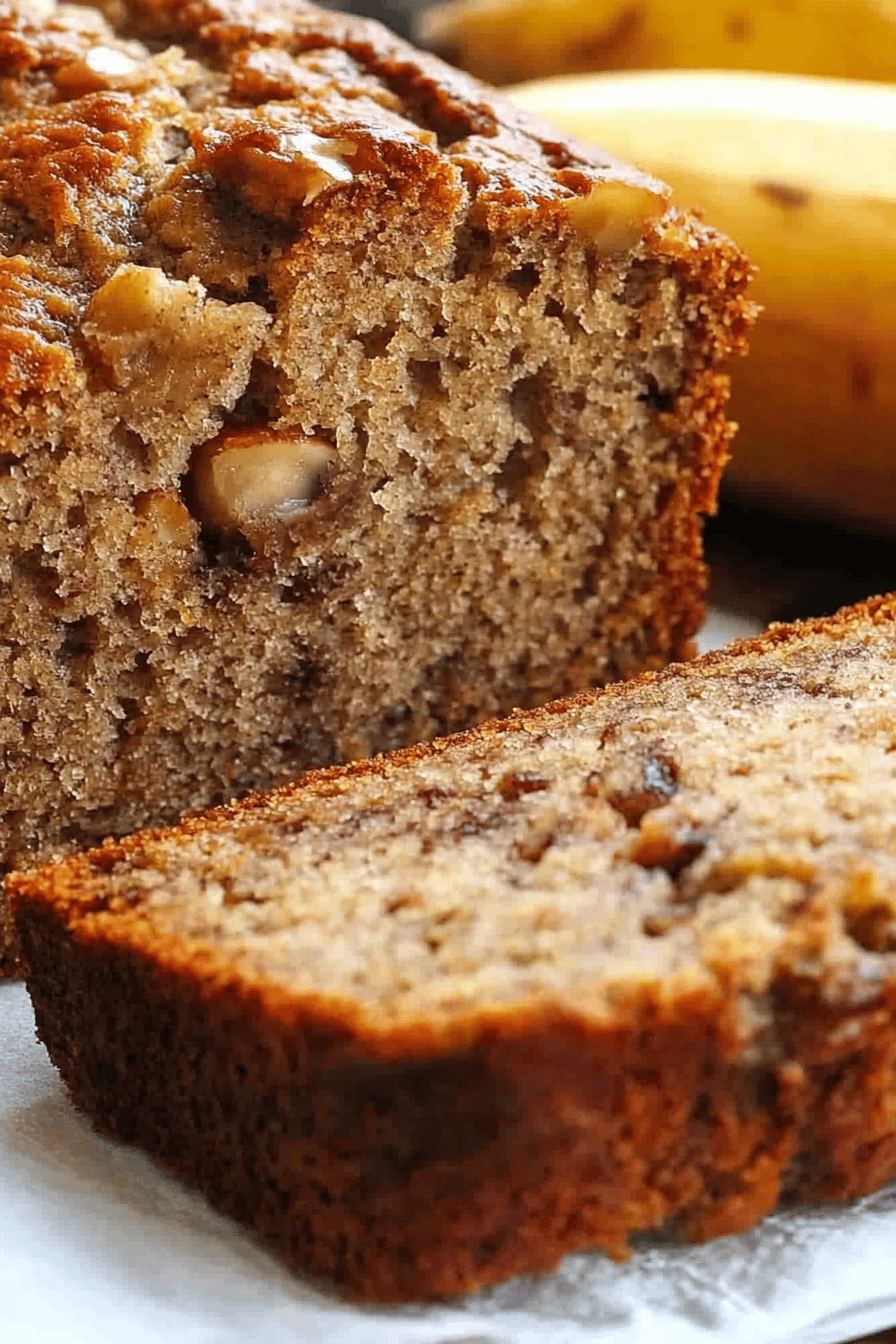
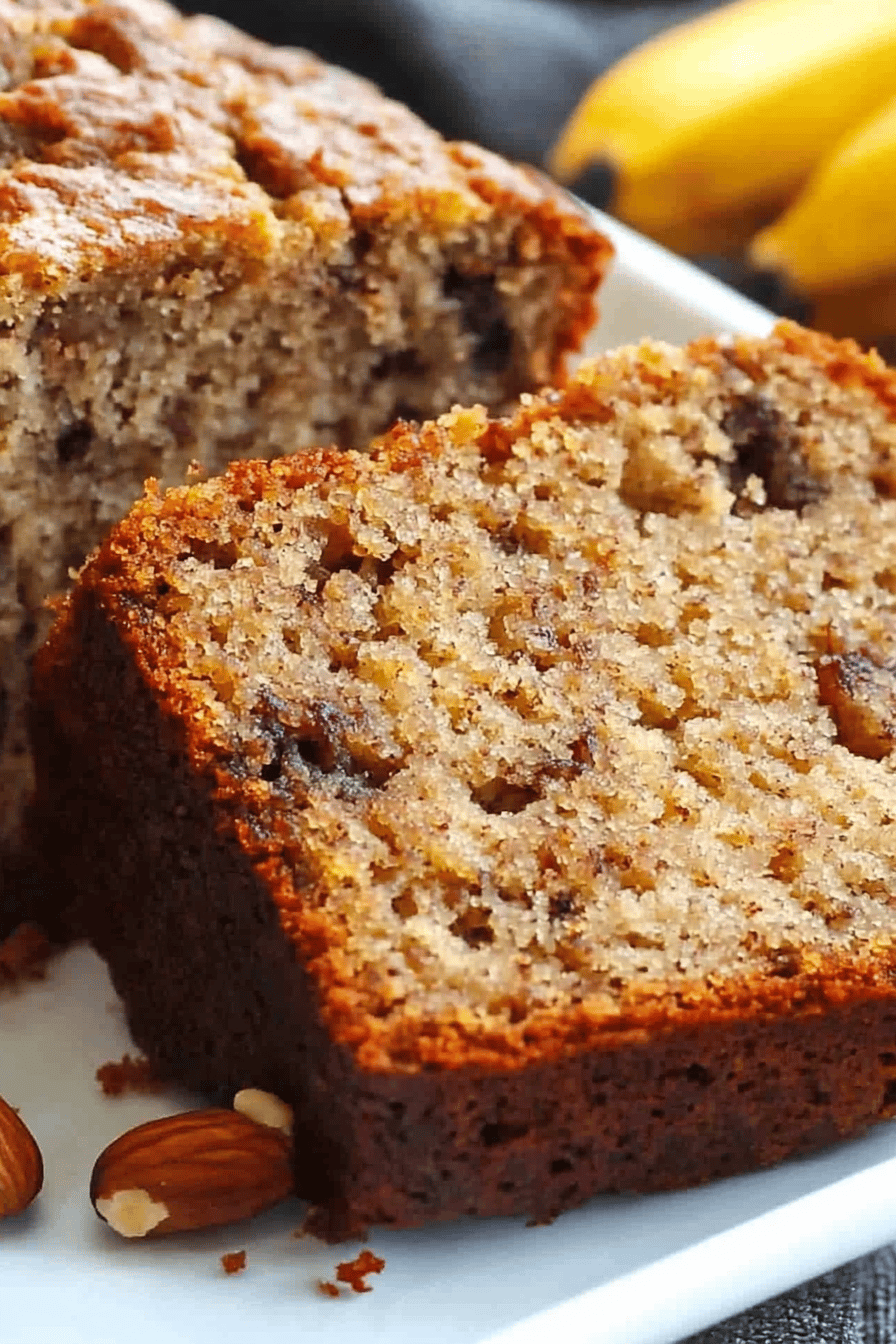
Oh, banana nut bread. Just saying the words makes me feel all warm and fuzzy inside. It’s one of those recipes that’s more than just food; it’s a memory, a feeling, a little slice of home. I remember my mom making this when I was a kid, and the whole house would fill with this unbelievably comforting aroma. Now, my own kids beg me for it, especially when we have those overripe bananas staring us down in the fruit bowl, threatening to go past their prime. This isn’t just any banana nut bread; this is *the* banana nut bread. It’s got that perfect moist crumb, those delightful pockets of sweet banana, and the satisfying crunch of toasted walnuts. If you’ve ever thought Banana Bread was a bit… plain, get ready, because this version is about to change your mind. It’s like the super-charged, extra-loving cousin of your average loaf, a real crowd-pleaser that always hits the spot. Forget those dry, crumbly versions you might have encountered; this one is pure joy in every bite.
What is banana bread?
So, what exactly is Banana Nut bread, and why does it hold such a special place in so many hearts (and kitchens)? At its core, it’s a quick bread, meaning it relies on chemical leaveners like baking soda or baking powder rather than yeast, which makes it super fast to whip up. The star ingredient, of course, is ripe bananas, mashed into the batter to provide natural sweetness, moisture, and that signature flavor. Then comes the “nut” part – typically walnuts or pecans, adding a lovely textural contrast and a nutty depth that complements the banana perfectly. Think of it as a slightly sweeter, more decadent cousin to a plain quick bread, or a cake-like bread that’s perfect for breakfast, snack time, or even dessert. It’s humble, it’s honest, and it’s downright delicious. The magic really happens when those overripe bananas, the ones with the speckles and the softening skins, get mashed up. They’re packed with more sugar and more banana flavor, which is exactly what we want in a fantastic loaf.
Why you’ll love this recipe?
Honestly, there are so many reasons why this particular banana nut bread recipe has become my absolute favorite, and I just know you’re going to adore it too. First and foremost, the flavor. It’s just… spectacular. The sweetness from the ripe bananas is perfectly balanced, not too cloying, and the toasted walnuts add this wonderful depth and a satisfying crunch that makes every bite interesting. It’s not just sweet; it’s got a comforting, wholesome taste that just feels right. Then there’s the simplicity. I’ve made this countless times, and it never fails. Even if you’re new to baking, you can totally nail this. It’s a one-bowl wonder for the wet ingredients, and the dry come together in a flash. It’s one of those lifesavers on busy mornings when you need something quick and comforting to send the kids off with, or for those 3 pm cravings that absolutely require a little something sweet. Plus, it’s incredibly cost-effective. Ripe bananas are usually super cheap, and the other pantry staples are things you probably already have on hand. What I love most, though, is its versatility. You can enjoy a slice warm with a smear of butter for breakfast, toast it for an afternoon snack, or even serve it as a casual dessert with a dollop of whipped cream. If you enjoy my Double Chocolate Zucchini Bread or my Easy Apple Crumble Muffins, you’ll find this banana nut bread shares that same comforting, home-baked goodness. It’s that perfect balance of easy, delicious, and satisfying that makes a recipe a true keeper.
How do you make banana bread?
Quick Overview
Making this banana nut bread is surprisingly straightforward, which is one of the main reasons I turn to it so often. You basically mash your bananas, mix them with your wet ingredients, then whisk your dry ingredients together. Combine the two, fold in your nuts, pour into a loaf pan, and bake. The whole process from start to finish, including baking time, is usually under an hour and a half, but the prep itself is often less than 15 minutes. It’s a forgiving recipe, which is a huge plus in my book. The key is to use *really* ripe bananas and to not overmix the batter – that’s where the magic for that tender crumb happens.
Ingredients
For the Main Batter:
3 very ripe mashed bananas (about 1 ½ cups mashed) – The riper, the better! Look for lots of brown spots. They’ll be sweeter and add more moisture. If your bananas aren’t quite ripe enough, you can pop them in the oven for about 10-15 minutes at 300°F (150°C) to speed things up.
1/3 cup melted unsalted butter – I like unsalted so I can control the salt content. Make sure it’s melted and slightly cooled so it doesn’t scramble the eggs.
1 large egg, at room temperature – Using a room temperature egg helps it incorporate more easily into the batter.
1 teaspoon vanilla extract – Pure vanilla extract makes a difference!
1 teaspoon baking soda – This is crucial for the lift and texture.
1/4 teaspoon salt – Balances out the sweetness.
1 ½ cups all-purpose flour – Spooned and leveled, not scooped. Scooping can pack too much flour in.
3/4 cup granulated sugar – You can adjust this slightly depending on how sweet your bananas are and your personal preference.
For the Filling:
1/2 cup chopped walnuts or pecans – I prefer walnuts for their slightly more robust flavor, but pecans are delicious too! Toasting them beforehand really brings out their flavor; just toss them on a dry baking sheet in a 350°F (175°C) oven for 5-7 minutes until fragrant.
1 tablespoon packed Brown Sugar – For that extra caramel note in the swirl.
1/2 teaspoon ground cinnamon – A classic pairing with banana and nuts.
For the Glaze:
1 cup powdered sugar – Sifted to avoid lumps.
2 tablespoons milk or heavy cream – Start with this and add more a teaspoon at a time until you reach your desired drizzling consistency.
1/2 teaspoon vanilla extract – Optional, but adds a nice touch.
Step-by-Step Instructions
Step 1: Preheat & Prep Pan
First things first, get your oven preheated to 350°F (175°C). This is the perfect temperature for baking quick breads; it allows them to cook through evenly without burning on the outside. While the oven is heating, grease and flour a standard 9×5 inch loaf pan. You can use butter or cooking spray for greasing, and then dust it with a little flour, tapping out any excess. For an extra bit of insurance against sticking, or if you want to make removal super easy, you can also line the pan with parchment paper, leaving an overhang on the sides like little handles. This is a trick I learned after a few… shall we say, *sticky situations*.
Step 2: Mix Dry Ingredients
In a medium bowl, whisk together the all-purpose flour, baking soda, salt, and granulated sugar. Whisking dry ingredients together before adding wet helps distribute the leavening agent and salt evenly, ensuring a consistent rise and flavor throughout your banana nut bread. It also helps to break up any lumps in the flour. Make sure you get a good, thorough whisking here; it’s a small step that really makes a difference in the final texture.
Step 3: Mix Wet Ingredients
In a larger bowl, add your very ripe mashed bananas. I like to mash them with a fork right in the bowl, leaving them a little chunky for texture. Then, pour in the melted and slightly cooled butter, the room temperature egg, and the vanilla extract. Give everything a good whisk until it’s just combined. You don’t need to go crazy here; we’re just bringing everything together.
Step 4: Combine
Now, pour the dry ingredients into the bowl with the wet ingredients. This is where you need to be gentle! Using a spatula or wooden spoon, mix until *just* combined. A few streaks of flour are okay; they’ll disappear as you fold in the nuts. Overmixing develops the gluten in the flour, which can lead to a tough, dense loaf. Remember, we’re aiming for tender and moist!
Step 5: Prepare Filling
In a small bowl, combine the chopped walnuts (or pecans), Brown Sugar, and cinnamon. This mixture is going to create those lovely pockets of spiced sweetness throughout your loaf. If you haven’t already, give your nuts a quick toast in a dry skillet or in the oven for a few minutes until fragrant. It makes a world of difference to their flavor and crunch!
Step 6: Layer & Swirl
Pour about half of the banana bread batter into your prepared loaf pan. Sprinkle about half of the nut filling mixture evenly over the batter. Then, pour the remaining batter on top, and finish with the rest of the nut filling. Now, here’s where the real fun begins! Take a knife or a skewer and gently swirl the filling into the batter. Don’t over-swirl; you want distinct layers and pockets, not a muddy mess. Just a few passes should do it. This is what gives you those beautiful marble-like patterns and bursts of flavor.
Step 7: Bake
Place the loaf pan in the preheated oven and bake for 50-65 minutes. The exact time will depend on your oven, of course. You’ll know it’s done when a toothpick or cake tester inserted into the center comes out clean, or with just a few moist crumbs attached (but no wet batter). If the top starts to brown too quickly, you can loosely tent it with foil for the last 15-20 minutes of baking.
Step 8: Cool & Glaze
Once baked, let the banana nut bread cool in the pan on a wire rack for about 10-15 minutes. This allows it to set up a bit. Then, carefully invert it onto the wire rack to cool completely. Trying to glaze a warm loaf can be a disaster, as the glaze will just melt and run off. Once the loaf is completely cool, prepare the glaze by whisking together the powdered sugar, milk (add it a teaspoon at a time to control the consistency!), and vanilla extract until smooth. Drizzle this over the top of the cooled loaf. It hardens slightly as it sits, creating a lovely sweet finish.
Step 9: Slice & Serve
Once the glaze has set, slice your beautiful banana nut bread with a serrated knife for clean cuts. The best way to serve it is usually at room temperature, allowing all those flavors to meld together. It’s wonderful on its own, but also fantastic with a cup of coffee or tea. Enjoy every delicious bite!
What to Serve It With
This banana nut bread is so versatile, it’s practically a culinary chameleon! It fits in perfectly no matter the meal or occasion. For a cozy breakfast, I love it toasted and served alongside a steaming mug of black coffee. The slightly sweet, nutty bread and the bitter coffee are a match made in heaven. Sometimes, I’ll even add a thin layer of cream cheese – pure indulgence! For a more substantial brunch spread, this bread is a fantastic addition. Imagine it sliced neatly on a platter next to fresh fruit salad, maybe some scrambled eggs, and bacon. It adds that touch of comforting sweetness that everyone loves. For dessert, it truly shines. A thick slice, perhaps warmed up slightly, with a scoop of vanilla bean ice cream or a drizzle of caramel sauce? Absolutely divine. My family also loves it as a simple afternoon snack, especially when they’re doing homework or just need a little pick-me-up. It’s perfect for those times you’re craving something sweet but don’t want to go through the effort of baking a full cake. I’ve even packed it for picnics, and it travels wonderfully.
Top Tips for Perfecting Your Banana Nut Bread
I’ve made this banana nut bread so many times, I feel like I have a sixth sense for it now! Here are a few things I’ve learned over the years that really make a difference:
Banana Prep: Seriously, use the ripest bananas you can find. The speckles are your friend! If they’re not brown enough, my oven trick (10-15 minutes at 300°F/150°C) is a lifesaver. Just make sure to let them cool a bit before mashing. Also, mash them well – you want that creamy banana goodness throughout, not just big chunks.
Mixing Advice: This is probably the most crucial tip. Overmixing is the enemy of tender quick breads. Mix the wet and dry ingredients until they are *just* combined. A few streaks of flour left in the batter are perfectly fine; they’ll mix in as you fold in the nuts. Overmixing develops the gluten, leading to a tough, rubbery texture, and nobody wants that!
Swirl Customization: Don’t be afraid to get a little artistic with the swirl! You can create patterns by gently dragging a knife through the batter a few times. For more distinct layers, try layering half the batter, then half the filling, then the rest of the batter, and the rest of the filling. Just a gentle swirl is all you need to create beautiful marbling.
Ingredient Swaps: I’ve tested this with almond milk in the glaze (instead of regular milk), and it actually made it even creamier! If you don’t have walnuts, pecans are a fantastic substitute. You can also add a handful of chocolate chips to the batter for an extra treat – my kids go wild for that. For a dairy-free version, you can use a neutral oil like canola or melted coconut oil instead of butter, and a plant-based milk for the glaze.
Baking Tips: Ovens can be finicky! If your oven tends to run hot, you might want to bake it closer to 50 minutes. If it runs cool, it might take the full 65 minutes or even a bit longer. The toothpick test is your best friend here. Also, be sure to place your loaf pan in the center of the oven for even heat distribution.
Glaze Variations: If you’re not a fan of a sweet glaze, you can skip it entirely. Or, try a simple dusting of powdered sugar once the loaf has cooled. For a richer glaze, use heavy cream instead of milk. You can also add a tiny bit of lemon zest for a brighter note. Just remember to let the bread cool completely before glazing!
Storing and Reheating Tips
Proper storage is key to keeping this banana nut bread delicious for as long as possible. I usually find it disappears within a day or two in my house, but here’s what works for me:
Room Temperature: If it’s going to be eaten within 2-3 days, you can store it wrapped tightly in plastic wrap or in an airtight container at room temperature. It stays wonderfully moist and flavorful this way. Make sure it’s completely cooled before wrapping, otherwise, condensation can form and make it soggy.
Refrigerator Storage: For longer storage, up to about a week, the refrigerator is your best bet. Wrap it tightly in plastic wrap first, then place it in an airtight container or heavy-duty foil. It might firm up a bit in the fridge, but don’t worry, it revives beautifully with a quick toast.
Freezer Instructions: This banana nut bread freezes incredibly well! I often bake two loaves when I’m at it, and freeze one for later. Once the bread is completely cooled and the glaze is set (or if you’re skipping the glaze), wrap it very tightly in a double layer of plastic wrap, then a layer of aluminum foil. You can freeze it whole or slice it into individual portions before wrapping. It will keep well in the freezer for up to 3 months. To thaw, unwrap it and let it come to room temperature on a wire rack, or if frozen in slices, you can toast them directly from frozen.
Glaze Timing Advice: If you plan to freeze your banana nut bread, I highly recommend glazing it *after* it has thawed. If you glaze it before freezing, the glaze can become sticky or gummy. For room temperature or refrigerated storage, glaze it once the bread is completely cool.
Frequently Asked Questions
Final Thoughts
There you have it – my absolute favorite banana nut bread recipe! I truly hope you give this a try. It’s more than just a recipe; it’s a little bit of comfort, a lot of deliciousness, and a fantastic way to use up those bananas that are just past their prime. The smell alone as it bakes is enough to make your house feel like a home. It’s proof that sometimes, the simplest things are the most wonderful. If you love this recipe, you might also enjoy my moist and decadent Chocolate Banana Bread or my classic Banana Blueberry Muffins. I can’t wait to hear how yours turns out, so please leave a comment below with your thoughts or any variations you tried! Happy baking, and enjoy every single slice!
Banana Nut Bread
Ingredients
Main Ingredients
- 1.5 cups All-purpose flour
- 1 teaspoon Baking soda
- 0.5 teaspoon Salt
- 0.75 cup Granulated sugar
- 0.25 cup Brown sugar, packed
- 2 Large eggs
- 0.5 cup Melted butter
- 3 Ripe bananas, mashed
- 0.5 cup Chopped walnuts
- 0.5 teaspoon Cinnamon
Instructions
Preparation Steps
- Preheat oven to 350°F (175°C). Grease and flour a loaf pan.
- In a large bowl, whisk together flour, baking soda, and salt.
- In a separate bowl, cream together sugar, brown sugar, eggs, and melted butter.
- Stir in mashed bananas.
- Gradually add the dry ingredients to the wet ingredients, mixing until just combined.
- Fold in the chopped walnuts.
- Pour batter into the prepared loaf pan.
- Bake for 55-60 minutes, or until a toothpick inserted into the center comes out clean.
- Let cool in the pan for 10 minutes before transferring to a wire rack to cool completely.