Oh, how I adore the simpler things in life, and when it comes to baking, “simple” often means incredibly delicious and surprisingly easy. If you’re anything like me, sometimes you just crave something sweet, something that feels like a warm hug in cookie form, but the thought of creaming butter and sugar for ages makes you want to just grab a pre-made brownie from the store. That’s exactly where these Cool Whip Cookies come in. They are, hands down, one of my absolute go-to recipes when I need a treat fast, or when the kids are begging for something baked and I haven’t had time to properly plan. Honestly, they’re a lifesaver on busy weeknights! They remind me so much of the cookies my grandma used to whip up – no fuss, just pure, unadulterated sweetness. If you’ve ever loved a simple chocolate chip cookie, get ready to meet your new obsession.
What is a Cool Whip Cookie?
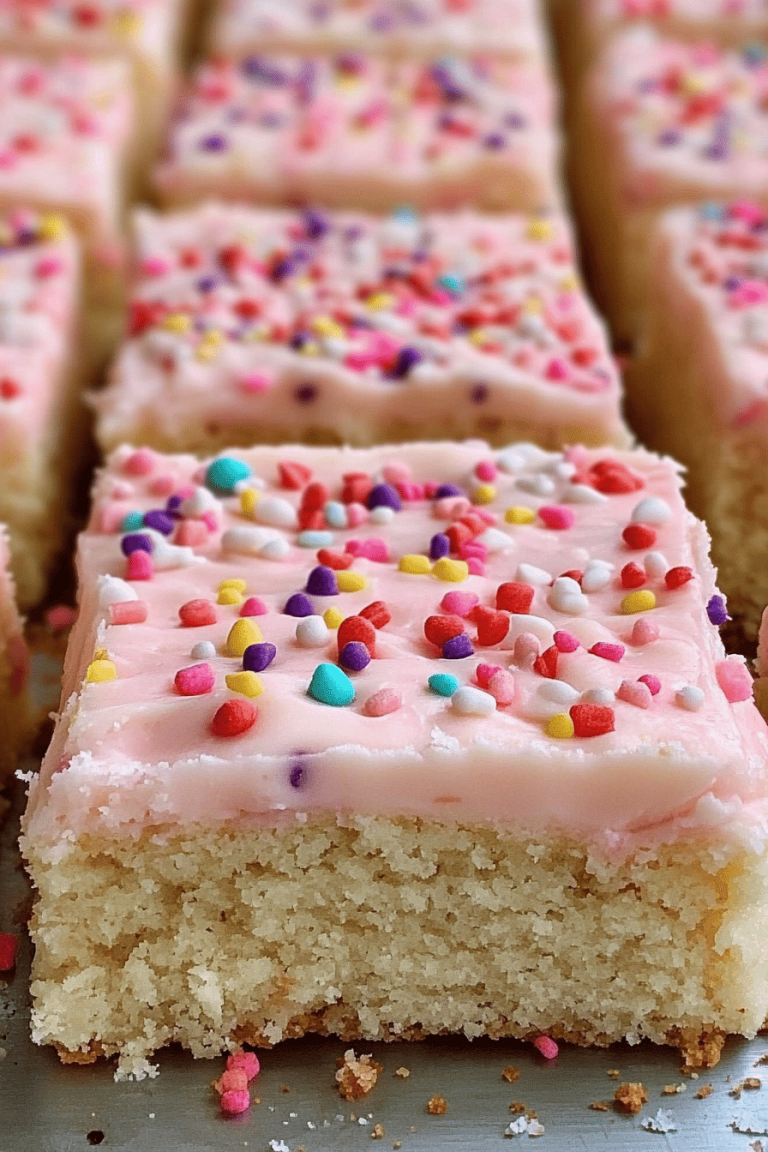
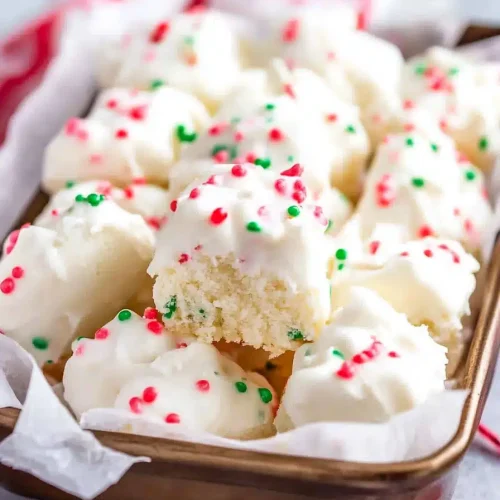
So, what exactly are “Cool Whip cookies,” you ask? Think of them as your favorite drop cookie, but with a magical ingredient that makes them incredibly tender and wonderfully moist: Cool Whip! It’s not just a topping here; it’s actually incorporated into the cookie dough. This is what gives them that signature soft texture that’s just *chef’s kiss*. It’s essentially a shortcut to that perfect cookie crumb. They’re not usually super ornate or complicated. The beauty is in their simplicity, letting the flavors of whatever you add – like chocolate chips, sprinkles, or even a hint of lemon zest – really shine. They’re the kind of cookie that’s perfect for a casual get-together, an after-school snack, or just because you deserve a little something special without all the baking drama. It’s basically like the easiest cakey cookie you can imagine, but in a perfect bite-sized package.
Why you’ll love this recipe?
Honestly, there are so many reasons why I keep coming back to this recipe, and I just know you will too. First off, let’s talk about the **flavor and texture**. These cookies are unbelievably soft and tender, almost cake-like, but with that delightful chewiness that makes a cookie truly satisfying. They don’t get hard and crumbly after a day or two like some other recipes. The Cool Whip really works its magic here, creating a melt-in-your-mouth experience. Secondly, the **simplicity** is a game-changer. We’re talking minimal ingredients, most of which you probably already have in your pantry. And the mixing process? It’s incredibly straightforward – no fancy techniques required. You can literally have these mixed and in the oven in about 10 minutes flat, which, let’s be real, is a miracle on busy days. For anyone trying to stick to a budget, these are also wonderfully **cost-efficient**. You don’t need expensive nuts or specialty chocolates; basic pantry staples are all you need. And the **versatility**! This is where it gets really fun. While my classic favorite is with chocolate chips, you can totally customize these. Add sprinkles for a fun party cookie, a little lemon or orange zest for a burst of citrus, or even some cinnamon and nutmeg for a cozy fall vibe. They’re the perfect canvas for your sweet creations. Compared to a traditional sugar cookie or even a Chocolate Chip Cookie that requires chilling and precise measurements, these Cool Whip cookies are so forgiving and always turn out fantastic, which is why I often recommend them to beginner bakers!
How do I make a cool whip cookie?
Quick Overview
The magic of these Cool Whip cookies lies in their incredibly quick and easy preparation. You simply combine your dry ingredients, whisk together your wet ingredients (which include the star – Cool Whip!), and then fold them together. No chilling needed, no complicated steps. Just mix, scoop, and bake! This method is a real time-saver, ensuring you get that delicious, homemade cookie taste without spending hours in the kitchen. They bake up beautifully, becoming soft and slightly golden, ready to be devoured in no time.
Ingredients
For the Main Batter:
1 box (3.4 ounces) white cake mix (this is key for that tender texture!)
1 tub (8 ounces) Cool Whip, thawed (don’t use Whipped Cream, it’s different!)
2 large eggs
1 teaspoon vanilla extract (use the good stuff if you have it!)
Optional additions like chocolate chips, sprinkles, or a pinch of cinnamon
For the Filling (if making stuffed cookies):
1/2 cup chocolate chips or chopped candy
A little extra Cool Whip to help bind
For the Glaze (optional, but so good!):
1 cup powdered sugar
2-3 tablespoons milk or water
1/2 teaspoon vanilla extract
Step-by-Step Instructions
Step 1: Preheat & Prep Pan
First things first, get your oven preheated to 350 degrees Fahrenheit (175 degrees Celsius). You’ll want to line a baking sheet with parchment paper or a silicone baking mat. This is a non-negotiable step in my kitchen! It makes cleanup a breeze and ensures your cookies don’t stick. If you don’t have parchment paper, a lightly greased baking sheet will do, but I find parchment paper is a true game-changer for cookies like these.
Step 2: Mix Dry Ingredients
In a large bowl, I like to empty the entire box of white cake mix. It’s already perfectly blended, so there’s no need to sift or whisk anything else in at this stage. Just dump it right in! This is where the magic starts with the cake mix base, providing that light and airy texture we’re going for.
Step 3: Mix Wet Ingredients
Now, in a separate medium bowl, add the thawed Cool Whip. It’s important that it’s thawed, not frozen, but also not completely deflated. Give it a gentle stir. Then, crack in your two large eggs and add the vanilla extract. Whisk these together until everything is just combined and smooth. You don’t want to overmix; just get it incorporated.
Step 4: Combine
Pour the wet ingredients into the bowl with the cake mix. Now, this is where you need to be a little gentle. Use a spatula or a wooden spoon to fold the ingredients together. You’re looking for a thick, slightly sticky dough. Stop mixing as soon as you don’t see any dry streaks of cake mix. Overmixing can lead to tougher cookies, and we definitely don’t want that! If you’re adding chocolate chips or sprinkles, now’s the time to gently fold them in.
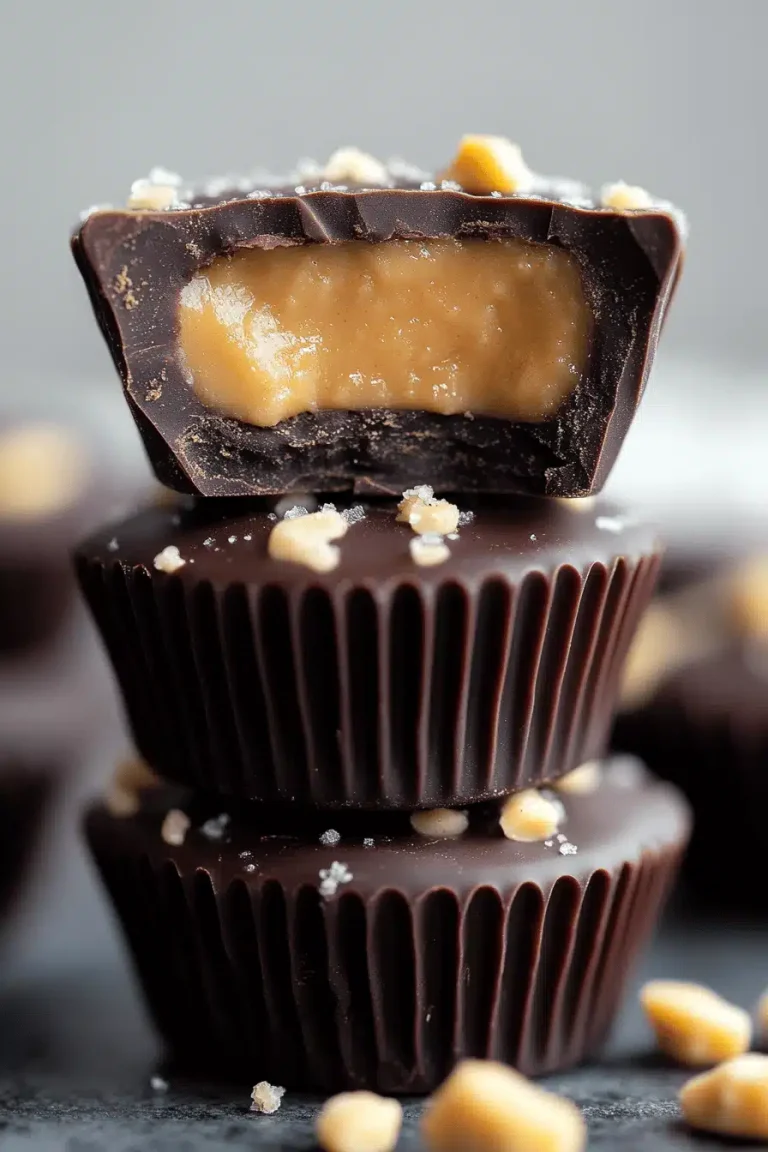
Step 5: Prepare Filling (if desired)
If you want to make stuffed cookies (which are extra decadent!), mix your filling ingredients in a small bowl. For chocolate chip-stuffed cookies, just combine the chocolate chips with about a tablespoon of Cool Whip. This helps bind them together slightly so they don’t all fall out when you bake. It’s a little extra step, but oh-so-worth-it!
Step 6: Scoop & Shape
Use a cookie scoop (about 1.5 to 2 tablespoons) to drop rounded balls of dough onto your prepared baking sheet. Leave about 2 inches between each cookie because they will spread a bit. If you’re stuffing them, flatten a dough ball slightly, place a spoonful of filling in the center, then gently fold the dough around it to enclose the filling, and roll it back into a ball. You can also just press them down slightly with the bottom of a glass if you prefer a flatter cookie.
Step 7: Bake
Bake for 10-12 minutes, or until the edges are lightly golden brown and the centers look set. They might still look a little soft in the middle, and that’s okay – they’ll continue to cook slightly on the baking sheet after you remove them from the oven. Keep an eye on them, as ovens can vary!
Step 8: Cool & Glaze (Optional)
Let the cookies cool on the baking sheet for about 5 minutes before carefully transferring them to a wire rack to cool completely. If you’re glazing them, wait until they are completely cool. For the glaze, whisk together the powdered sugar, milk (or water), and vanilla until smooth and pourable. You want it thick enough to coat but not so thick it’s hard to drizzle. Drizzle it over the cooled cookies and let the glaze set.
Step 9: Slice & Serve
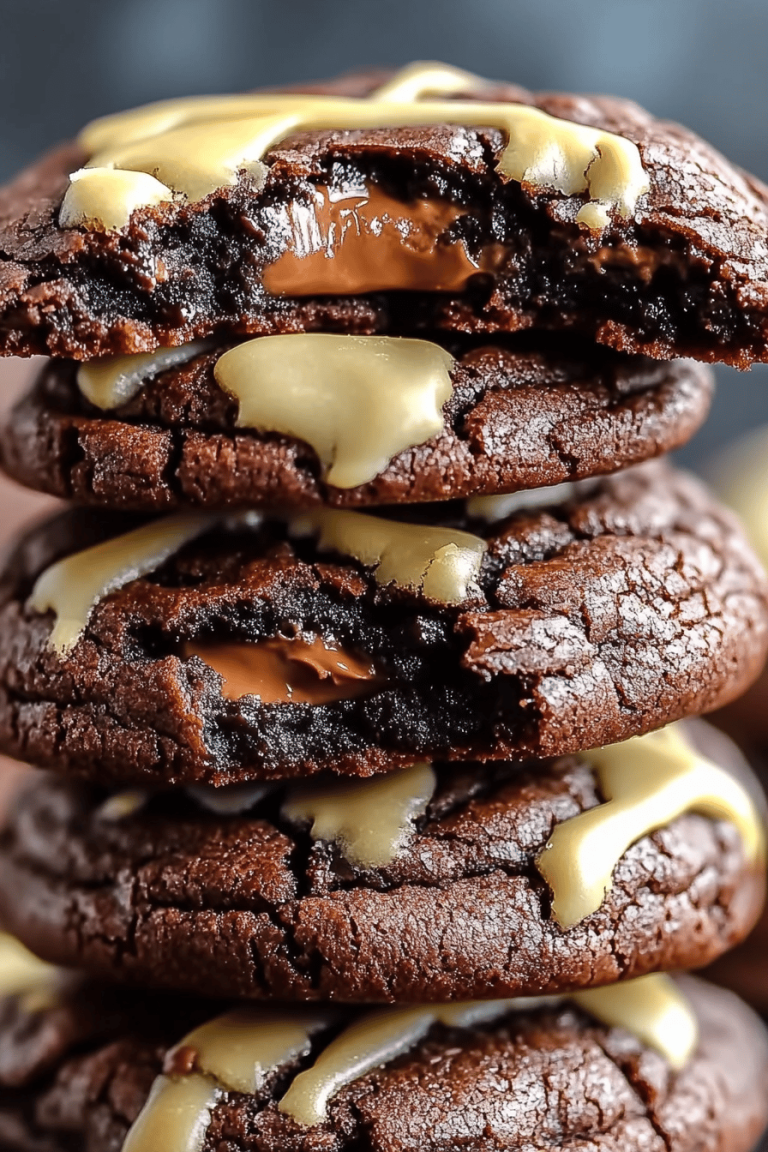
Once cooled (and glazed, if you chose to do so), these cookies are ready to be enjoyed! They are absolutely delicious served at room temperature. If you’ve stuffed them, slicing one in half is a fantastic way to show off that gooey center. They’re perfect with a glass of milk or a hot cup of coffee.
What to Serve It With
These Cool Whip cookies are incredibly versatile, fitting into almost any occasion. For **Breakfast**, they’re a delightful sweet bite alongside your morning coffee or tea. They’re not overly rich, so they feel like a treat without being too heavy for the start of the day. Imagine a couple of these with your eggs and bacon – pure joy! For **Brunch**, they elevate the spread beautifully. Arrange them on a tiered stand with fresh berries and perhaps some mini muffins. They pair wonderfully with mimosas or a sparkling cider. As a simple **Dessert**, they are a crowd-pleaser. Serve them after dinner with a scoop of vanilla ice cream for an extra indulgent treat, or simply on their own for a sweet finish. My family loves them after a hearty pasta dinner. And for **Cozy Snacks**, this is where they truly shine. Grab one (or two!) with a big mug of hot chocolate on a chilly evening, or pack a few in a lunchbox for a sweet surprise. They’re also fantastic for impromptu picnics or sharing with neighbors. I’ve even taken them to potlucks and they disappear in minutes, often being requested again and again!
Top Tips for Perfecting Your Cool Whip Cookies
I’ve made these Cool Whip cookies more times than I can count, and over the years, I’ve picked up a few tricks that make them even better. For the **Cake Mix**, I always lean towards a white or vanilla cake mix. It provides the best neutral base. Avoid yellow cake mix as it can sometimes add a slightly different flavor profile that might not be what you’re after. Also, don’t try to “doctor up” the cake mix with extra sugar or flour; just use it as directed for the intended texture. When it comes to **Cool Whip**, make sure it’s fully thawed but not whipped to death. Just a gentle stir to loosen it up is perfect. If it’s too runny, your cookies might spread too much. For **Mixing**, remember my advice: just combine until no dry streaks remain. Overmixing is the enemy of tender cookies! It develops the gluten too much, resulting in a tougher texture. You want a soft, pliable dough. If you’re adding **Mix-ins** like chocolate chips or sprinkles, be sure they’re not frozen when you add them. Fold them in gently at the very end. For **Baking**, ovens really do vary. Start checking your cookies around the 9-10 minute mark. They should look set around the edges and lightly golden. If you’re unsure, you can gently touch the center – it should spring back slightly. If they look too pale, give them another minute or two. For **Glaze Variations**, don’t be afraid to experiment! A little lemon zest in the glaze can be lovely with a white cake base, or a touch of cocoa powder for a chocolate glaze. You can also skip the glaze entirely and just dust them with a little powdered sugar for a simpler finish. My kids actually prefer them plain or with just a sprinkle of sugar, so there’s no wrong way to go!
Storing and Reheating Tips
Proper storage is key to keeping these wonderful cookies soft and delicious. **Room Temperature Storage** is usually best for a day or two. Once the cookies have completely cooled (and the glaze is set, if you used it), store them in an airtight container. I like to place a piece of wax paper or parchment paper between layers if I’m stacking them to prevent sticking. They’ll stay wonderfully soft for about 2-3 days this way. For **Refrigerator Storage**, I generally don’t recommend it for these cookies unless it’s very warm or humid where you live. Refrigeration can sometimes dry them out. However, if you must, place them in an airtight container and they should be fine for up to 4-5 days, but they might lose some of their softness. **Freezer Instructions** are a great option if you want to make a big batch and have them on hand. Let the cookies cool completely and freeze them individually wrapped in plastic wrap, then place them in a freezer-safe bag or container. They can be stored in the freezer for up to 2-3 months. To thaw, simply remove them from the freezer and let them come to room temperature in their wrapping. For the **Glaze Timing**, if you plan to freeze your cookies, it’s best to glaze them *after* they’ve thawed. Glaze applied before freezing can sometimes become sticky or crack during the freezing and thawing process. So, bake, cool, freeze, thaw, and then glaze for the best results!
Frequently Asked Questions
Final Thoughts
Seriously, if you’re looking for a ridiculously easy and delightfully tender cookie, you absolutely have to try these Cool Whip cookies. They’re the perfect example of how a few simple ingredients can come together to create something truly special. They’re the kind of cookie that makes you feel like a baking pro, even if you’ve never baked anything before. The soft, chewy texture is just irresistible, and the fact that you can whip them up in minutes makes them a staple in my kitchen. They’re perfect for sharing, but I won’t judge if you want to keep them all to yourself! If you love simple, comforting bakes, you might also enjoy my [Link to another easy cookie recipe, e.g., No-Bake Oatmeal Cookies] or my [Link to a quick cake recipe, e.g., Easy Chocolate Mug Cake]. I can’t wait to hear how yours turn out, so please leave a comment below and let me know what you think, or share any fun variations you try! Happy baking!
Cool Whip Cookies
Ingredients
Main Ingredients
- 1 cup Cool Whip, thawed
- 1 box Instant vanilla pudding mix
- 2 cups All-purpose flour
- 0.5 cup Chocolate chips
Instructions
Preparation Steps
- Preheat oven to 350°F (175°C). Line a baking sheet with parchment paper.
- In a large bowl, combine Cool Whip and pudding mix. Mix until well combined.
- Gradually add flour, mixing until just combined. Do not overmix.
- Gently fold in chocolate chips.
- Drop by rounded tablespoons onto the prepared baking sheet.
- Bake for 8-10 minutes, or until edges are lightly golden.
- Let cool on the baking sheet for a few minutes before transferring to a wire rack to cool completely.