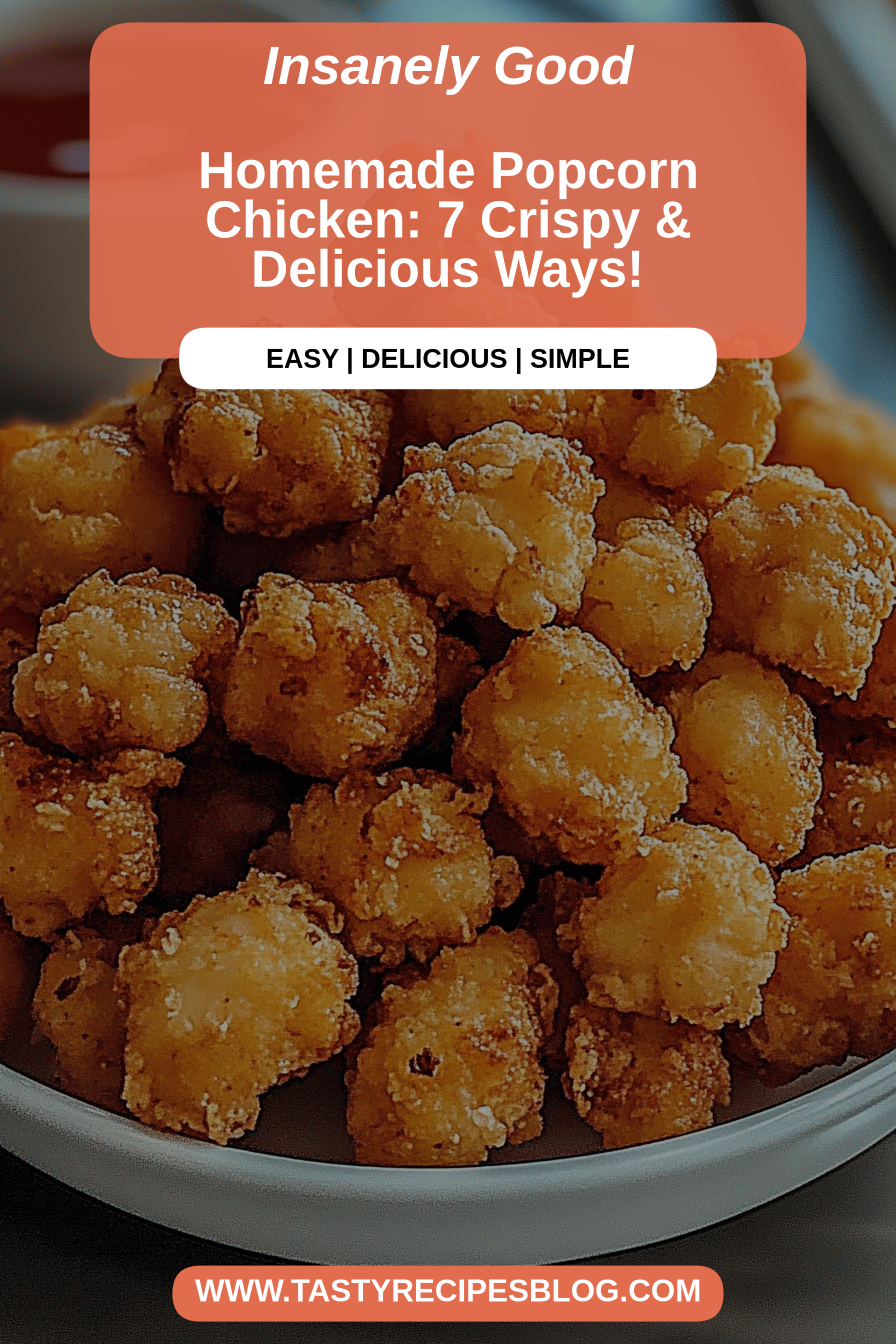
There are some foods that just transport you back to your happiest memories, and for me, that’s definitely popcorn chicken. I can almost taste it now – those perfectly crispy, golden nuggets, bursting with flavor, just begging to be dipped in your favorite sauce. Growing up, my mom would make a version of this for special movie nights, and the anticipation was almost unbearable! It was always the highlight of the evening, way better than any store-bought snack. While it might seem like something you’d find at a fast-food joint, making this popcorn Chicken Recipe at home is surprisingly simple and, dare I say, even more delicious. Forget those bland, rubbery versions you might have tried elsewhere; this recipe delivers incredible taste and texture that will have everyone asking for seconds. It’s a true crowd-pleaser, and honestly, I always make a double batch because it disappears so fast!
What is Popcorn Chicken?
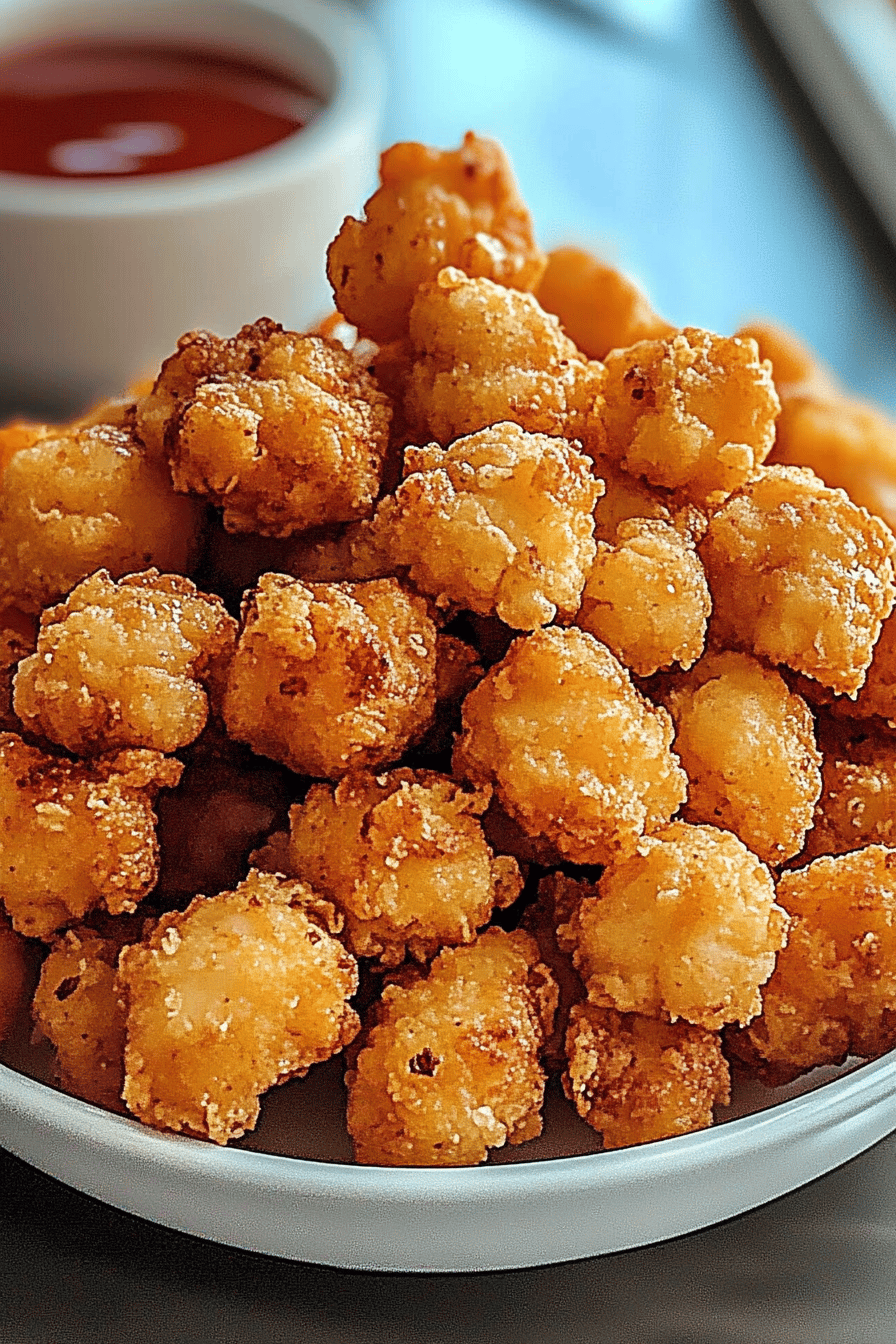
So, what exactly is popcorn chicken? At its heart, it’s just bite-sized pieces of chicken that have been breaded and fried (or baked, which we’ll get to!) to a delightful crisp. Think of it as the ultimate finger food, but elevated. The “popcorn” part comes from the small, irregular shapes that make them easy to pop into your mouth, much like, well, popcorn! It’s not about the chicken being cooked *with* popcorn, but rather the playful size and addictive nature of the dish. The beauty of this popcorn Chicken Recipe is that it takes that familiar concept and injects it with a homemade touch that really makes it shine. It’s the kind of food that brings people together, whether it’s for a casual weeknight dinner, a fun party appetizer, or even a hearty snack when that craving hits.
Why you’ll love this recipe?
Oh, where do I even begin with why this popcorn Chicken Recipe is an absolute winner? First off, the FLAVOR. We’re talking a savory, slightly peppery coating that gets unbelievably crispy. It’s not just crunchy; it’s got a depth of flavor that you just can’t get from a box. My family raves about this every single time I make it, and the kids practically inhale it! Then there’s the SIMPLICITY. I know, I know, frying can sound intimidating, but I promise, this is designed to be straightforward. We’ve got a fantastic baking option too, which is a lifesaver on busy nights and still delivers that satisfying crunch. And let’s talk COST-EFFICIENCY. Using chicken thighs (or even breast if that’s what you have!) and pantry staples makes this incredibly budget-friendly, especially compared to buying it out. What I love most, though, is its VERSATILITY. Serve it with fries and a classic dipping sauce for a meal, toss it into a salad for some added protein and crunch, or just have it as a snack. It’s seriously a chameleon of a dish! This recipe stands out because it’s built on tried-and-true techniques that I’ve refined over years of making it, ensuring fantastic results every time, unlike some of those other “easy” recipes that leave you feeling a bit disappointed.
How do I make Popcorn Chicken?
Quick Overview
Making this incredible popcorn chicken is a breeze. You’ll start by cutting your chicken into bite-sized pieces, then giving them a delicious, flavorful coating. We’ll then either fry them to golden perfection or bake them until they’re wonderfully crispy. Finally, a quick toss in a simple, savory glaze seals the deal. It’s a process that’s designed to be fuss-free, so you can get to the best part – eating!
Ingredients
For the Main Batter:
Here’s where all that delicious crispiness comes from! I like to use boneless, skinless chicken thighs because they stay wonderfully moist and flavorful, but chicken breast works too if you prefer. Make sure they’re cut into roughly 1-inch pieces. For the dry coating, you’ll need all-purpose flour (about 1 ½ cups), a good amount of cornstarch (around ½ cup – this is key for extra crispiness!), salt (1 ½ teaspoons, or to your taste), Black Pepper (1 teaspoon), paprika (1 teaspoon for color and a hint of sweetness), and garlic powder (1 teaspoon). Some people add a pinch of cayenne pepper here for a little kick, which is totally optional!
For the Filling:
This is what holds the magic together. We’ll need eggs – about 2 large ones. You’ll whisk these up in a shallow bowl. This egg mixture is what helps the flour coating stick beautifully to the chicken. Some people add a splash of milk or buttermilk to the eggs, which I’ve tried, and it does make it a *little* creamier, but honestly, plain whisked eggs work perfectly fine and keep it simple. If you’re feeling adventurous, you could even add a little hot sauce to the egg mixture for an extra layer of flavor!
For the Glaze:
This is the flavor bomb that makes it truly irresistible. We’ll need melted butter (about ½ cup), hot sauce (like Frank’s RedHot, about ¼ cup, adjust to your spice preference), a splash of Worcestershire sauce (about 1 tablespoon), and a little garlic powder (½ teaspoon). This glaze is super simple but packs a punch. I sometimes like to add a touch of honey or maple syrup to the glaze for a hint of sweetness, especially if the kids are going to be devouring it!
Step-by-Step Instructions
Step 1: Preheat & Prep Pan
First things first, get your oven preheated to 400°F (200°C) if you’re baking, or heat up your oil for frying. If you’re baking, grab a baking sheet and line it with parchment paper for easy cleanup. Parchment paper is a lifesaver, trust me! If you’re frying, make sure you have a heavy-bottomed pot or Dutch oven ready with about 2-3 inches of vegetable oil, peanut oil, or canola oil. Make sure you have a thermometer to keep an eye on the oil temperature – we want it to be around 350°F (175°C).
Step 2: Mix Dry Ingredients
In a large bowl, whisk together the flour, cornstarch, salt, pepper, paprika, and garlic powder. Give it a good stir until everything is well combined. You want to make sure there are no clumps of cornstarch hiding in there. This dry mixture is what’s going to give our popcorn chicken that amazing, super-crispy coating. The cornstarch is the secret weapon here for achieving that perfect crunch!
Step 3: Mix Wet Ingredients
In a separate shallow bowl (a pie plate works perfectly for this), whisk the eggs until they’re nice and frothy. This is going to be our “glue” to help the crispy coating stick to the chicken pieces. If you’re adding a splash of milk or hot sauce to your eggs, now’s the time to do it and give it a good whisk.
Step 4: Combine
Now, let’s get the chicken coated! Pat your chicken pieces dry with a paper towel. This is an important step because it helps the coating adhere better. Working in batches, toss the chicken pieces into the whisked eggs, making sure each piece is well-coated. Then, transfer the egg-coated chicken pieces directly into the bowl with the dry ingredients. Toss them around until each piece is thoroughly coated. Don’t be afraid to really get in there and make sure every nook and cranny is covered. It’s okay if some of the coating clumps a bit; that adds to the rustic, delicious look!
Step 5: Prepare Filling
While the chicken is getting its coat, let’s get the glaze ready. In a medium bowl, melt the butter. Once it’s melted, whisk in the hot sauce, Worcestershire sauce, and garlic powder. Give it a good stir until it’s all combined. Taste it and adjust the hot sauce or seasonings if you like. If you want it a little sweeter, now’s the time to stir in a teaspoon of honey or maple syrup.
Step 6: Layer & Swirl
This step isn’t about “layering and swirling” in the traditional sense for popcorn chicken, but rather getting the coated chicken onto your prepared baking sheet or into your hot oil. For baking: arrange the coated chicken pieces in a single layer on your prepared baking sheet, making sure they aren’t touching too much. This helps them crisp up evenly. For frying: carefully add the chicken pieces to the hot oil, working in batches so you don’t overcrowd the pot. Overcrowding will lower the oil temperature and result in soggy chicken, and nobody wants that!
Step 7: Bake
If you’re baking, pop that tray into your preheated oven. Bake for about 20-25 minutes, flipping the chicken pieces halfway through, until they’re golden brown and cooked through. If you’re frying, carefully fry the chicken pieces for about 3-5 minutes per batch, or until they’re golden brown and cooked through. Use a slotted spoon or spider strainer to remove the chicken from the oil and place it on a wire rack set over a baking sheet to drain any excess oil. This step is crucial for keeping them crispy!
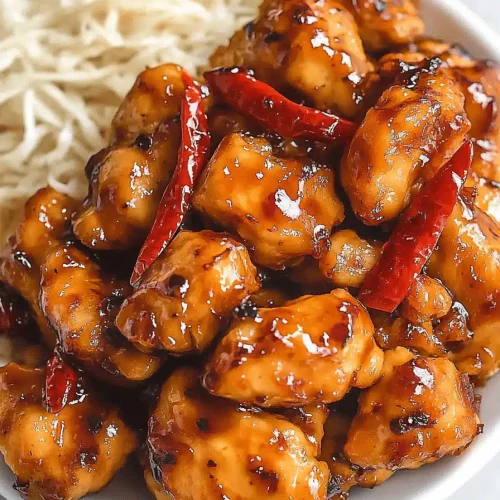
Step 8: Cool & Glaze
Once your popcorn chicken is cooked and nicely crisped (whether baked or fried), let it cool for just a minute or two. Then, transfer the cooked chicken pieces to the bowl with the prepared glaze. Toss them gently until all the pieces are beautifully coated. You want to do this while the chicken is still warm so the glaze coats it easily, but not so hot that it makes the coating soggy. The goal is a glossy, flavorful coating, not a wet mess!
Step 9: Slice & Serve
And there you have it! Perfectly coated, incredibly flavorful popcorn chicken. You can serve these hot right away. For an even better presentation, you can give them a final sprinkle of chopped fresh parsley if you have it on hand. They’re best served warm, but I have to admit, I’ve totally eaten leftovers cold straight from the fridge and they were still amazing!
What to Serve It With
Oh, the possibilities are endless when it comes to serving this glorious popcorn chicken! For a classic meal that always hits the spot, you can’t go wrong with serving it alongside some crispy french fries and a variety of dipping sauces. Think honey mustard, ranch, BBQ sauce, or even a spicy sriracha mayo. It makes for a fantastic, satisfying dinner that feels like a treat but is so easy to whip up. If you’re looking for something a little lighter, toss these crispy morsels over a bed of mixed greens with some cherry tomatoes, cucumber, and a light vinaigrette. The crunchy chicken adds such a wonderful texture to salads. For a fun appetizer or party food, arrange them on a platter with little ramekins of dipping sauces and let everyone help themselves – they’ll disappear in minutes! My kids also love these stuffed into soft slider buns with a little shredded lettuce and sauce for mini popcorn chicken sandwiches. It’s such a versatile recipe that really fits into any mealtime scenario.
Top Tips for Perfecting Your Popcorn Chicken
I’ve made this popcorn Chicken Recipe more times than I can count, and through the years, I’ve picked up a few tricks that I think make all the difference. First, **don’t skip patting the chicken dry** before coating! Seriously, this is crucial. Moisture is the enemy of crispiness, so get those chicken pieces as dry as possible with paper towels. For the coating, I always recommend a generous amount of cornstarch in your flour mixture. It’s the secret ingredient for achieving that light, airy, and incredibly crunchy exterior. When you’re coating the chicken, make sure to really press the flour mixture onto the pieces. You want a good, thick coating. If you’re frying, **don’t overcrowd the pot!** This is probably the most common mistake people make. Fry in batches, and give the chicken plenty of space. This allows the oil to maintain its temperature and ensures each piece gets perfectly crispy. If you’re baking, make sure the pieces are in a single layer on the baking sheet and flip them halfway through. This ensures even browning and crisping on all sides. For the glaze, I find that tossing the chicken while it’s still warm but not piping hot is key. You want the glaze to coat beautifully without making the chicken soggy. If the glaze seems a bit thick, a tiny splash more butter can help thin it out. Experiment with your favorite hot sauce to find the perfect level of heat! And remember, practice makes perfect. Don’t be discouraged if your first batch isn’t absolutely flawless; you’ll get the hang of it quickly, and the results are always worth it!
Storing and Reheating Tips
This popcorn chicken is, without a doubt, best enjoyed fresh from the oven or fryer. However, life happens, and sometimes you have leftovers! If you do have some that miraculously survived, storing them properly is key to retaining as much crispiness as possible. For storing at room temperature, it’s best to let them cool completely first and then keep them in an airtight container. They’ll stay good for a couple of hours this way. For refrigerator storage, let them cool completely before placing them in an airtight container or a resealable bag. They should last for about 3-4 days in the fridge. Now, reheating is where the magic happens to bring back that crisp. Microwaving popcorn chicken will almost always result in a soft, chewy texture, and that’s a big no-no for me! Instead, your best bet is to reheat them in a single layer on a baking sheet in a preheated oven at around 350°F (175°C) for about 5-10 minutes, or until they’re heated through and crisp again. An air fryer also works wonders for reheating; just a few minutes at a medium temperature will bring them back to life. If you plan on reheating, I sometimes hold off on glazing them until *after* they’ve been reheated, just to maximize crispiness. You can always warm up the glaze separately and toss them right before serving again.
Frequently Asked Questions
Final Thoughts
Honestly, making this popcorn chicken recipe at home is one of those things that just brings me so much joy. It’s proof that you don’t need fancy ingredients or hours in the kitchen to create something truly spectacular that your whole family will adore. The crunch, the savory flavor, that irresistible glaze – it’s all just perfect. I hope you give this a try and fall in love with it as much as we have. It’s been a staple in my kitchen for years, and I can’t wait to hear what you think! If you love this, you might also enjoy my Crispy Baked Chicken Wings or my Sheet Pan Chicken Fajitas for more easy and delicious chicken recipes. Don’t forget to leave a comment below and let me know how yours turned out, or share any fun variations you tried! Happy cooking!
Popcorn Chicken Recipe
Ingredients
Main Ingredients
- 1.5 lb Chicken breast, cut into 1-inch pieces
- 1 cup All-purpose flour
- 0.5 cup Cornstarch
- 1 tsp Paprika
- 0.5 tsp Garlic powder
- 0.5 tsp Onion powder
- 0.25 tsp Cayenne pepper (optional)
- 1 tsp Salt
- 0.5 tsp Black pepper
- 1 cup Buttermilk
- 3 cup Vegetable oil, for frying
Instructions
Preparation Steps
- In a bowl, whisk together flour, cornstarch, paprika, garlic powder, onion powder, cayenne pepper (if using), salt, and pepper.
- In a separate bowl, pour in buttermilk.
- Dip chicken pieces in buttermilk, then dredge in the flour mixture, making sure to coat them completely.
- Heat vegetable oil in a large pot or deep fryer to 350°F (175°C).
- Carefully add chicken pieces to the hot oil in batches, being careful not to overcrowd the pot. Fry for 3-4 minutes, or until golden brown and cooked through.
- Remove chicken from oil and place on a plate lined with paper towels to drain excess oil.
- Serve immediately and enjoy!


