
Oh, you guys! I’m so excited to finally share this with you. It’s one of those recipes that feels like pure magic, and honestly, it’s been a total game-changer in my kitchen. Imagine this: the sun is setting, the kids are begging for something sweet, and you *don’t* want to turn on the oven for an hour. That’s when this strawberry syrup recipe swoops in like a superhero. It’s incredibly simple, bursting with fresh, vibrant strawberry flavor, and makes everything it touches taste like a gourmet treat. Forget those store-bought versions that taste a bit… artificial. This homemade strawberry syrup recipe is the real deal, and it’s surprisingly easy to whip up. It’s like bottling sunshine, I swear. If you’ve ever made a basic simple syrup, this is just a little step beyond, but the payoff is HUGE. It’s way better than a typical fruit compote because it’s so smooth and pourable, perfect for drizzling. Trust me, once you try this, you’ll be reaching for it constantly!
What is the best recipe for strawberry syrup?
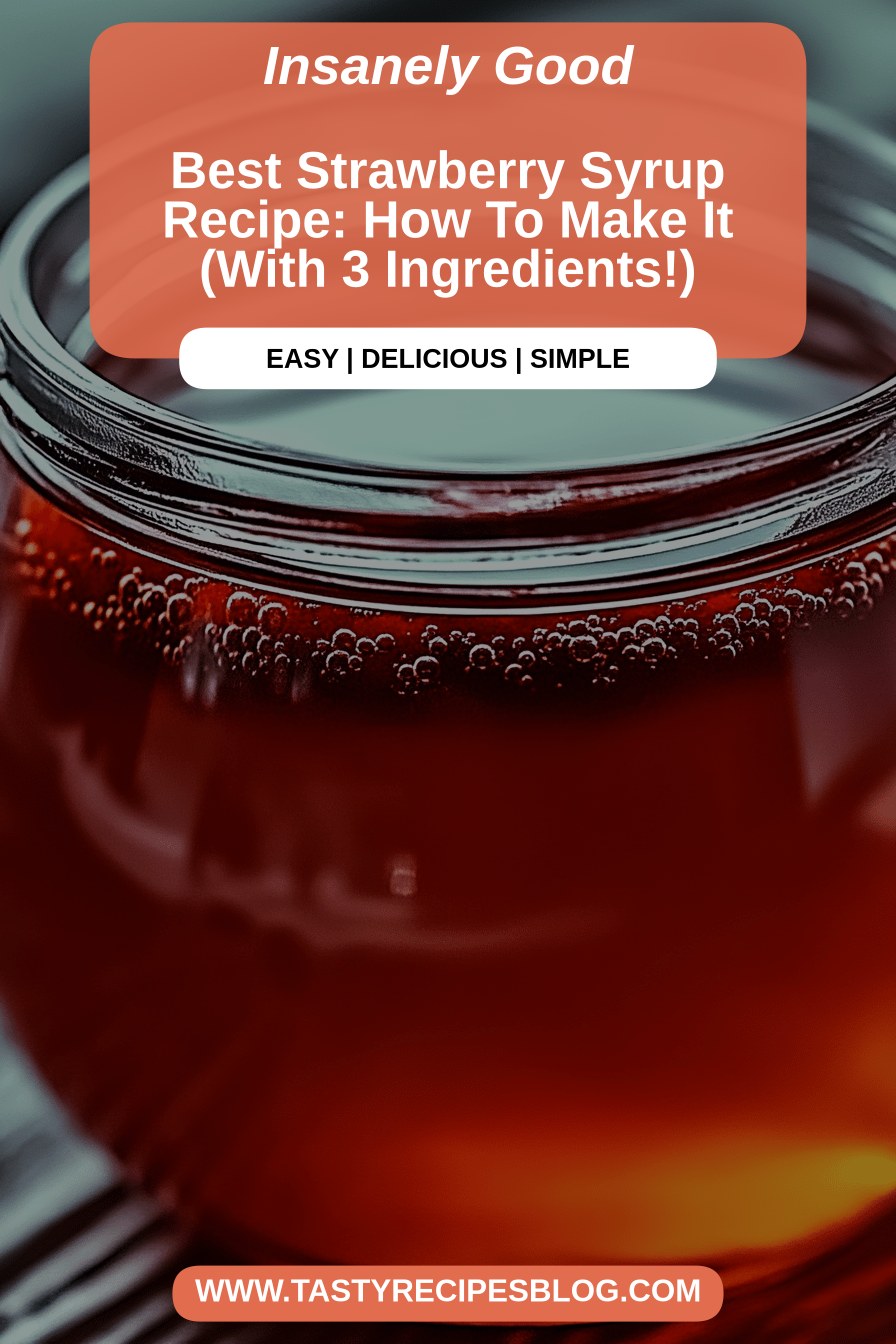
So, what exactly *is* this strawberry syrup recipe that has me so giddy? Think of it as liquid summer. It’s essentially a concentrated infusion of fresh strawberries cooked down with sugar and a touch of water, then strained to achieve a silky-smooth consistency. The name itself, “strawberry syrup,” is pretty straightforward, but the magic lies in how simple it is to capture the peak flavor of fresh strawberries. It’s not complicated like making jam, which requires pectin and precise cooking times to set. This is far more forgiving and much quicker. It’s essentially the sweet, pure essence of strawberries in a pourable form. I love how it transforms the ordinary into something special, giving a vibrant punch of fruitiness without any of the chunkiness you might get from a fresh fruit topping. It’s elegant, easy, and utterly delicious – a trifecta of goodness!
Why you’ll love this recipe?
There are so many reasons why this strawberry syrup recipe has earned a permanent spot in my recipe repertoire, and I just know you’re going to adore it too. First off, the FLAVOR. Oh my goodness, the flavor! It’s like biting into the freshest, ripest strawberry you’ve ever tasted, but concentrated into this luscious syrup. It’s bright, sweet (but not *too* sweet, I promise!), and has this wonderful subtle tartness that just makes your taste buds sing. It’s pure strawberry bliss. Then there’s the SIMPLICITY. Seriously, this is almost embarrassingly easy. I can whip up a batch in about 20 minutes, and most of that is just waiting for it to simmer. It’s the perfect recipe for when you need a quick fix of something delicious but don’t have a lot of time or energy. And let’s talk COST-EFFICIENCY. Fresh berries can be pricey sometimes, but this recipe uses them so efficiently that you get a fantastic amount of delicious syrup for the cost of a couple of pints. It’s a great way to use up berries that might be looking a little past their prime for eating fresh, too! What I love most, though, is the VERSATILITY. I’m talking about drizzling this over pancakes, waffles, French toast, ice cream, yogurt, oatmeal… the list goes on and on. It’s also amazing in cocktails (hello, strawberry daiquiri!) or mocktails, and it makes the most beautiful strawberry milk for the kids. It’s a culinary chameleon! I’ve even seen it used to sweeten Italian sodas. Honestly, if you love my What is the best easy berry Cobbler recipe?What is the best way to enjoy a red berry year-round?
How to Make This Amazing Strawberry Syrup
Quick Overview
Making this delicious strawberry syrup recipe is incredibly straightforward. You’ll simply combine fresh strawberries, sugar, and a little water in a saucepan. Let it simmer gently until the strawberries break down and release their juices, then strain it all through a fine-mesh sieve. The result is a smooth, vibrant, intensely flavorful syrup ready to elevate all your favorite treats. It’s the easiest way to get that authentic, fresh-picked strawberry taste without any fuss. This method is brilliant because it captures the berry’s natural sweetness and aroma beautifully.
Ingredients
For the Main Syrup:
– 2 pounds (about 6 cups) fresh strawberries, hulled and roughly chopped: Use the best, ripest strawberries you can find! If they’re a little soft or have a few bruised spots, they’re perfect for this. No need for fancy organic unless that’s your jam; flavor is key here.
– 1 cup granulated sugar: This balances the tartness of the berries and helps create that lovely syrupy texture. You can adjust this slightly based on your sweetness preference and the sweetness of your berries.
– 1 cup water: Just enough to help everything cook down smoothly and prevent sticking.
For Optional Flavor Boost (Highly Recommended!):
– 1 tablespoon fresh lemon juice: This brightens the flavor and adds a lovely tang that really makes the strawberry pop. Don’t skip this if you can help it!
– 1/2 teaspoon vanilla extract: Adds a subtle warmth and depth of flavor. I usually add this right at the end.
Step-by-Step Instructions
Step 1: Prepare the Strawberries
Start by giving your strawberries a good rinse under cool water. Hull them (that means removing the green leafy tops) and then give them a rough chop. Don’t worry about making them perfectly uniform; they’re going to break down anyway. I usually just slice larger ones in half or quarters. It just helps them release their juices a bit more easily when they start cooking.
Step 2: Combine Ingredients in the Pot
Grab a medium-sized saucepan – nothing too small, as you want some room for the mixture to bubble without overflowing. Add your chopped strawberries, granulated sugar, and water to the pot. Give it a gentle stir to combine everything. Honestly, that’s it for the prep!
Step 3: Simmer and Mash
Place the saucepan over medium heat. Bring the mixture to a gentle simmer, stirring occasionally. Once it’s simmering, reduce the heat to low. You want it to maintain a gentle, lazy bubble, not a rolling boil. Let it simmer for about 15-20 minutes. As it cooks, the strawberries will soften and start to break down. You can help this along by gently mashing them against the side of the pot with your spoon or a potato masher. This really speeds up the process and gets all that lovely strawberry flavor out.
Step 4: Add Flavor Boosters (Optional but Recommended!)
After about 15-20 minutes, when the strawberries are super soft and the liquid looks syrupy, it’s time for the optional flavor enhancers. Stir in the fresh lemon juice and the vanilla extract. Give it another little stir and let it simmer for just 2 more minutes to let those flavors meld beautifully. The lemon juice really does wonders to brighten everything up!
Step 5: Strain for Smoothness
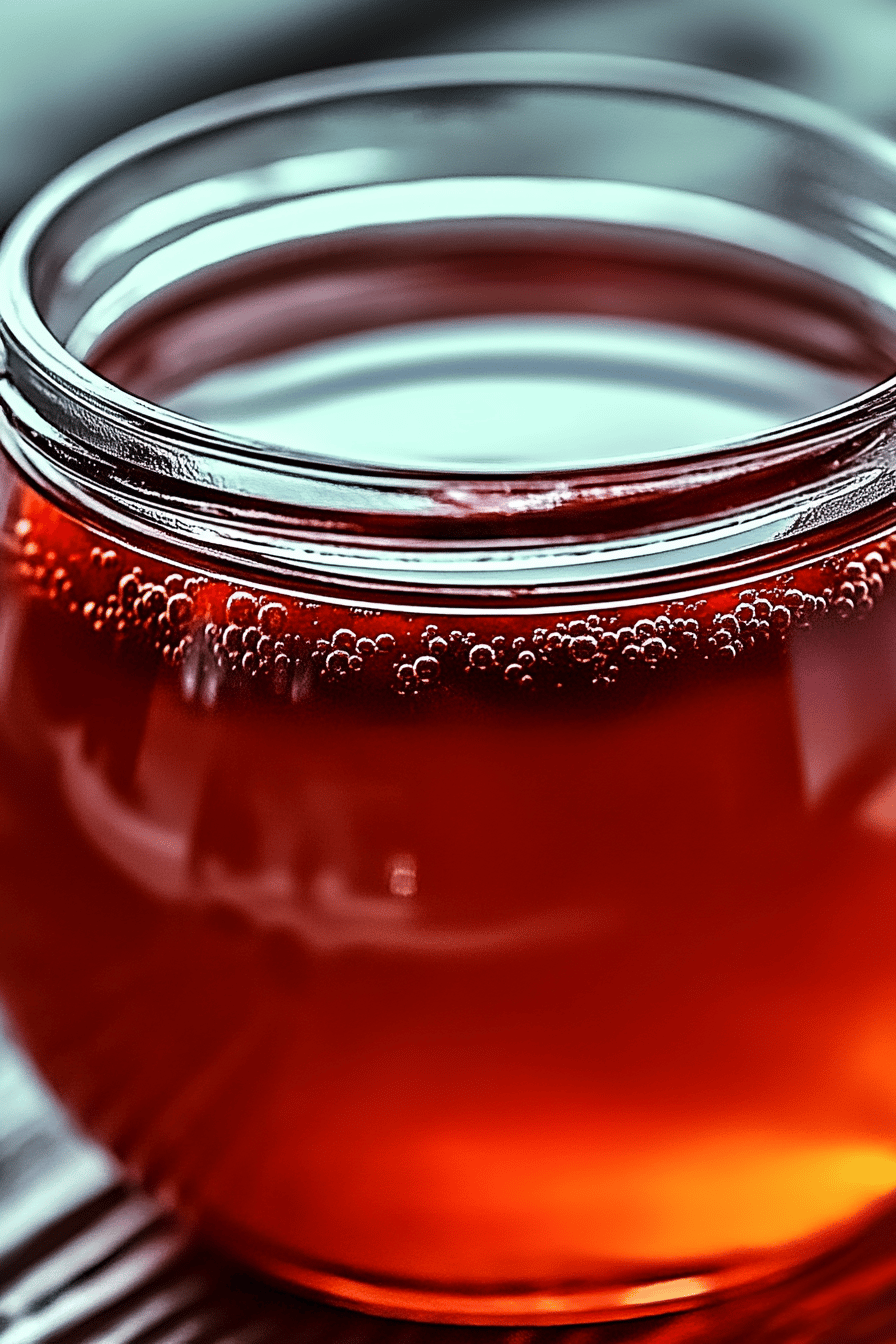
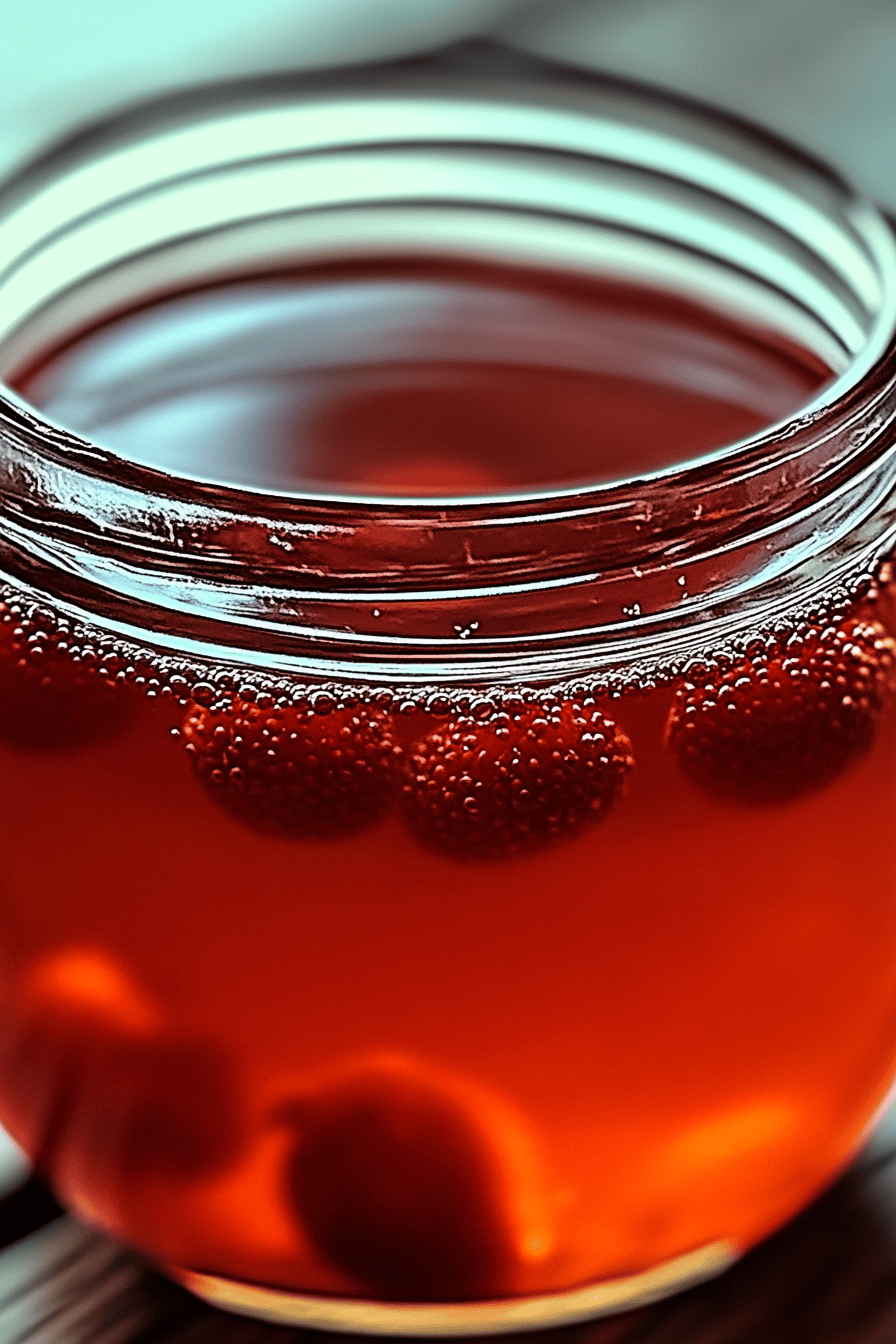
Now for the magic step: straining. Place a fine-mesh sieve over a heatproof bowl or a large measuring cup. Carefully pour the cooked strawberry mixture into the sieve. Now, here’s where you can get really saucy: use the back of your spoon or a spatula to press down on the solids in the sieve. You want to extract as much of that gorgeous, ruby-red liquid as possible. Don’t be afraid to really push! You’ll be left with the beautiful, smooth strawberry syrup in the bowl and the cooked strawberry pulp in the sieve. You can discard the pulp or, if you’re feeling adventurous, you can use it in smoothies or even bake it into muffins!
Step 6: Cool and Chill
Let the syrup cool in the bowl for a bit at room temperature. It will thicken slightly as it cools. Once it’s no longer piping hot, cover the bowl (or transfer the syrup to an airtight container) and pop it into the refrigerator to chill completely. This usually takes at least an hour, but I often make it ahead of time and let it chill overnight. Chilling it really allows the flavors to fully develop and the syrup to reach its perfect consistency.
Step 7: Store and Enjoy!
Once chilled, your homemade strawberry syrup is ready to be used! Pour it into a clean, airtight jar or bottle. It should keep beautifully in the refrigerator for about 2-3 weeks. The vibrant color and intense flavor will make every dish you serve it on feel extra special. Enjoy!
What to Serve It With
Okay, now for the fun part – what do you *do* with all this glorious strawberry syrup? Honestly, the possibilities are endless, but here are some of my favorite ways to use it that my family absolutely devours. When it comes to breakfast, forget boring old maple syrup! Drizzle this over a stack of fluffy pancakes or golden waffles. It’s also divine on French toast – I like to soak my bread really well, then top with the syrup and a dollop of whipped cream. It’s a real weekend treat! For brunch, it elevates yogurt parfaits to a whole new level. Layer Greek yogurt, granola, and this strawberry syrup in a pretty glass for an impressive spread. It also makes a fantastic topping for scones or even a light, fruity layer in a trifle. As a dessert, it’s a no-brainer over vanilla ice cream. Seriously, it’s restaurant-quality. You can also drizzle it over pound cake or Angel Food Cake. For cozy snacks, my kids are obsessed with strawberry milk. Just mix a tablespoon or two of the syrup into a glass of cold milk – it’s way healthier and tastier than those sugary chocolate syrups! I also love stirring a little into a mug of plain yogurt or even using it to sweeten my iced tea. It’s my secret weapon for making everyday moments feel a little more special.
Top Tips for Perfecting Your Strawberry Syrup
Over the years, I’ve tinkered with this strawberry syrup recipe quite a bit, and I’ve picked up a few tricks that I think make a real difference. First, regarding the STRAWBERRIES: always start with the ripest berries you can find. If they’re a bit soft or have minor blemishes, that’s actually ideal! They’ll break down more easily and release more flavor. You can use frozen strawberries in a pinch, but thaw them completely and drain off any excess liquid before using. For the SUGAR, I recommend starting with the amount I’ve listed. You can always add a touch more at the end if you prefer it sweeter, but it’s harder to take it away! The water amount is pretty crucial too; too little and it might scorch, too much and it will take forever to thicken. When it comes to MASHING, don’t go overboard initially. Let the berries soften on their own first, then gently mash. Over-mashing too early can sometimes make the syrup cloudy. After straining, resist the urge to push *too* hard on the solids if you want a perfectly clear syrup. A gentle press is usually enough. If you want to experiment with FLAVOR, try adding a tiny pinch of Black Pepper when you add the lemon juice – it sounds weird, but it really enhances the berry flavor! Some people also add a splash of balsamic vinegar for a more complex flavor profile, but I tend to keep it simple. When it comes to STRAINING, a fine-mesh sieve is non-negotiable for that silky smooth texture. If you don’t have one, you can try lining a colander with cheesecloth, but it’s a bit messier. And for STORAGE, always use a clean, airtight container. This syrup is fantastic, but like anything homemade, it won’t last forever. Two to three weeks in the fridge is a good guideline, but trust your senses – if it looks or smells off, it’s time to let it go. I’ve found that adding the lemon juice at the end really helps preserve that bright, fresh flavor and color, too!
Storing and Reheating Tips
One of the best things about this strawberry syrup recipe is how well it keeps, making it a fantastic make-ahead ingredient. For ROOM TEMPERATURE storage, I don’t recommend it for very long, as it’s a fresh fruit product. It’s best to refrigerate it as soon as it’s cool. If you absolutely need to leave it out for a few hours (say, for a breakfast buffet), just make sure it’s in a very clean container and use it up within the day. REFRIGERATOR STORAGE is where this syrup truly shines. Once it’s completely cooled and in an airtight jar or bottle, it will last for at least 2 to 3 weeks. I’ve honestly had it last even longer, but I usually try to use it up within that timeframe to ensure peak freshness and flavor. Just give it a shake or stir before using, as some natural separation can occur. For FREEZER INSTRUCTIONS, this syrup freezes beautifully, making it perfect for enjoying the taste of summer all year round. Pour the cooled syrup into freezer-safe containers or even ice cube trays. If using containers, leave a little headspace as liquids expand when frozen. It will keep its quality for up to 6 months. To THAW, transfer the frozen syrup to the refrigerator overnight. Ice cube trays are great for portion control – just pop out a cube or two for smoothies or drinks! Regarding GLAZE TIMING, since this is a syrup and not a cooked glaze like for cakes, it’s meant to be drizzled. So, there’s no special timing for adding it post-storage; it’s ready to go whenever you are!
Frequently Asked Questions
Final Thoughts
So there you have it – my absolute favorite strawberry syrup recipe! It’s one of those simple pleasures that truly makes a difference in the kitchen. It’s so satisfying to know you’ve created something so delicious from scratch, and the fact that it’s so versatile means it gets used all the time. Whether you’re drizzling it over your morning pancakes, swirling it into your afternoon yogurt, or using it to impress guests with a fancy dessert, this syrup delivers that pure, unadulterated strawberry goodness. If you’re a fan of berries, you should definitely check out my Mixed Berry Crumble for another delightful way to enjoy seasonal fruit. Making this strawberry syrup recipe is a small effort for a huge reward, and I truly hope it becomes a staple in your home too. I can’t wait to hear what you think and how you end up using it! Please leave a comment below and share your creations, or even any fun variations you come up with. Happy cooking!

Strawberry Syrup Recipe
Ingredients
Main Ingredients
- 16 oz Fresh Strawberries, hulled and quartered
- 1 cup Granulated Sugar
- 0.25 cup Water
- 1 tbsp Lemon Juice
Instructions
Preparation Steps
- In a medium saucepan, combine strawberries, sugar, and water.
- Bring to a simmer over medium heat, stirring occasionally, until the strawberries release their juices and the sugar dissolves (about 5 minutes).
- Reduce heat to low and simmer for 10 minutes, stirring occasionally, until the syrup thickens slightly.
- Remove from heat and stir in lemon juice.
- Strain the syrup through a fine-mesh sieve into a heat-proof bowl or jar, discarding the solids.
- Let cool completely before using.
- Store in an airtight container in the refrigerator for up to 1 week.


